Well, if you know me, you would know that I would most definitely try to do a project incorporating multiple Santas in my bid to use them up right? *winks* Here it is...this week's obligatory Santa project!
I started off with this small sturdy paper bag from YSL.
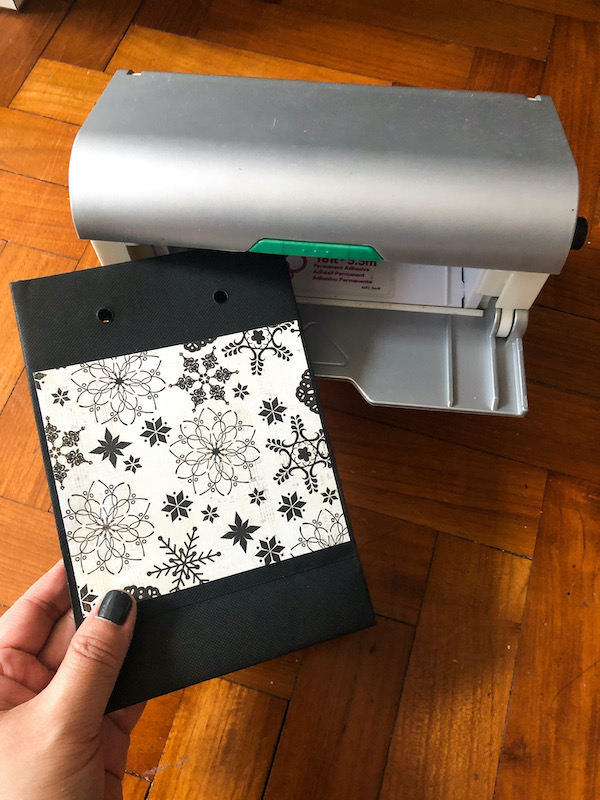
I measured and cut two pieces of patterned paper for the front and back of the bag.
I ran the pieces through my trusty Xyron creative station for an even layer of adhesive and then adhered the pieces to the bag.
Next I adhered the Santas to the paper bag. It was a great opportunity to use up the partial Santa faces that I had.
Of course, in my overzealous haste to glue the Santas down, I left a gaping "hole" between the Santas that was too small for a full Santa head but definitely threw the design off-balance. So, I tried to fix it with some trees and a mini Santa....you know like I intended to design it in the first place. Did it work ? *LOL*
I really like how it turned out...great Christmas gift bag for some sweet treats. What do you think?
P/s: Yes, this girl is really trying to use up those Santas. Can't wait to finally get them all glued down on projects and out of my stash. Will it happen in 2020? *Fingers crossed*


3 comments:
I totally believe you can do it!!! Of course I need to see a Santa/Bird project for my life to be complete ... work on that won't ya!?!? LOL!! I loveeeeeeee this!!
Yes, you can do it! I totally thought the trees and mini Santa were the original plan.
Very festive..love how you up cycle your bags!!
Post a Comment
Thanks for visiting my blog and taking time to leave a comment. I really appreciate it. Have an awesome day!:)
Cheers, Yvonne.