Monday

Using cardboard packaging on my projects


Using cardboard packaging on my projects

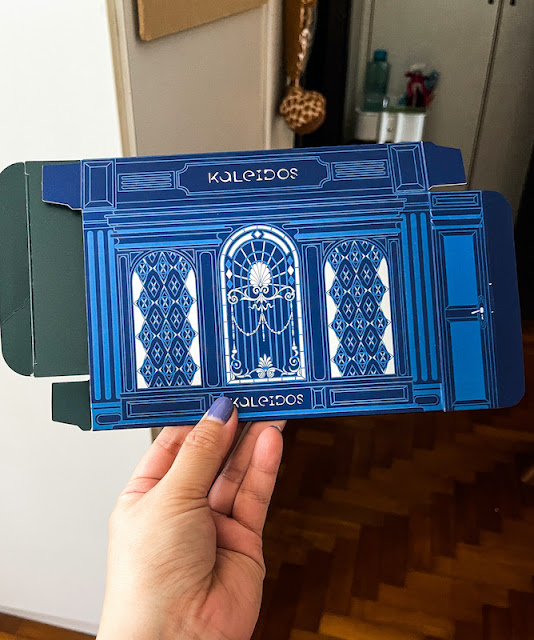
As mentioned previously, I am trying to repurpose any packaging I get these days so that I put less in the recycling bin (especially since only 10% of it actually gets recycled).  Things that catch my eye are pretty designs on cardboard...

Using cardboard packaging on my projects

That I just use like patterned paper on a layout.

Using cardboard packaging on my projects

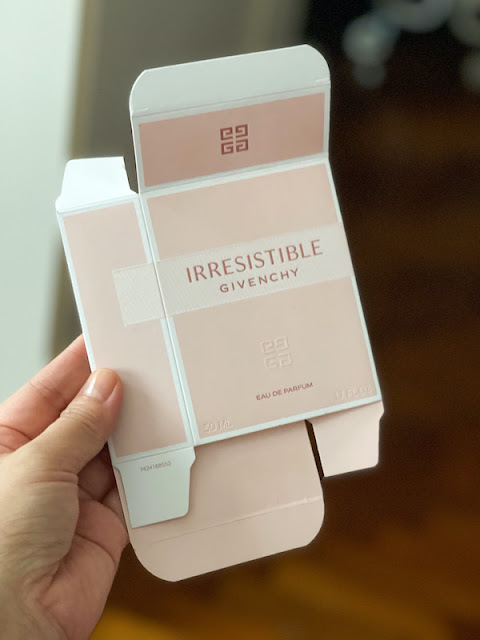
And text that I can cut out...this was from a fragrance box.


Using cardboard packaging on my projects


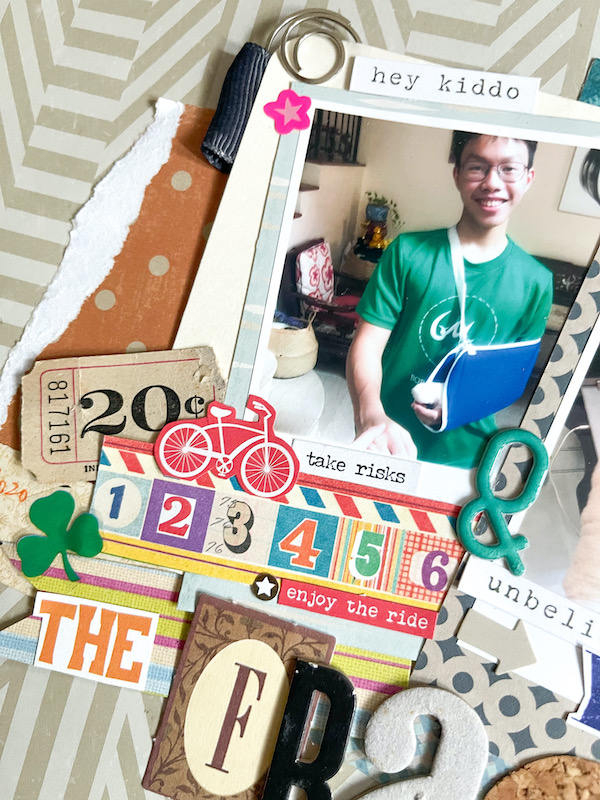
Can you spot where I used it?


Using cardboard packaging on my projects

This was the packaging for a  tea cup.


Using cardboard packaging on my projects

For this decorated box project, I actually incorporated both the pink packaging boxes. :)

What about you? Do you incorporate cardboard packaging on your projects?


Share/Bookmark

Pin It

Friday

The one about the fracture


Back in November, nephew #1 had a cycling mishap while he was out with his friends at a nearby island (Pulau Ubin). 

He had scrapes on his right arm and fractured his left thumb. Clearly nothing really major but the A&E doctor put his entire left forearm in a cast because he couldn't decipher an x-ray properly. *shakes head* (We were told that he fractured his hand and forearm in 3 different places...and when the cast came off, the doctor was like, "Oops, it's just the thumb!" ...I kid you not!)


I mean, the kid doesn't even look like he's in pain, right? (Of course, he could have been loopy while on pain meds...or because I was holding his hand. *LOL*)


Despite needing help to shower and eat for 2 weeks (till the cast came off), the kid was just living his best life playing computer games all day. :)


Just a layout with lots of random bits...


Playing along with The Studio Challenges SCRAP challenge..

S- Stickers 

C- Chipboard

R - Ribbon

A - Ampersand

P - Patterned papers


Share/Bookmark

Pin It

Thursday

This week's quick project with scrap bits from my stash


These days I've been enjoying quick little collage projects like this using scrap bits from my stash that can possibly be incorporated into a bigger project like a box/paper bag/layout/card or used as is with a note at the back for the recipient.

It doesn't require a lot of time but trains my mind to use colours and patterns in a creative way. :)

What about you? What kind of small projects do you do to keep your creative juices flowing?


Share/Bookmark

Pin It

Wednesday

The one about the egg mayo sandwich


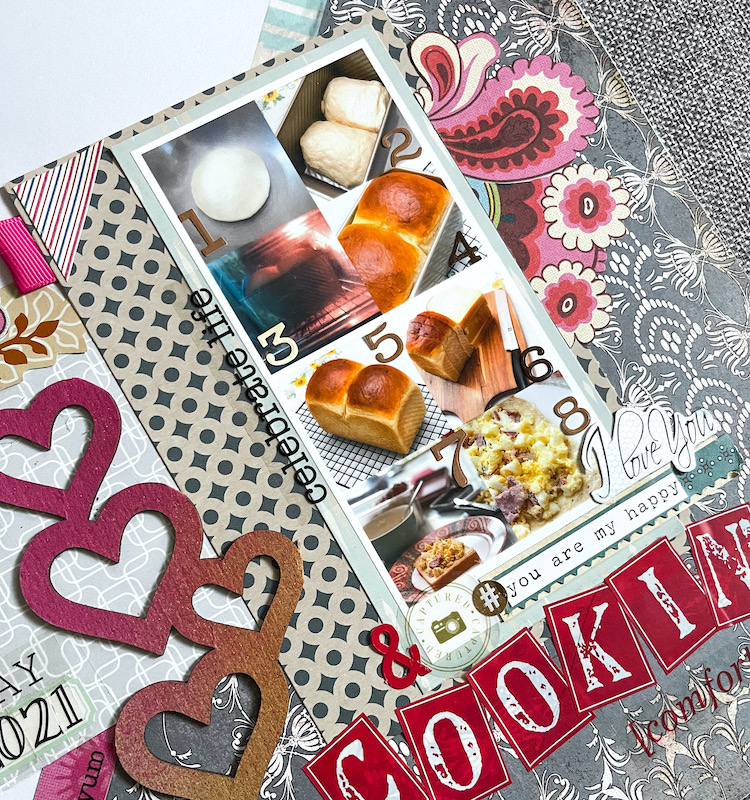
The upside of staying at home is that you can take the time to enjoy the process of making something you like to eat from scratch. Like my egg mayo sandwich. :)


On Saturday afternoon, I decided that I wanted to have Japanese egg mayo sandwich for breakfast the next day. And of course, that required making the Hokkaido milk bread for the sandwich first.

"No, she didn't!" her bloggy friends gasped!


Well of course I did. *winks*

I made the dough and let it rest (pic1), then I shaped the dough and let it proof in the tin (pic 2) before baking in the oven (pic 3). Next I let it cool in the tin for 10 minutes (pic 4) before taking it out to cool partially on the wire rack (pic 5). 

[I brought it to my bedroom to cool completely for the night so that I get first dibs on it in the morning!]


The next morning, I sliced my bread (pic 6), giddy with excitement. :)

I spread the butter on a slice of bread and added my egg mayo filling (hardboiled eggs, bacon, Japanese mayo, salt and pepper to taste) (pic 7). And then gave it to nephew #1 who was waiting to try my "masterpiece". *LOL*

I made another one for myself, took a photo (pic 8) and finally tucked into my homemade egg mayo sandwich. It was sooooooo good.  :)


Unfortunately for me, that was my ONE and only slice of bread after all the hard work. *sad music plays in the background* The other Yams ate the rest.


Lots of sticker bits...


Playing along with Stick It Down.


Share/Bookmark

Pin It

Tuesday

5 tips on postal-friendly decorated boxes


With the recent increase in global postage prices, I've been working on decorating postal-friendly boxes that would (hopefully) delight the recipient and save me some $$ in postage. Here are 5 tips on postal-friendly decorated boxes. These boxes are all recycled packaging of course. :)


1. Choose a lightweight but sturdy box that would fit your gift/s.

Since weight is an issue with shipping costs, it is important to choose a box that durable but on the lighter side. Except for a little wrapping tissue to make it more exciting for the recipient to open the package, I usually try to fill the box snugly so that the contents don't shift around during shipping and reduces the need for filler paper/bubble wrap (that would add to the weight of the package).


2. Keep the decorative elements as flat as possible.

You can still layer patterned paper and stickers to create the illusion of depth and texture but keeping the elements flat means you can skip the bubble wrap layer and just wrap up your decorated gift box with brown paper packaging.


3. Have fun with fussy-cut patterned papers and stickers.

Create a collage of fussy-cut bits and add some text to jazz it up. Even a standard cardboard shipping box can look cool by adding some colour! :)


4. Work with the original box colour.

Save time by reworking on parts of the box that need covering up (like the brand or instructions for use) instead of covering up the entire box. Here I had this beautiful aqua coloured box so I found a sheet of patterned paper that complemented it and just use that as the base for my "scene" on the box lid.


5. Stick to a limited colour scheme.

Here the base box was pink so I picked a base patterned paper that had some pink in it and just picked out elements from my stash with a similar colour palette (mostly pastels). Then I arranged them into a fun collage. 

There you have it, my 5 tips on postal-friendly decorated boxes. Do you have any other tips to share?


Share/Bookmark

Pin It

Monday

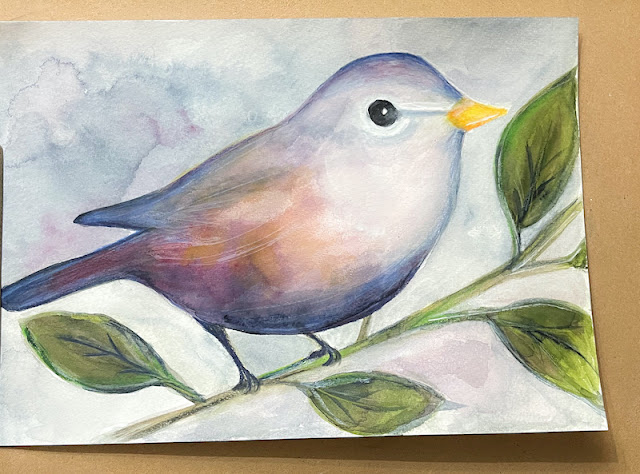
Mixed Media Monday - painting a fat bird


Hello friends! Today I'm sharing a mixed media painting of a fat bird...totally inspired by the slightly pudgy bird that was happily perching on my hibiscus branch which promptly broke after it flew off. Seriously. It was a humming bird. Which is usually quite small. *LOL* 


He started off a lot slimmer but had some bulk added to him to cover up some painting mistakes. I might actually have to look at some actual bird photos for reference. Hahaha! 

Happy week ahead!


Share/Bookmark

Pin It

Friday

Friday night dinner at the Yams


Welcome to Friday night dinner at the Yams! 

Tonight we had air-fryer chicken wings. It was marinated in the fridge with a dry rub of five spice powder, nutmeg, brown sugar, salt and pepper for around 4 hours.


We also had a homemade miso garlic mozzarella cheese bread. Yep...your gal was like I marinated the wings after lunch, I can make garlic bread at 4pm and we can have an early dinner. *Probably should have started earlier because there were complaints about dinner being late...* The bread took a little longer because this was my first attempt. It was a fairly easy bread to make (no kneading at all) just a lot of resting time and baking 3 times in the oven in the final hour.


I had grandeur plans for a roasted veggie salad.. But I went with a raw salad because it meant that I didn't have to clean the stove. Apologies for the photo...I had to be quick because there were vultures around...waiting to eat the food. *LOL*


The dessert was lychee jelly. Which I made after lunch because the gelatine needed a few hours in the fridge.

And there you have it...Friday night dinner at the Yams. I think it was a fairly successful one seeing that I had no leftovers. :)

P/s: Hope you are having something yummy to eat in your part of the world too! :)


Share/Bookmark

Pin It

Wednesday

Workspace Wednesday - virtual botanical illustration class


So I attended a Jo Malone x Sephora virtual botanical illustration class today. It was conducted by a local artist/calligrapher - Rachel Koh (@letteringinphosphenes) via Zoom over lunch hour. The idea is to create an illustration inspired by Jo Malone's latest Blackberry and Bay cologne. I picked up my kit (as pictured) at my local Sephora store last week. It was a free class with freebies too! :)

Are you ready to check out the fruit of my labour after an hour? Brace yourself...sit tight... *drumroll*


I know. It's terrible. I'm not great at watching someone do something and then replicating the steps simultaneously. I mean I kept up with the pace of the class. But this was not pretty. I mean, the instructor said I did a good job but seriously, she saw it through Zoom which isn't known for its clarity. *LOL*


But I decided to persevere...and continued the process to add the design to the rest of the box lid


Here it is...all done. It's pretty decent if you don't zoom in to see the details. I mean, it looks very good from afar. *winks*


So now I actually have a "decorated" gift box that I did with watercolours and a white gel pen. Except the recipient will probably be disappointed because they will not be getting any Jo Malone stuff (I'm keeping those for myself! Hahaha!).

Hope you are having a great week so far friends!


Share/Bookmark

Pin It

Tuesday

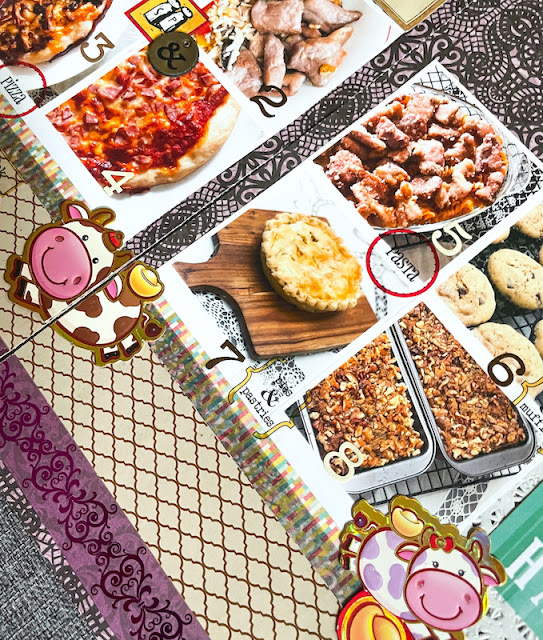
A double page spread on what I cooked last week


So I've decided that I might attempt a weekly spread on the food I make at home since the pandemic has lingered on longer than expected and making food is possibly the most exciting thing in my life now. *LOL*


It is my way of being creative every day by seeing what I have in the fridge and pantry and just putting things together. Last year I was getting into the swing of cooking by guide of recipes. This year I'm just winging it and going by flavour combinations that I love. I mean, all that fine dining I enjoyed (pre-COVID) has to pay off somehow right? *winks*


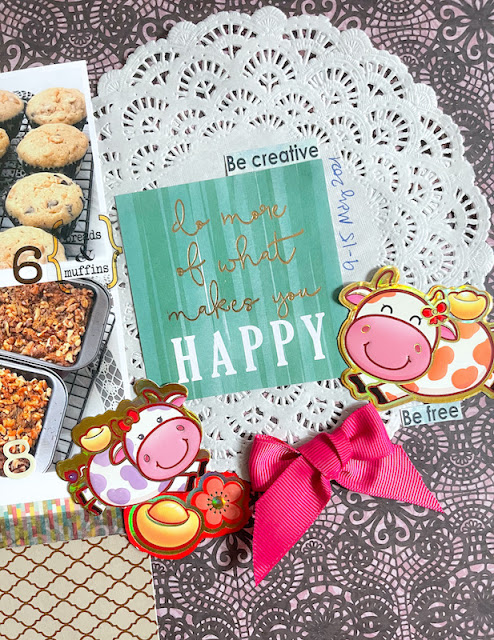
Plus I just wanted to use up more of my CNY ox decorations...check out those cute little ones! :)

I tied the two pages together by repeating elements on each page - the doily, the patterned papers and washi tape.


Awww..these cuties just make me smile! :)


Playing along with Stick It Down


Share/Bookmark

Pin It
>
Related Posts Plugin for WordPress, Blogger...

LinkWithin

Pin It