Friday

Friday's Eco Tip: Plastic container planters


As much as I try to minimize buying items in plastic packaging, sometimes I do end up with plastic packaging. Like these plastic containers I have from Soap & Glory body scrubs. You can most definitely use them to store stuff...but you can also make them planters for new plants.


First, clean up your container...


And poke some holes for drainage.


The cover works nicely as a plant dish.


Pot your choice of plant...


And put it in a cute container.


Here's another one of my plastic container planters, sitting pretty in an upcycled tea tin.

These make great gifts when you visit a friend or relative at their homes. :)

Happy weekend friends!


Share/Bookmark

Pin It

Thursday

Has it been a month? My progress on #the100dayproject


Apparently it has been a month since my last update on #the100dayproject.

I don't want to lie. There were some days when I got inspired and did a few sketches at a go while there were blah days when I just didn't work on any eye sketches at all.

You might want to grab a drink or a snack because this is a long one. 28 eye sketches. *winks*

This was 29/100.


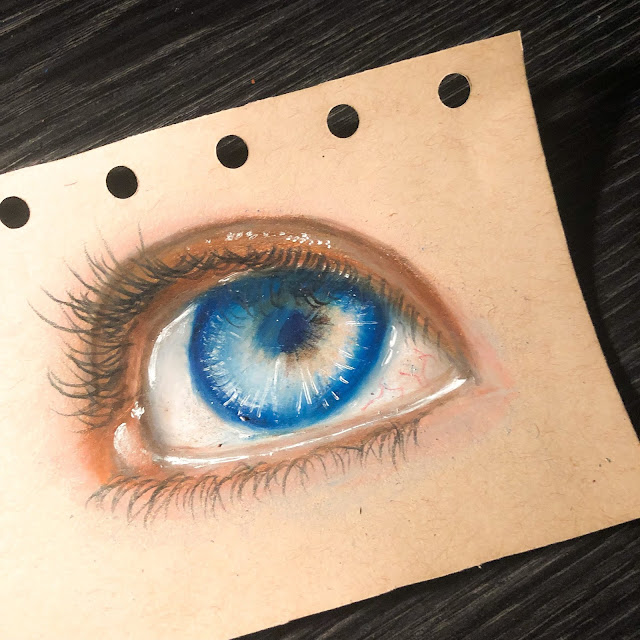
30/100. The one where I went a little crazy with the blues. ;)


31/100. I was at home when I did this so I went with a little wet media for the background.


I decided to play with my Derwent Graphitint pencils for 32/100.


Went a little overboard with the purple on 33/100.


A sleepy eye for 34/100.


This one took a while because of the angle. 35/100.


I challenged myself to work with some different supplies that I brought with me on my trip for 36/100.


Clearly in a blue eye phase...37/100.


A muted eye for 38/100.


Inspired by my eye makeup for 39/100.


Crazy blue eye for 40/100.


Played with purples and pinks for 41/100.


Clearly channeling my nail colour for 42/100.


A grey eye for 43/100.


Played with browns and oranges for 44/100.


Back to purple for 45/100.


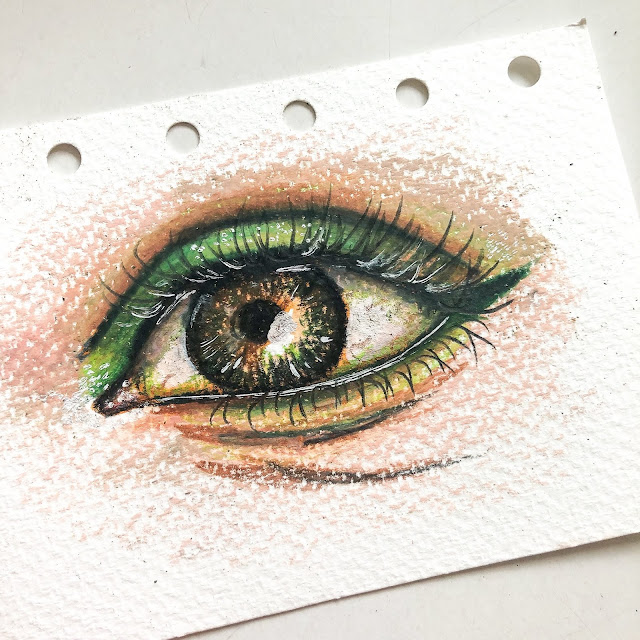
I went with green for 46/100.


Tried to do t47/100 with watercolour pens but had to save it with coloured pencils. 


A monochromatic eye for 48/100.


I took a couple of days off before working on 49/100.


Fun with highlights for 50/100.


Tried to make 51/100 a little more 3D.


52/100. Trying a different angle.


A tired eye for 53/100.


Used my leftover paint from a canvas project on the background for 54/100.

There you have it. 28 eye sketches. More than halfway there. I think I might actually complete this project. ;)


Share/Bookmark

Pin It

Wednesday

Workspace Wednesday: May 2019 edition


Hello friends! Just sharing a photo of my workspace taken this morning. Disclaimer:  It is a "staged" photo with the desk cleared up a little (okay, a lot!) so that you can actually see the existence of a desk. Otherwise it would be a photo with piles of stuff. *LOL*

I'm currently working on getting the background of a mixed media canvas done. It will probably a portrait of a family member seeing that I'm a little burnt out from all the eye sketches in #the100dayproject.

I've made some minor adjustments to my workspace to accommodate some real plants which help to purify the air.

What are you working on right now?


Share/Bookmark

Pin It

Tuesday

Paper scraps on a paper bag


What do you do when you have a paper bag already covered with a busy patterned paper?


Well, you add more patterned papers of course! *winks*


Especially since the black and white patterned paper is really a neutral in disguise. *LOL*


I had so much fun collaging my paper scraps on this paper bag. Notice that I did not add any dimensional embellishments but kept it really really flat? That was really really hard for me. I was really tempted to add a button or bling or something.  But I didn't. *high fives all around*

Hope you are having a great Tuesday friends!


Share/Bookmark

Pin It

Monday

Make Stuff Monday: A quick upcycled box (a tutorial)


So it was inevitable that I would uncover some undecorated boxes in my stash while decluttering. And needless to say, the urge to decorate them immediately were real. *LOL*


I started with this lovely Kikki K box which was light pink in colour with a light grey pull-out slot.


I had not done anything sweet or girly recently so I decided to go that route. I went with a pretty pink, green, cream and white striped papers which I cut to size and ran through my trusty Xyron Creative Station for an even layer of adhesive.


Now the box looks pretty decent. You could just put your gift in it and tie a pretty bow, add a tag and be done of course. But you know me, I'm a little extra.


I rummaged through my paper scraps to find some possibly coordinating pieces to create a collage mat for my embellishments. Once they were glued down, I added some dimensional elements in similar hues for interest and texture.


In case you were wondering about that obscure corner tab at the top left....there was a pesky glue mark there that needed covering up. But if you were not wondering, that is totally a design element so that the box looks special. *winks*


I think it turned out quite sweet, eh?

What do you think?


Share/Bookmark

Pin It
>
Related Posts Plugin for WordPress, Blogger...

LinkWithin

Pin It