

Hello friends! Ever drooled over pretty embellishment clusters on gorgeous creative projects and wondered how they were done? Me too! *LOL*
Now I can't tell you how those gorgeous projects you are thinking of are created. I can only share my version of creating a pretty embellishment cluster. So if you like my style...read on! :)
 |
| My CHA 2017 mixed media canvas for Maya Road |
1. Go bolder with your embellishments so they really pop off the background.
Stick with the same colour story but go with bold colours with your embellishments so that they really stand out on your creative piece.
 |
| Wood pallet for Maya Road CHA 2017 |
2. Stick to a limited colour palette and play with a mix of textures.
I recommend picking 3 colours and then playing them up with different hues and tones of embellishments in a variety of textures to really create interest.
I recommend picking 3 colours and then playing them up with different hues and tones of embellishments in a variety of textures to really create interest.
 |
| Vintage-inspired birthday tag |
3. Work with a neutral/pastel colour palette.
This may be the easiest way to get started with creating a pretty embellishment cluster because it narrows down your choices and you can focus on mixing the textures to create the effect you want.
This may be the easiest way to get started with creating a pretty embellishment cluster because it narrows down your choices and you can focus on mixing the textures to create the effect you want.
 |
| The last decorated box of 2017 |
4. Match the embellishments to the background paper.
Another way to ensure colour harmony is to match your embellishments to your background paper.
 |
| Baby girl gift box tutorial |
5. Repeat shapes and elements for a cohesive look and feel.
When choosing your embellishments, bear in mind that repeated shapes and elements work together to create a cohesive look and feel. On this project, I went with circular "frames" and round bling.
 |
| A shabby chic magnet |
6. Start with a focal point/key embellishment and build around it.
If you are observant, you will notice that I like to have ONE large embellishment (usually a bloom) as my focal point, then pull other smaller elements in to match that key element.
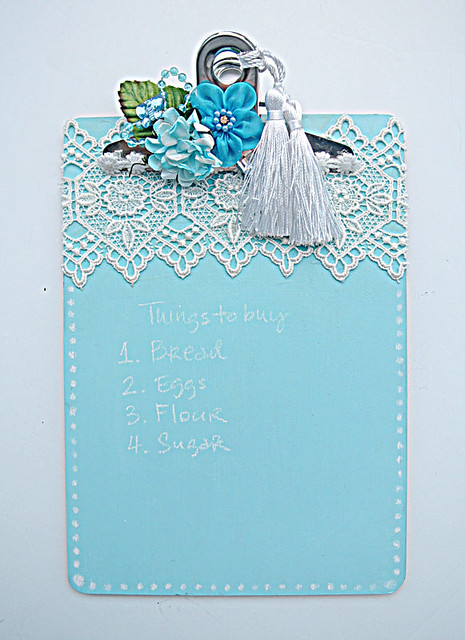 |
| A pretty clipboard cum chalkboard |
7. Let your embellishments pop off the substrate.
If it's possible, let some of your elements pop off/hang off the base to create even more interest in your creative piece.

8. Add glitter or shimmer bits to your project.
Here I did go overboard with those gold mica flakes *LOL* but glittery shiny bits always make an embellishment cluster look prettier.
There you have it....8 tips on how to create a pretty embellishment cluster. Which one is your fave?

6 comments:
They are all so stunning!! So hard to pick a fave, but I do love glitter/shimmer!! Have a great day!! Big hugs :)
Lisa
A Mermaid's Crafts
You are the master!!!!! I always love how you cluster flowers together and they come out perfect!
awesomeness !! love the way you put all the elements together ! just the right way doing more with less !
cheers
The baby girl one is my favorite!
All different, all gorgeous!
Oops forgot to answer the question... the last one is my fave!
Post a Comment
Thanks for visiting my blog and taking time to leave a comment. I really appreciate it. Have an awesome day!:)
Cheers, Yvonne.