Tuesday

Artist collaboration mixed media canvas


Mixed-media-canvas-for-artists-collaboration

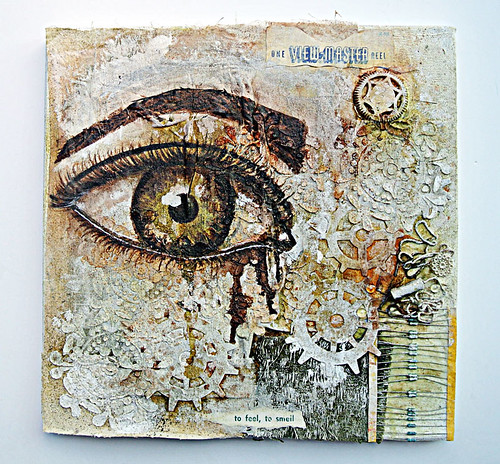
60 artists from all over the world played with the same set of found objects to produce some really cool art in huge artist collaboration called Starting From The Same Place, organized by the amazing Tina Walker. Here is my piece - a 12x12 mixed media canvas. :)


The instructions were to use a little of each supply item that was sent and of course, add on whatever items we wanted to make the piece our own. As a challenge to myself, I did not add any of my own embellishments to the mix. [Yay...go me! *winks*]


I chose to use every single item I was given by collaging everything to a 12x12 canvas...tearing and breaking up bits to create texture on my canvas. We were given a Stencil Girl stencil to use so I applied some Golden fiber paste with it to help unify the piece. Then I went over the collaged canvas with some clear gesso to maintain the original colours of the items.


I used some ink sprays in the hues of the original items and highlighted the raised areas with white gesso. I repeated the process until I got the effect that I wanted.


Of course, since I'm currently obsessed with drawing the eye, I had to paint one with inks. :) It was a little challenging paint on bumpy areas but the folds of the fabric that I painted on kind of helped create a little dimensional effect.


The end piece really combines my love of found objects with my current foray into drawing and painting. :)


The centre of the graphic shows the supplies we were given. Big thanks to sponsors Stencil Girl, Beacons Adhesives and Amazing Casting Products. If you have time, take a look at all the different interpretations of the same supplies by different artists [links below].


Share/Bookmark

Pin It

Monday

A shabby chic magnet


Shabby-chic-magnet

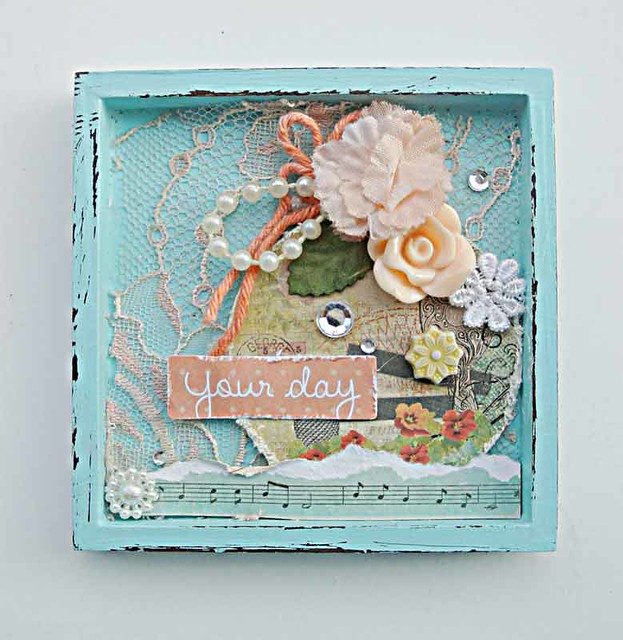
While rummaging through my "save it for a rainy day" box, I found this small wooden tray (3x3 inches) that was packaging for some wood scrabble tiles from Daiso. So I thought it would be fun to make it into a shabby chic magnet. 


It was brown in colour so I painted it with some blue chalkboard paint, then sanded it to make it look a little old and weathered. Then I dug into my scrap pile to create this sweet collage of random stuff....lace from an old bra, string from a clothing tag etc. *winks*


After that I adhered a sticker magnet to the back and I got myself a shabby chic magnet. :)

Happy week ahead friends! 


Share/Bookmark

Pin It

Friday

Why you need a variety of art supplies for mixed media...*winks*


Mixed media girl in art journal

When it comes to mixed media, using a variety of art supplies may aid you in completing your artwork more quickly. Or in my case, help avert a disaster...*winks*

Mixed media girl in art journal

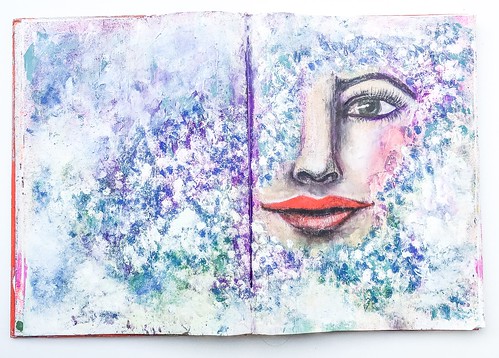
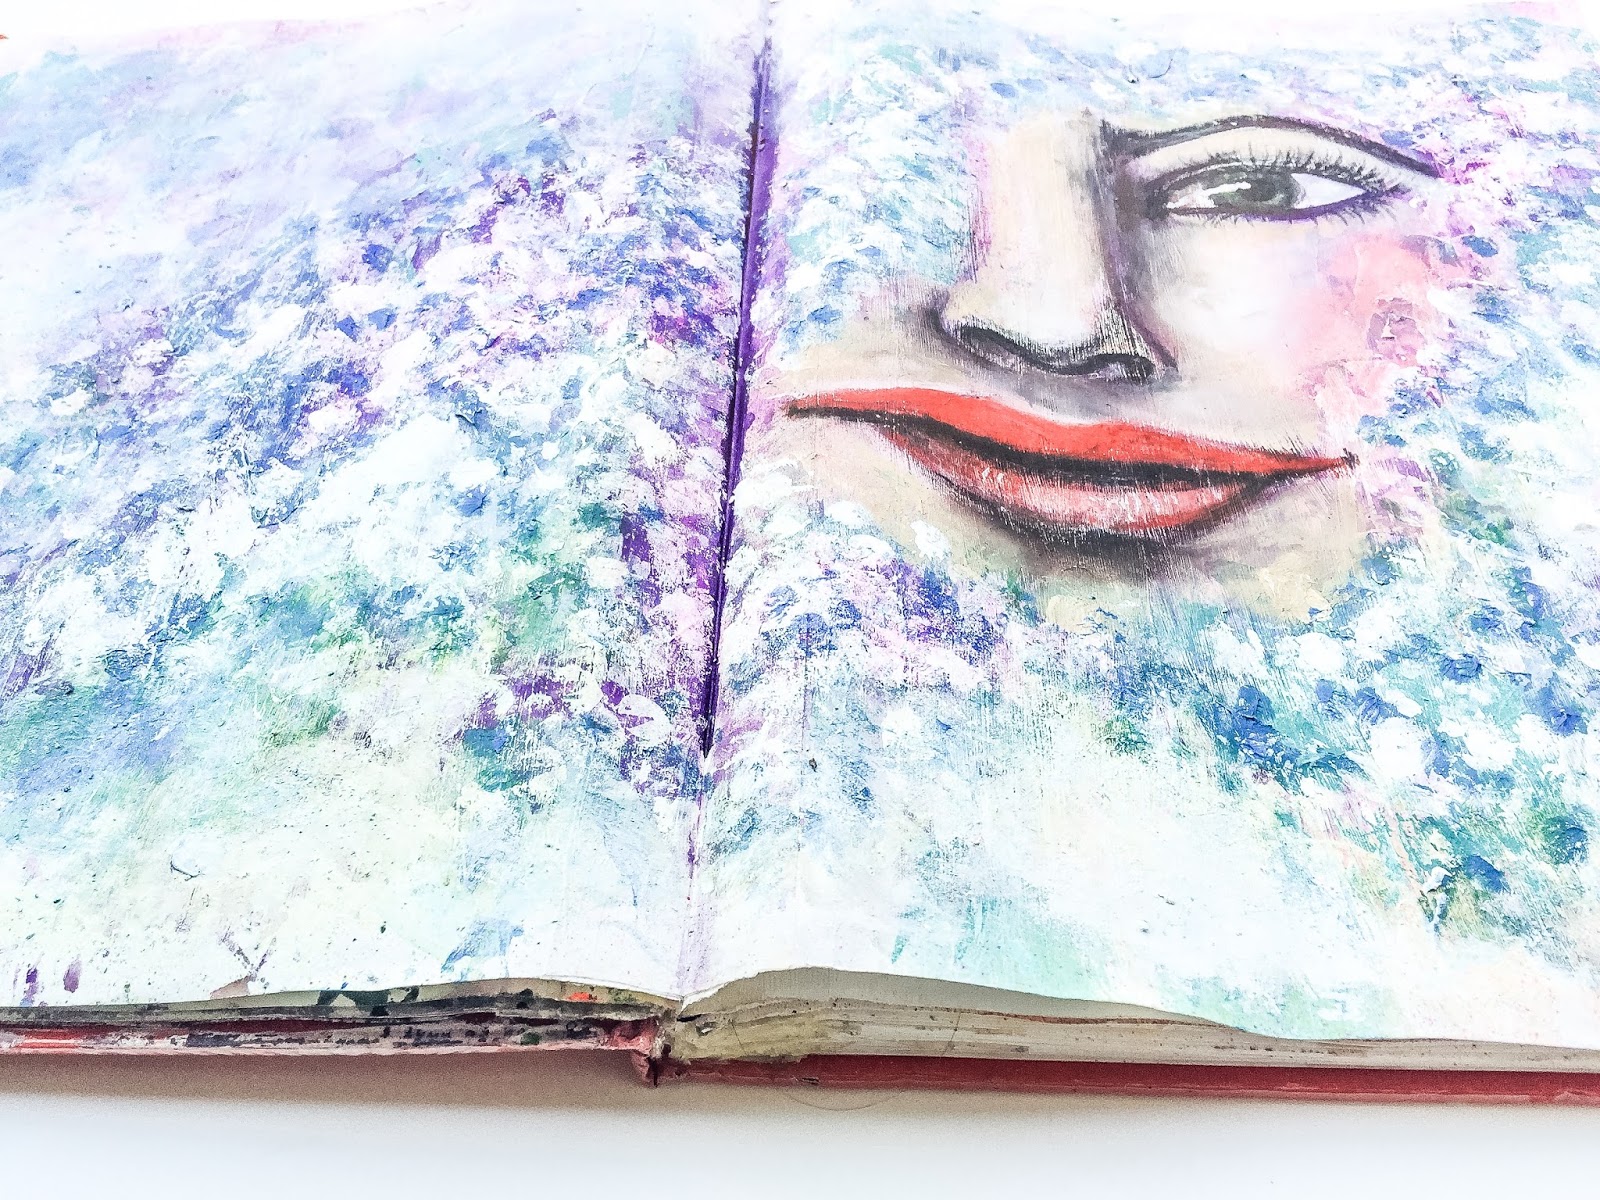
I started with a gessoed background in my altered book art journal [See the paintbrush lines? Use a sponge to apply your gesso for a smoother finish.] I drew an eye with an Inktense pencil, then used a waterbrush to activate the colour. After that, I decided to draw a nose and mouth to complete the face. The white Posca paint pen was used for highlights.

Mixed media girl in art journal

So, just a few days ago, I wanted to have a little creative time before bed. I decided against drawing the other eye in because I know the symmetry would drive me crazy [Usually, if I'm drawing a face, I work on both eyes concurrently] so I went in with some new Liquitex inks and Dylusions ink sprays. And then I used a leaf stencil with gesso over it. I was pretty happy with it at this point so off to bed I went.

Mixed media girl in art journal

But when I got up the next morning, the white stencilled and gessoed portion had all turned purplish pink - the Dylusions ink sprays had bled through all the white. So last night, I did a little "repair" work with Daler Rowney heavy body paints. The face was also freshened up with Sennelier Oil Pastels and coloured pencils.


I kind of like the dreamy effect even though on hindsight, drawing in the other eye would probably take less time *LOL*.  


Share/Bookmark

Pin It

Tuesday

Drawing practice


Drawing-practice

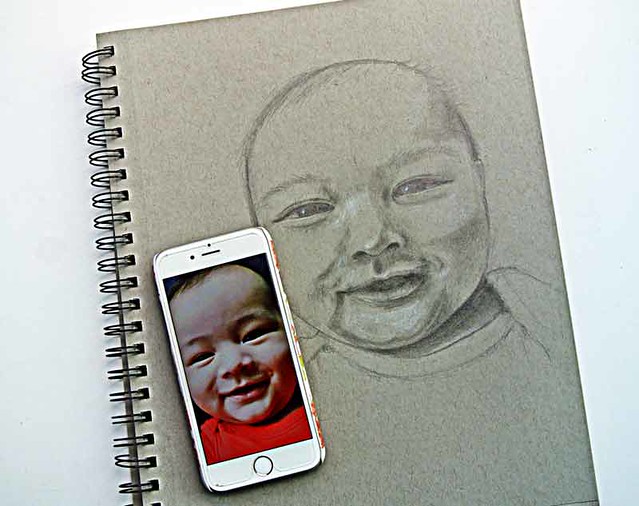
So my cousin's husband has been flooding his social media feed with pictures of this little cutie. How adorable is this little boy, right? Well, his auntie [aka me] decided to attempt to do a pencil drawing of him. I say attempt because I know it doesn't really look like him...*LOL*


My mum was like..."Why did you make the 5 month old kid look like an old man?"

Haha...oh well, I guess it's back to more drawing practice. :)

Share/Bookmark

Pin It

Monday

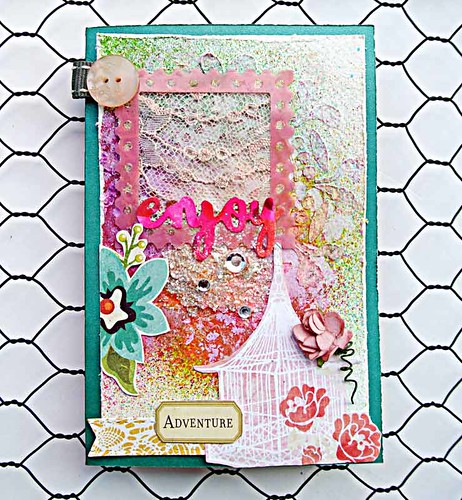
Another "let's throw stuff on it" card....*winks*


Enjoy-mixed-media-card

Well, friends who are tackling the scrap pile, you know the struggle is real.
Every time you use something from the scrap pile, there is a small voice inside of you that says, "Yes!" but then there's that other much much louder voice that mocks at you, "That has not made a dent in your scrap pile! Haha!"


Which of course gets you to head back to your scrap pile [because that devil's advocate preys on your insecurities...so evil right?] and fish for something else to throw on your already done card....*winks*


And also serves as my lame excuse for this "let's throw stuff on it" card. *LOL*


I started with a Stencil Girl stencil + fiber paste on watercolour paper. Next, I went in with some Dylusions spray inks. After that, I went into my scrap pile to find something that would match my colour palette. I found the fussy-cut bird cage, then the frame. And of course, I wanted to use the lace from an old bra for a little peekaboo effect. Then, I decided it needed some sparkle, so I thought I should add some bling...but of course, the bling had to sit on something pretty so I added mica flakes. Then a paper bloom.....et cetera and 45 minutes, I had my "let's throw stuff on it" card done! :)

P/s: Happy week ahead friends!


Share/Bookmark

Pin It

Friday

A card for the Fall Coffee Lovers Blog Hop


A-card-for-the-Fall-Coffee-Lovers-Blog-Hop

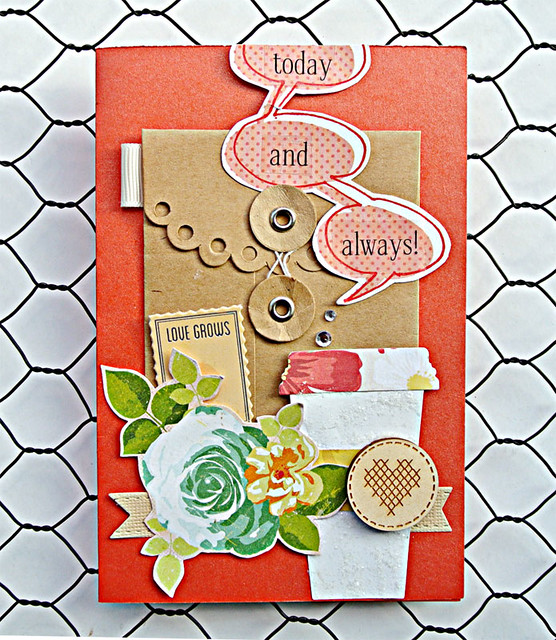
I decided to whip up a quick card today to play along with the Fall Coffee Lovers Blog Hop. Any excuse to use my new coffee inspired dies from Maya Road. *winks*


Yes, the disparate elements are all from my scrap pile...[which is slowly dwindling... I may be in denial...haha]


Happy weekend friends! :)


Share/Bookmark

Pin It

Thursday

Learning with grandpa


Learning-with-grandpa

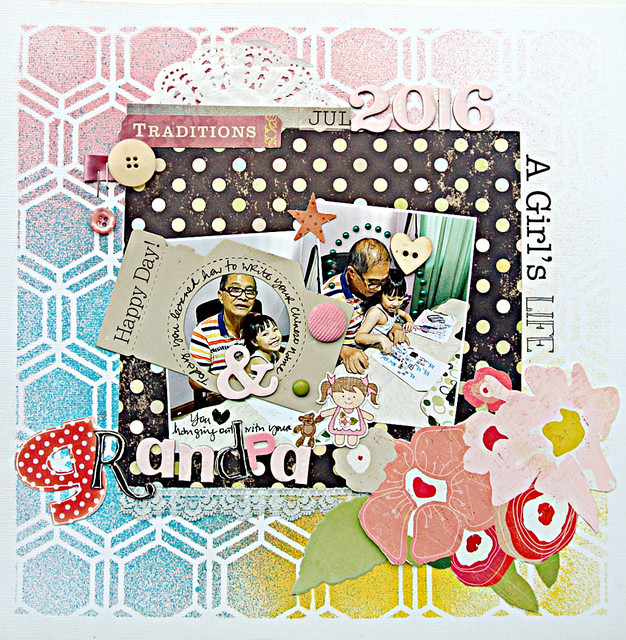
My niece S really loves spending time with her grandpa. She would happily sit on his lap for hours. :)


I caught her learning to write her Chinese name with grandpa the other day....


Such a sweet moment. :)


I pretty much glued down my matted photos and started adding little bits from my scrap pile...like the fussy cut flowers and the cute girl with her teddy bear. And then adding texture with the lace and dimensional embellishments.


I also started to tackle my American Crafts thickers stash....I don't know about yours but mine have all fallen off their sticker sheets and are just a huge mess! You would probably see some interesting layout titles soon as I try to use them up. *LOL*


Playing along with The Studio Challenges.


Share/Bookmark

Pin It

Monday

Mr Can't Wait To Play...*winks*


Mr-Can't-wait-to-play

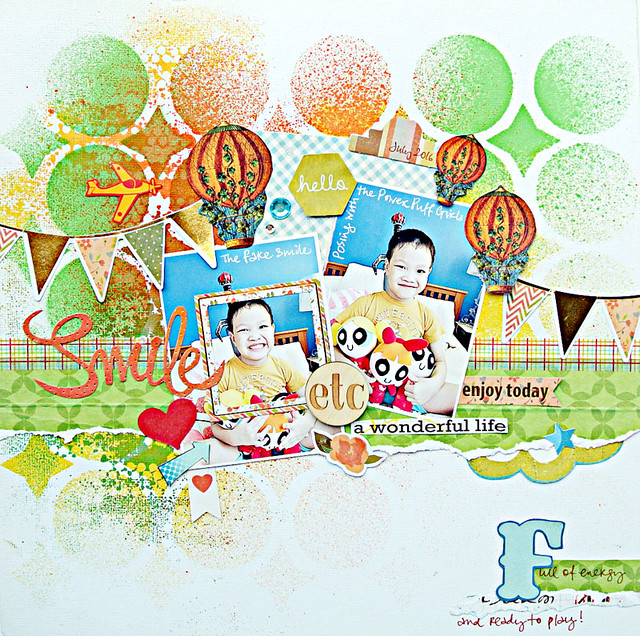
Nephew #3 is Mr Can't Wait To Play. Whenever he comes over, he would race through lunch to maximize his play time with his toys. :)


The sword [pictured] is one of his faves. Of course, his aunt [aka me] had to include The Power Puff Girls in the photo because they are cute! But check out that fake smile on J's face. *winks*


In contrast, he eats his dinner really slowly. He's the last one at the table because he thinks he has to go home after dinner so he tries to drag dinner out for as long as possible! *LOL*


Still working through the scrap pile...evidently. Not sure how the hot air balloons fit in but I just went with it because it's my mish mash style...haha!


Playing along with Stuck?! Sketches.


Share/Bookmark

Pin It

Thursday

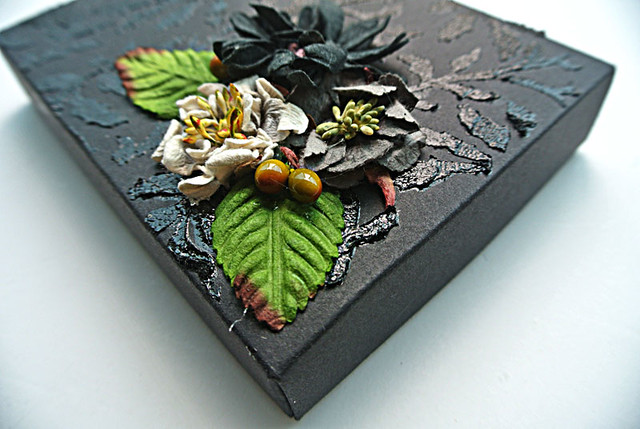
A super quick decorated box [minus the drying time...]*winks*


A-super-quick-decorated-box

You know how excited I get when I get hold of a nice sturdy packaging box that I can put my own spin on...


I started with this lovely black packaging box [In case you were curious, I bought myself a silk pillowcase...it's supposed to prevent wrinkles and lines on your face - I reckon I should start before I get any wrinkles, right? *winks*]....


I applied Liquitex black lava medium [which dries glossy] with The Crafter's Workshop stencil...and just waited for it to dry naturally [It's best to let your mediums dry naturally instead of using a heat gun. You never know how toxic the fumes can get.].


Once it was dry, I adhered the blooms and leaves with a hot glue gun. And there you have it: a super quick decorated box! It doesn't get easier than this! :)


Share/Bookmark

Pin It

Tuesday

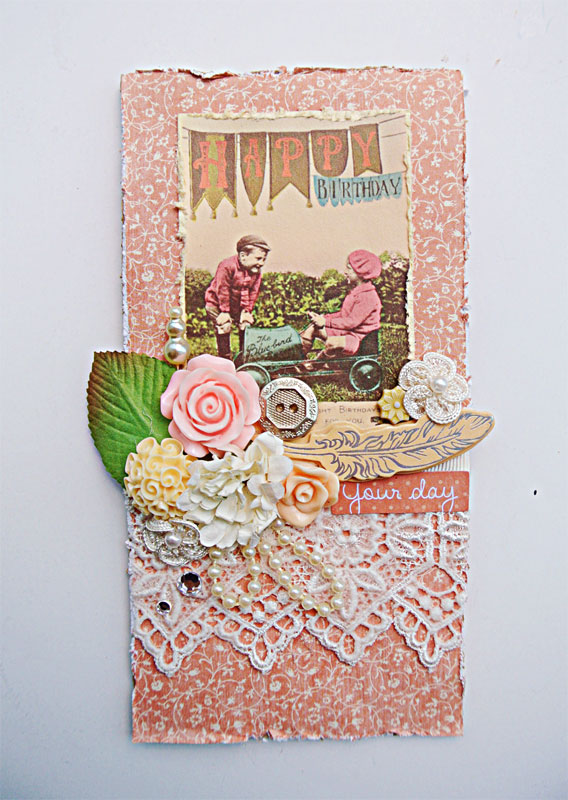
A vintage-inspired birthday tag


Vintage-inspired-birthday-tag

Yes, a box from Book Depository arrived last week...so I got working on a tag! Somehow cardboard boxes always get me in a tag-making mood. *winks*


It's one of those huge tags...because I love to pack on the embellishments on my tags. :)


It's got bits of everything I love. What do you think?


Share/Bookmark

Pin It
>
Related Posts Plugin for WordPress, Blogger...

LinkWithin

Pin It