Hello friends! Happy Valentine's Day! Today I'm sharing an easy DIY chicken wire frame. :)
I started off with this wood frame from Daiso. I wanted to put framed art in it but it came with a flimsy acetate instead of glass cover so I decided that I would "rework" it into a chicken wire frame instead. I painted it with two coats of chalkboard paint.
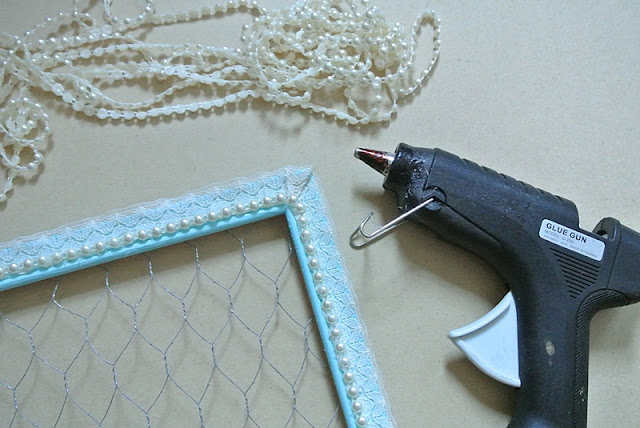
Next I cut the chicken wire to size and adhered it to the back of the frame. Since I don't own a stapler gun, I went with hot glue. After that I "covered" up the unsightly glue marks by gluing some blue ribbon to the back. (Not that anyone sees the back anyway...but you know, I'm extra, I would know!*winks*)
Next I decorated the frame with some vintage lace and pearl trim.
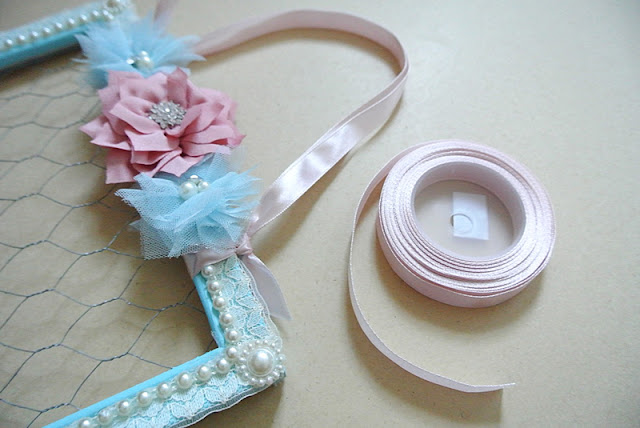
I finished by creating a ribbon "handle" and adding some floral embellishments.
I think it turned out quite pretty...should I make more??? *LOL*


5 comments:
Yes it looks pretty !
Ohhhhhhhhhhh I am IN LOVEEEEEEEEEEEEEEEEEE!!!!! This is FABULOUS!!!!!!!!!!
You should definitely make more!! This is spectacular!! Love, love it!! Happy Valentine's Day!! Big hugs :)
Lisa
A Mermaid's Crafts
It's GORGEOUS! Definitely make more!
That is adorable, Yvonne! Fabulous transformation and so pretty and useful, too. I love your soft pink and blue color palette, and the vintage trim always steals my heart. Absolutely adore the chicken wire. Such a perfect shabby chic look!
Post a Comment
Thanks for visiting my blog and taking time to leave a comment. I really appreciate it. Have an awesome day!:)
Cheers, Yvonne.