Wednesday

New additions to my art supply stash


Last week, I was in Australia for a couple of days and did a little art supply shopping. :)

I bought some Kaisercraft word dies, Holcroft artist paints and mediums, Atelier acrylic paints and Spectrum inks. I stuck to the Aussie brands because those are way cheaper in Australia...I got everything at a discount but still the damage was around US$150! *winks*

What about you? What's new in your art supply stash?


Share/Bookmark

Pin It

Tuesday

How to fit multiple photos on a 12x12 layout


You know this scrapbooking hobby of ours? Well, it produces a lot of layouts. Which take up a lot of physical space. Which is why I've pretty much given up on the single photo layout (unless it's the only way to tell my story or if it's a gift for a non-scrapbooker) and try to fit in as many photos as I possibly can on a layout.

Here are some examples of fitting multiple photos on a 12x12 layout. :)

Cute-stuff
Guess who loves bags and purses? *winks*

1. Print small photos and punch them out with a circle punch.

Well, you know me and capturing micro-expressions. I just love how my niece S showed so many different facial expressions that I just had to include them on a layout. It's a great way to include the cute outtakes..if you look carefully, she actually looks directly at the camera for just 1 out of the 9 shots.


Never-a-dull-moment
Never a dull moment when these two are around...*winks*
2. Create a "scene" with a collage of photos taken at the same site.

Put together of "action" photos to document a fun day at the playground. I created a "scene" by extending some of the elements in the photo to the background with the leaves, butterflies and cloud.


SRM-stickers-layout
How to create a fun mixed media layout using your birthday photos...a tutorial
3. Include all the consecutive shots in a photoshoot gone awry.

Well, it would be a day when pigs fly that we actually get a great family shot where everyone is actually looking at the camera simultaneously. In the meantime, I'll just have to settle for the outtakes. *winks* This is real life.


SRM-stickers-love-this-place-layout
The NT$19 store
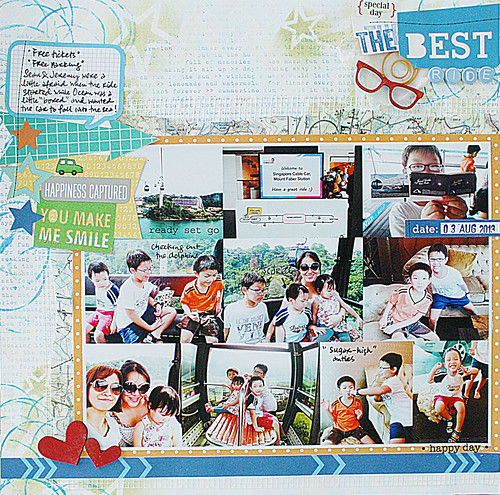
4. Mix up the photo sizes.

There is no need to showcase parts of photos that you don't like. Crop them to the details you want in a variety of sizes that you like and create a fun photo collage.

The-best-ride
The story about the cable car ride

5. Leave out the borders on your photos.

This is a great way to maximize the space on your layouts. I went with a photo mat on the entire collage of photos to pull everything together.


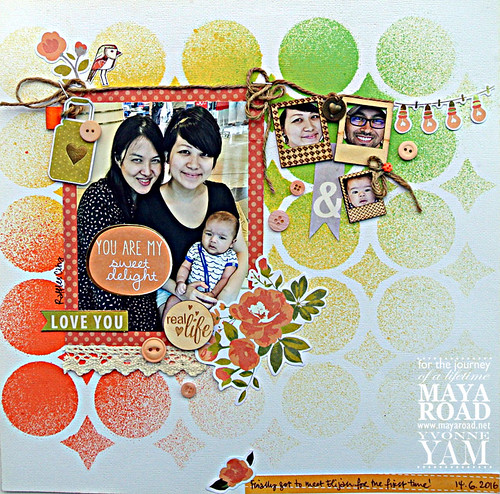
Layout-for-Maya-Road-by-Yvonne-Yam
An obsession with frames

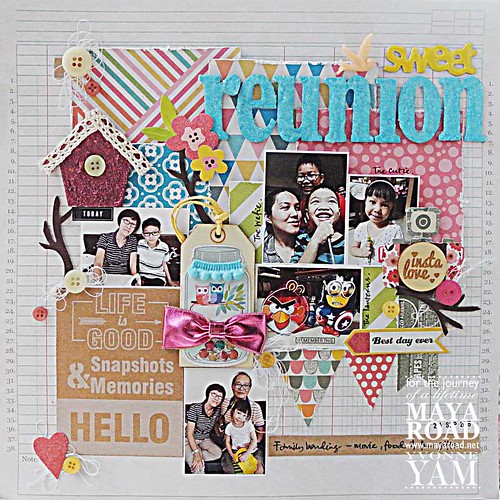
6. Try a photo banner.


Make your banner a tad more interesting by incorporating small photos - super fun!


Eat-layout
Looks can be deceiving
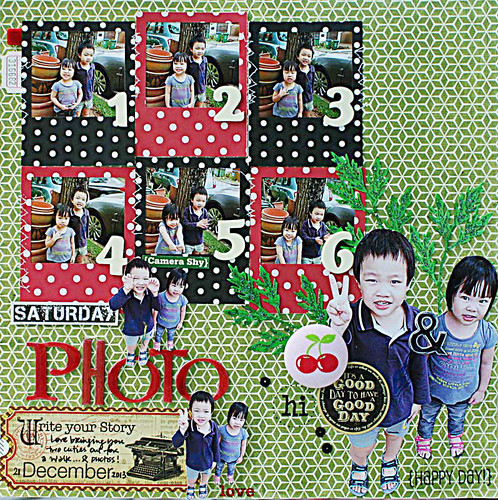
7. Number your photos to help guide the eye in a photo collage.

Here my photo collage is on a 5x7 photo print but showcases 6 mini photos. A great way to document the not-so-great photos. :)

Layout-by-Yvonne-Yam-for-Maya-Road-Ruby-Rock-It-Swap
A cute layout for Maya Road and Ruby Rock-it product swap

8. Try a calendar style layout.

Lay your elements and photos in a calendar style format for a cool and modern look and feel.


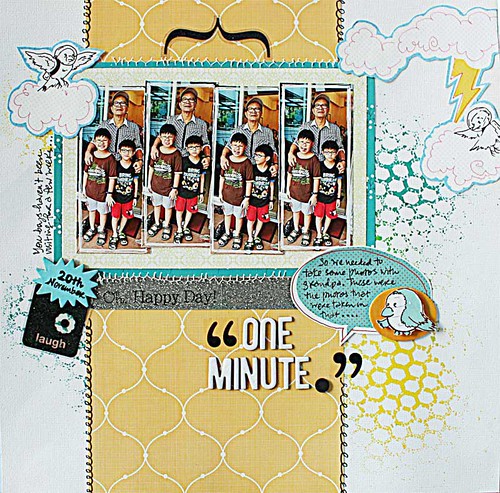
One-minute
One minute photos
9. Experiment with creative photo cropping.

Try long narrow photos and other shaped photos to maximize space on your layout.


Saturday-photo-love
Want to win a shopping spree at Top Dog Dies?

10.  Incorporate some cut-out silhouette photos.

I love to use silhouette photos like fussy-cut elements on my layouts - a fun way to include more photos and make the photos really pop!

There you have it - 10 ways to fit multiple photos on a 12 x12 layout. Which one is your fave?


Share/Bookmark

Pin It

Monday

Textured mixed media eye on canvas


Textured-mixed-media-eye-on-canvas

So my bloggy pal Mitra sent me this really cool plastic doiley which I glued on to a 12 x 12 canvas and started throwing paint on it...without a plan in mind. That's how I usually roll. *winks*


Of course, I had to throw an eye in somehow. *LOL*


It was definitely challenging to paint on a textured plasticky surface. I worked on the details with inks in water brushes.


And my paint pens!


I really like how it turned out. What do you think? :)


Share/Bookmark

Pin It

Thursday

Baby girl gift box (a tutorial)


So one of my cousins (who married a French dude) is having a baby girl....so I got her a few baby pressies (you know me, always to striving to be every kid's fave aunt...*winks*) that of course, had to be housed in a cute gift box too. :)


I started with a pink gift box from Kikki K that I covered with pink baby girl patterned paper (I knew I was hoarding this for a reason! Haha!). I measured the papers, cut them to size then ran them through my Xyron Creative Station for an even layer of adhesive. Next I went in with some Maya Road pearl trim along the edges of the box.


I really wanted to use this ornate Maya Road frame so I decided to make my own little embellishment using a birdie sticker (poor birdie had to be cut down to size to fit the frame) and Ranger Glossy Accents.


Next I added coloured threads to the mini spools.


Once I was happy with the embellishment cluster arrangement, I stuck them down with a hot glue gun.


It turned out quite sweet, eh? :)


Share/Bookmark

Pin It

Monday

The one about the photobomber...


The-one-about-the-photobomber

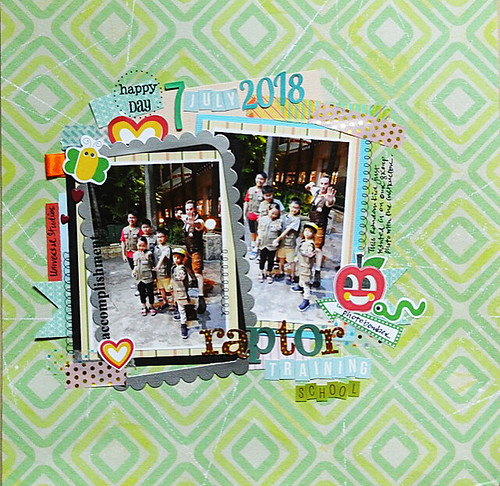
When we went to Universal Studios last month, the Gangster Gang (aka niece + nephews) went to Raptor Training School (you know, training a very fake dinosaur with a clicking device and hand movements......yes, nephew #1 was rolling his eyes at how lame it was! *LOL*)


Of course, they graduated with "flying colours" *winks* and I asked the training instructor to take a photo with them. 


This cute kid who also "graduated" from the class was quick to jump in front of the Gangster Gang the moment I whipped out my phone to take a photo! Hahahaha!

And the photobomber's stance is right on point!


Check out the second photo with the puzzled expressions on #2, #3 and #4's faces! Of course, #1 is still smiling sweetly at the camera (he was trained by the best...aka me!)


Playing along with Sketchabilities. 


Share/Bookmark
Pin It

Friday

What's new in my life (July/August 2018 edition)


Hello friends! I'm still fiddling around with the art supply placements in my creative space but I think I'm almost done. And since there appears to be some empty space...


I got me some new pens! *winks*

And since it can get lonely crafting by myself...I now have a Digital Assistant to tell me weird things I want to know but am too lazy to check on Google. *LOL*

I'm currently obsessed with this pair of shoes I got from Zara (when I was in Taipei last month). Yes, you can tell that I like drama in my shoes too! :)

Of course, since I love drawing and colouring eyes...I can't neglect the ones on my face right? Meet my new eye shadow palettes (aka art supplies for the eyes). :)

What about you? What's new in your life?

Happy weekend friends!:)


Share/Bookmark

Pin It

Thursday

Quick decorated kraft bags...a tutorial

Quick-decorated-kraft-glassine-bags

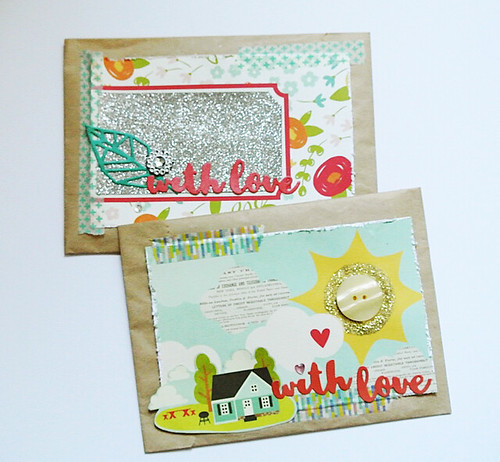
I am packing a gift box of scrappy goodies for a friend I'm meeting next week and decided that everything in the decorated box needs to be packaged in decorated kraft bags as well. You know, because I'm so extra. *winks*

Here's a quick tutorial on how I made these super quick decorated kraft bags.


I made the kraft bags reusable by sealing the opening with washi tape and also attaching the "decorated" portion with washi tape to the kraft bags so that the recipient can re-use the kraft bags as they are or add their own design to them


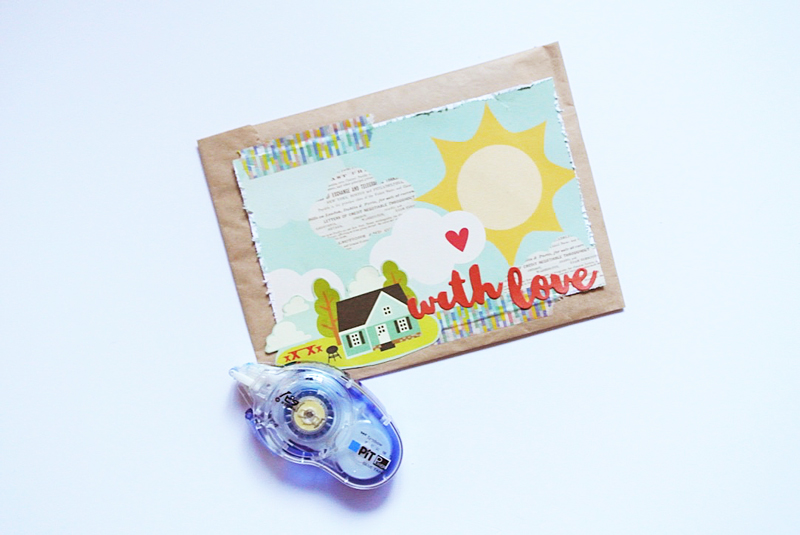
Pick a fun piece of patterned paper, cut to size and distress the edges to create a little texture.


Next, I attached the patterned paper piece to the kraft bag using washi tape. 


Then I added another piece of patterned paper and the die-cut "with love".


I finished this bag with a heart bling, a button and gold glitter.


For this second bag, I kept it even more simple but used the same "elements" to create a little cohesiveness between the decorated kraft bags.


As with the previous bag, I started with a piece of patterned paper that I distressed to create texture.


Next, I adhered to the kraft bag using washi tape.


This time, I skipped the glitter glue and went with glitter cardstock instead. I went with a leaf die-cut as an extension of the patterned paper design and used the "with love" die-cut sentiment to ensure cohesiveness between the two decorated kraft bags.


I finished by adding some bling.

There you have it....quick decorated kraft bags. :)


Share/Bookmark

Pin It
>
Related Posts Plugin for WordPress, Blogger...

LinkWithin

Pin It