Friday

The one about the stinky tofu and sweet desserts


So last March, I tried stinky tofu [aka fermented tofu]  for the first time when I was in Taiwan with my family. Now, I've heard a lot about the stench...described by many as a cross between burning garbage and body odour...which was very strong when it was being cooked...but didn't smell that bad when the dish was served up though.


It was actually quite good, crispy on the outside and soft on the inside. But I suppose it's not for the faint-hearted. As you know, I'm quite adventurous when it comes to food....*winks*


We did wash it all down with a couple of sweet desserts a couple of stores down the street. :)

Just a super quick layout for SRM Stickers. Happy weekend my friends!


Share/Bookmark

Pin It

Thursday

Birthday party layout with Xyron and Out on a Limb Scrapbooking


Birthday-birthday-layout-by-Yvonne-Yam-for-Xyron

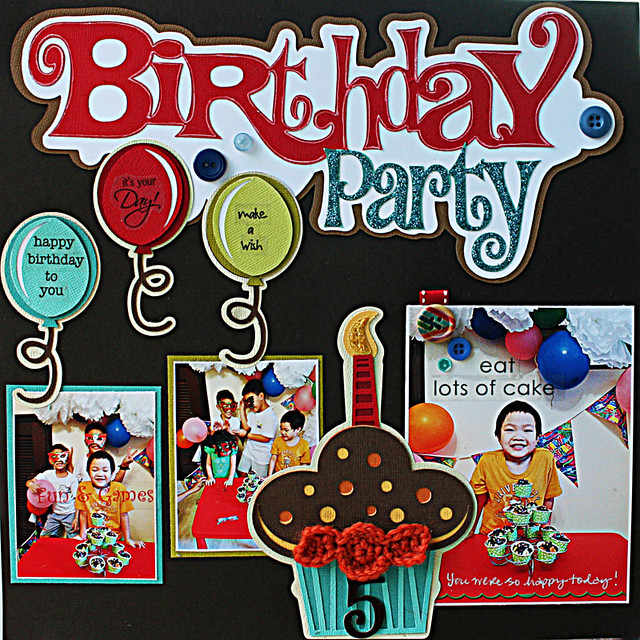
This month the team at Xyron got to play with some goodies from Out on a Limb Scrapbooking. I got the Birthday Party Page Kit which was perfect for nephew #3's birthday photos. :)

This is the first time I've played with a scrapbooking kit with pre-cut elements but what a time-saver! :)

1. I matted my smaller photos on the cardstock pieces using my Xyron Mega Runner.
2. I ran the birthday party diecuts through my Xyron 5" Creative Station.
3. I ran the cupcake diecuts through the Xyron Mini Sticker Maker, Xyron 3" Sticker Maker and Xyron 5" Creative Station.
4. I ran the balloon diecuts through the Xyron 3" Sticker Maker.

Then assemble the diecut pieces for the various elements. Aren't they cute?


Here's the layout with all the elements from the Out on a Limb Scrapbooking kit. Next step is to "personalize" it.:)


I added some stickles to the candle flame, a crochet sweet and a chipboard to the cupcake.


I added some SRM Stickers on the balloons.


I added some stickles on the word "party" and outline the word "birthday" with a white pen. I also added some buttons for texture and interest.


Don't forget to comment on the Xyron blog for your chance to win some goodies. :)


Share/Bookmark

Pin It

Tuesday

This week's five-minute card


Hugs-and-kisses-card

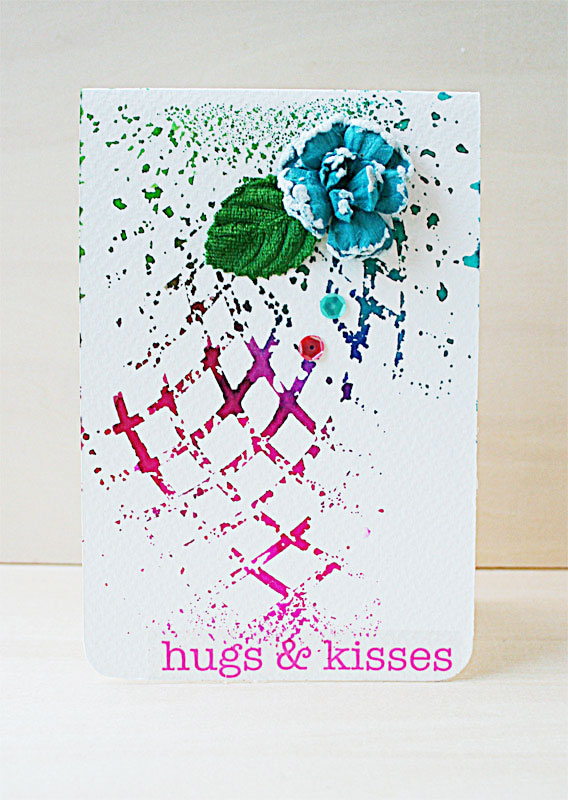
So I pressed a piece of water colour paper to absorb the residual mists left on the stencil [yesterday's Happy Kids layout] for this week's five-minute card.


Then I adhered a bloom, leaf and sequins. And an SRM Sticker sentiment.

All done in 5 minutes! :)
Playing along with CAS(E) this sketch.


Share/Bookmark

Pin It

Monday

Giving my mists some love...


Happy-kids

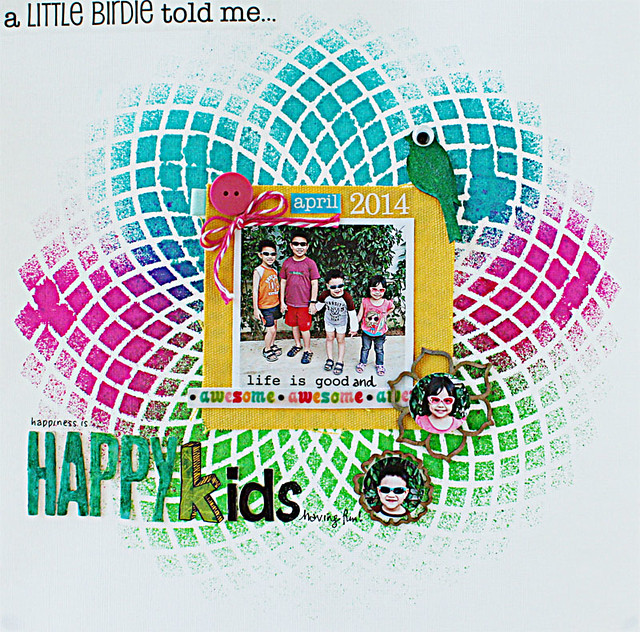
So I have been "out of love" with mists for the last few months, preferring to use colorants + water instead of spritzing directly from a coloured bottle of mist. But my bottles of mists were beckoning to me, "Give us some love, please???" [What? Your supplies don't talk to you? *LOL*]


Glad I finally gave them some love because I remember why I loved them in the first place - almost instantaneous dry time if you use them light-handedly. :)


I also painted my chipboard letters with the mist colours after applying some Arth Anthology stone effects paint. [Okay, I know you are looking at the letter 's'...I ran out and filled in with a black marker...*winks*]


The nephews and niece out on their April outdoor photoshoot.:) 
Playing along with Let's Get Sketchy

P/s: I'm really stoked to be on the first-ever design team at The Crafter's Workshop.:)


Share/Bookmark

Pin It

Friday

Oh baby bags for SRM Stickers


Do you know that SRM offers fun DIY kits for putting together quick gift packaging? I played with the DIY baby shower kit. :)


Since the glassine bags are pre-embossed, all I did was fold the flap, adhere the doiley and sticker Then add twine to complete the bag.


You could add your own embellishments to make your glassine bags even more special. But I used everything from the kit and got these two done in like 5 minutes.:)

Psst... SRM is currently having a design team call. They carry a huge range of stickers, doilies, vinyl, containers, twine and calendars. Go get your applications in! :)

P/s: Happy weekend friends!:)


Share/Bookmark

Pin It

Thursday

My little wooden house


Wooden-house-decor

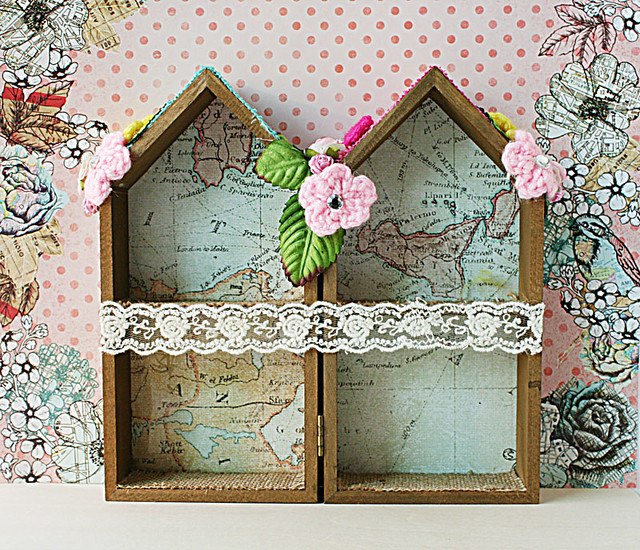
I love to look at little wooden houses in retail stores where they display cute little knick knacks [that I won't buy for myself but will squeal with delight when I get them as gifts...*winks*] so I was excited to find an "unadorned" one at Daiso. :)


The good folks at Xyron sent me a whole bunch of pretty coloured burlap from DCWV that was perfect for this project. I ran the 4 x 6 burlap pieces through the Xyron 5" Creative Station and cut them down to size to fit my wooden house. I also adhered the map patterned paper from DCWV to the back of the wood unit. :)


Them I added some crochet and paper blooms, a remnant piece of lace and some bling.


I kept the embellishments simple because I really wanted to maximize the storage space for each slot. Plus I was going to use 3M velcros to adhere the unit to the wall so it needed to be light too.


Here's how it looks with an Angry Pig thumbdrive. Cute, eh?

Playing along with the challenge at Let's Get Shabby.:)

*Edited* I was the challenge winner at Let's Get Shabby!


Share/Bookmark

Pin It

Tuesday

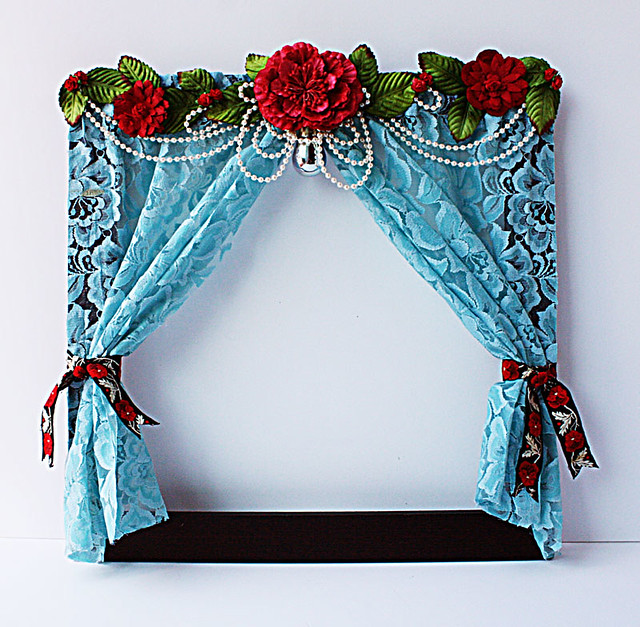
My "window" for LESSology


Window

So I had this old black frame for a long time...it really needed a facelift. *winks*


I went with some vintage lace, blooms and pearls.:) So happy to finally use the light bulb [from a car's headlight] from my "save-it-for a rainy-day" stash to create my "window".


I think it would look great on the wall displaying some photos and notes.


And not to be used as a plaything for nephew #3. *LOL* [Yes, he's not going anywhere near a real window!]

Hope you can join in the fun at LESSology Challenge #36: Window display. The prize this month is the RSVP pack from Basic Grey!


Share/Bookmark

Pin It

Monday

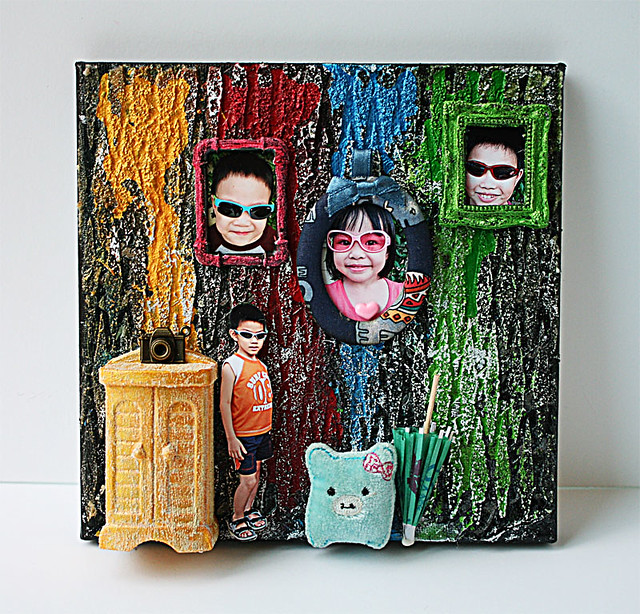
My "dark side"...on canvas


Room-scene-mixed-media-canvas

So my recent purchase of black gesso meant exploring my "dark side" on canvas too. *winks*


You can't tell but there are actually several layers there....it was one of those projects where I liked what I did, then woke up the next day hating it...It happens a lot...*LOL*


I started with the idea of having all the photos in frames. Then I had an unfortunate incident with nephew #2's photo and was too lazy to do a reprint...so I created a "room scene". With lots of stuff from my "save-it-for-a-rainy-day" stash...including a toy cabinet,a cocktail umbrella and the last scrunchie pig [insert super sad face].


Share/Bookmark

Pin It

Thursday

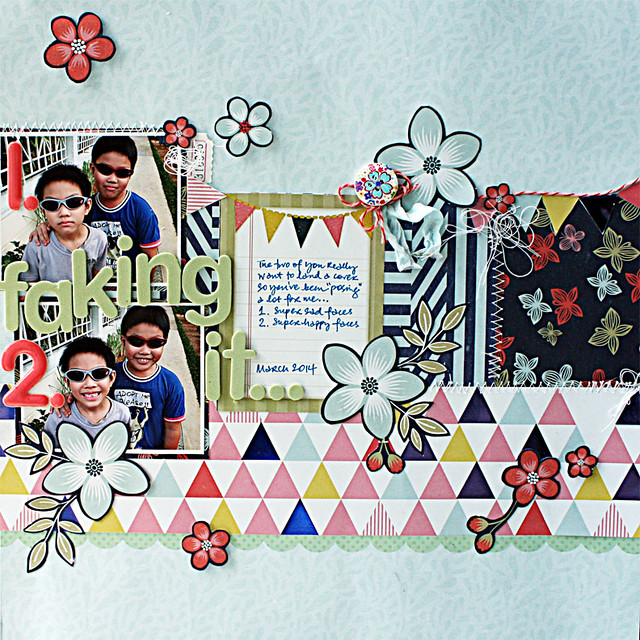
Totally faking it...*winks*


Faking-it


So the two older nephews have been really cooperating on the "let's take a great picture" front. *LOL* I told that them that I needed some "expression" photos for the blog and here they are..totally "faking it"! :)


Picture #1: sad faces
Picture #2: happy faces
How did they do? *winks*


This layout was based on May's Purple Pumpkin sketch by my pal Lizzy Hill.


You don't need any Purple Pumpkin products to play along so join in the fun for your chance to win a shopping spree! :)


Share/Bookmark

Pin It
>
Related Posts Plugin for WordPress, Blogger...

LinkWithin

Pin It