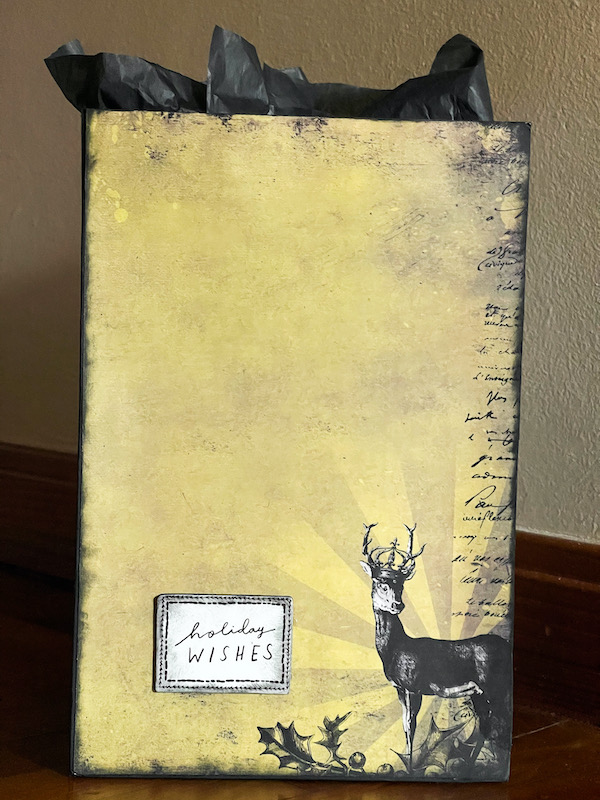
Showing posts sorted by relevance for query Tips on paper bag decorating. Sort by date Show all posts

Tuesday

Tips on paper bag decorating (Part 2)


Hello friends! Back in November I shared Tips on paper bag decorating (Part 1), here is Part 2! :)


1. Go for dry adhesive for adhering patterned paper to your paper bag.
Wet adhesive tends to wrinkle your patterned paper when you adhere it to the base paper bag. Especially if your patterned paper is thin.  I like to use my Xyron Creative Station for an even layer of adhesive or plain old double-sided tape. I might use some wet adhesive just at the edges for reinforcement.


2. Try making your paper bag into a single-handle one for added design interest.

All you have to do is cover up the original holes of the paper bag with patterned paper, then punch a hole in the front and back. Have a little fun with the width of the ribbon too! :)


3. Keep the elements flat when decorating a lightweight paper bag.

A typical brown paper bag is quite lightweight so keep your decorative elements flat and light so that you can maintain the integrity of the paper.bag.  Fussy-cutting patterned paper elements and piecing them to create a fun collage would be a viable approach. Here on this paper bag, all the elements are flat which also makes it super easy to store.


4. Extend the patterns on the paper bag with your decorative elements.

Sometimes we might get a printed paper bag that already has some patterns on it. Take advantage of the pretty patterns and add some dimensional elements to extend the design and make it look even better.


5.  Treat your paper bag like a (bigger) card.

I like to think of my paper bag like a card and just create fun collages on it...and add a sentiment or two. 


There you have it...tips on paper bag decorating (Part 2). There might be a Part 3. *winks*

Do you have any tips to share?


Share/Bookmark

Pin It

Thursday

Tips on paper bag decorating (Part 3)


Hello friends! It's been a while since I shared Tips on paper bag decorating Part 1 and Part 2. And here is Part 3!


1. Work with the existing design of the paper bag.

Especially when the paper bag is this cute to begin with. Just keep the base design and cover up the brand name with some simple elements.:)


2. Try a splattering of little elements across the bag.

Sometimes there isn't a need for a main focal point. Just place the elements in a way that would draw the eye across. On this bag, I added texture, interest and flow just by tearing the top of the patterned paper and putting small elements across it to guide the eye.


3. Repeat elements help to create a cohesive look.

Sometimes you tend to go overboard with the decorative elements (talking about me of course...*winks), but you can ensure a cohesive look and feel with repeated elements placed in a "triangle". I repeated the birds and butterflies on this bag. 


4. Keep it simple.

There isn't a need to use many elements to decorate a paper bag, especially a small one. Here I only decorated the bottom half of the paper bag, using the top half as my "white space" to give the design a little more "drama".


5. Use a graphic design to draw the eye.

Here the bold patterned paper helped to ground the elements and lead the eye to the focal point. By adding elements to "close" the triangle, the overall design feels more cohesive and complete.

There you have it. Tips on paper bag decorating (Part 3). 


Share/Bookmark

Pin It

Tips on paper bag decorating (Part 1)


I love decorating paper bags. The possibilities are endless. You can make it really clean and simple, or really elaborate and dramatic. Here are some tips to help you with your paper bag decorating. :)


1. Use sturdy paper bags with lots of "white" space.

Choose paper bags that have minimal brand/printing on them so that you have less "cove-up" to do. 


2. Switch out the bag handles for texture and interest.

Paper bags usually come with matching handles. You can coordinate your bag handles to contrast with your design for added texture and visual interest. 


3. Consider eliminating the bag handles completely.

You could have a decorated paper bag with no handles at all as part of the design.


4. Try a matching box and paper bag set.

You could create a coordinating box and paper set by repeating similar elements on both items. 


5. Make it bright and cheery.

The paper bag is the first thing the recipient sees. Why not try a fun and cutesy theme to put on a smile on the recipient's face? 


There you have it. Part 1 of my tips on paper bag decorating.  :)

Do you like to decorate paper bags?


Share/Bookmark

Pin It
>
Related Posts Plugin for WordPress, Blogger...

LinkWithin

Pin It