Friday

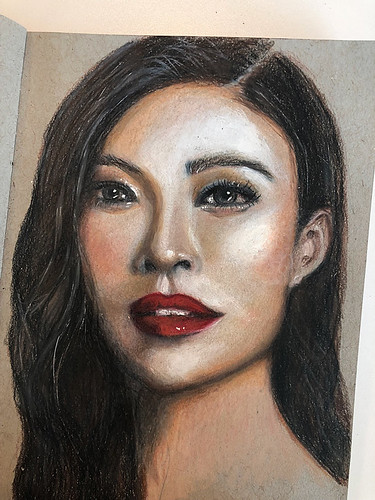
Just another girl from my sketchbook


Just-another-girl-from-my-sketchbook

Hello friends! Today's share is just another girl from my sketchbook...that I did on my trip to Hanoi last month. :)


I started by drawing a girl from a magazine on the plane. Yep, people flip those magazines to see what they can buy and I flip through to see which girl I can draw! *LOL*

Happy weekend friends!:)


Share/Bookmark

Pin It
Tuesday

9 ways to get your journaling done on your layout


If you have been reading my blog for a while, you would know that I never plan my layouts and just go "with the flow"... which works sometimes and other times, I'm left with the awkward situation of having no "place" to add my journaling. Fortunately, I'm resourceful (no humility here..hahaha) and have learnt to circumvent those situations. Here are some of my fave ways to get my journaling on a layout.

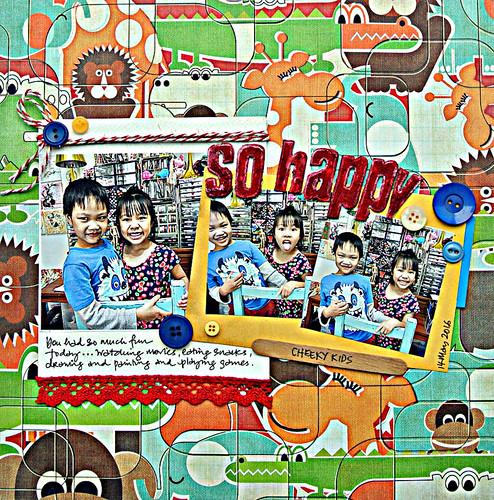
Cheeky-kids
Cheeky kids
1. Add a journaling block under your photo.

Sometimes the background is just too busy for visible journaling so add a journaling block under your photo. It looks like part of the photo mat but now you know that I slipped it in at the end for my journaling. (Shhh...don't tell on me.*winks*)


Not sure why I like to collect note cards (I have a gazillion!) but every now and then, I take one out to use for journaling on my layout. The size of the notecard does dictate how much journaling actually gets written but I like practising my summary writing skills when I journal so it's usually succinct. *winks*

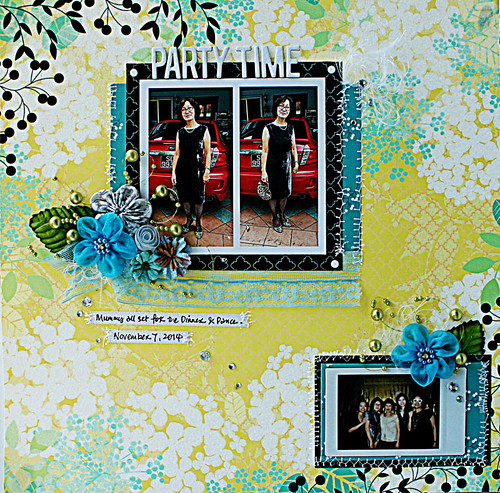
Party-time
The challenge to not get my hands "dirty"

3.. Write on strips of paper.

This is great option if your background paper is textured. Also a fabulous way to use up little strips of paper you have in your stash.

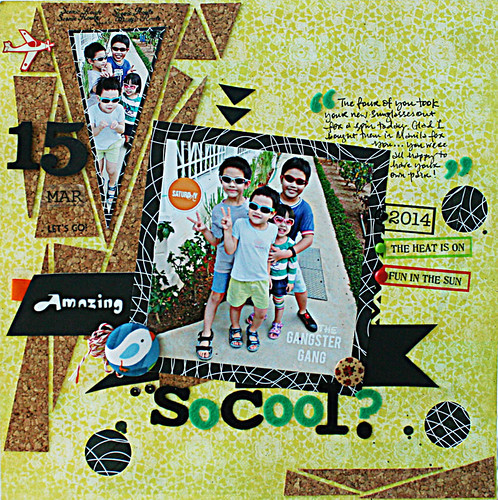
So-cool
The Gangster Gang in cool sunnies
4. Write directly on the layout.

I know most people fear "ruining" a layout with their journaling written directly on the layout...but just try it...you can always cover up with patterned paper if you think it looks terrible (I used to do that a lot). 


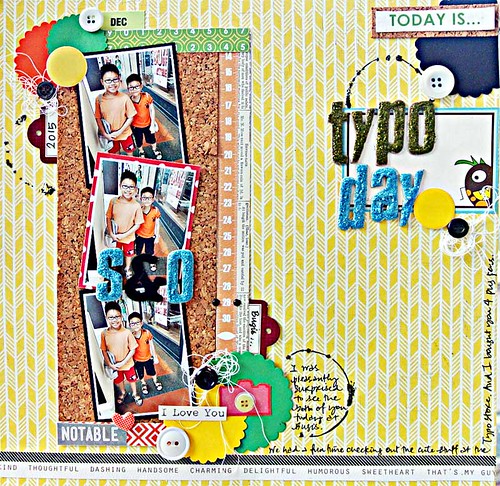
Typo-Day
Guess who I met at Typo?
5. Make it look like part of your cluster design.

This was me trying to be "clever" and making the journaling look like it's part of the whole layout design...did it work???


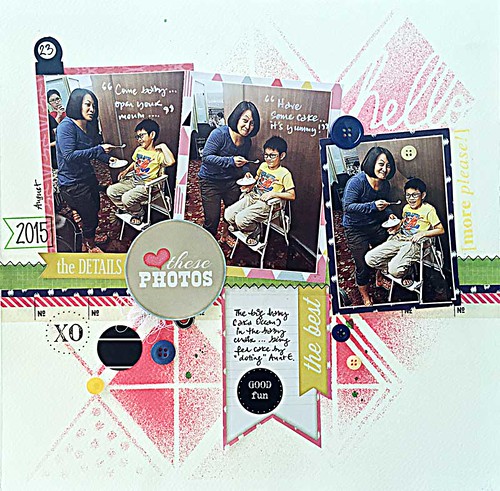
Feeding-the-big-baby
Feeding the big baby

6. Journal on a fish tail.

This is a great way to incorporate your journaling through a design element. The fact that the fish tail design element is repeated throughout the whole layout makes everything cohesive.

When-Murphy's-Law-came-into-play
When Murphy's Law came into play

7. Journal directly on the photos.

This can done by writing directly on the photos or even using stickers to help tell your story. If you don't already know. This is my fave way to journal. I use a white acrylic paint marker...it works way better than a white gel pen.


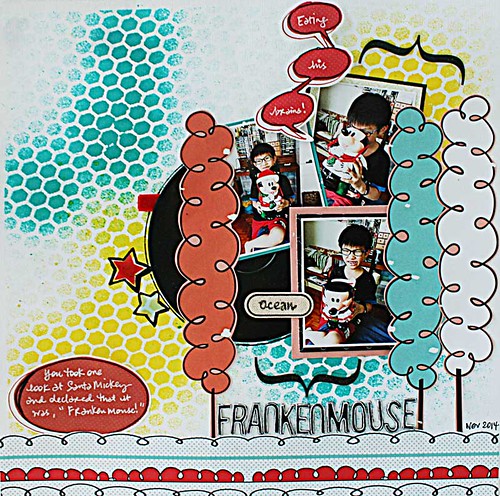
Frankenmouse
The one about Frankenmouse

8. Try some speech bubbles.

A fun way to ad journaling to your layout is through speech bubbles.

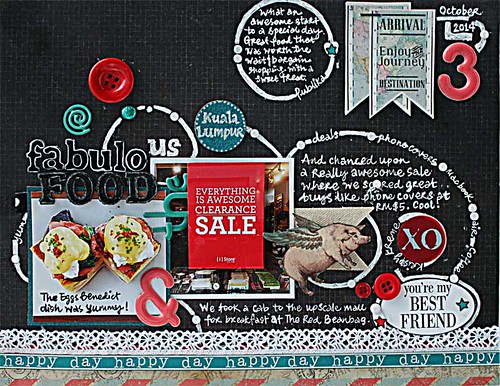
Awesome-day
An awesome day

9. Do it all over the layout.

This one combines #4, #5 and #7 on one layout...great if you have a lot to journal.


There you have it...9 ways to get your journaling done on your layout. Did you know prior to this that I always just try to "fit in my journaling" somewhere on my layout right at the end of creating my layout??? *LOL*


Share/Bookmark

Pin It
Monday

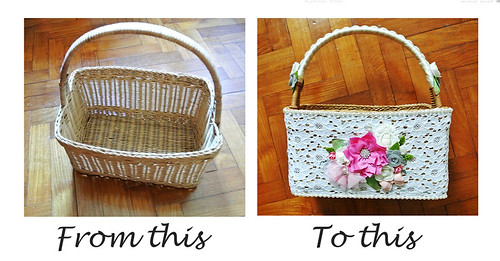
The basket makeover (a tutorial)


The-basket-makeover-by-Yvonne-Yam-for-Maya-Road4

So the other day I found this old basket in my stash that was beckoning to me, "Make me pretty!" And of course, since I always listen when inanimate objects speak to me, I just had to. *winks*


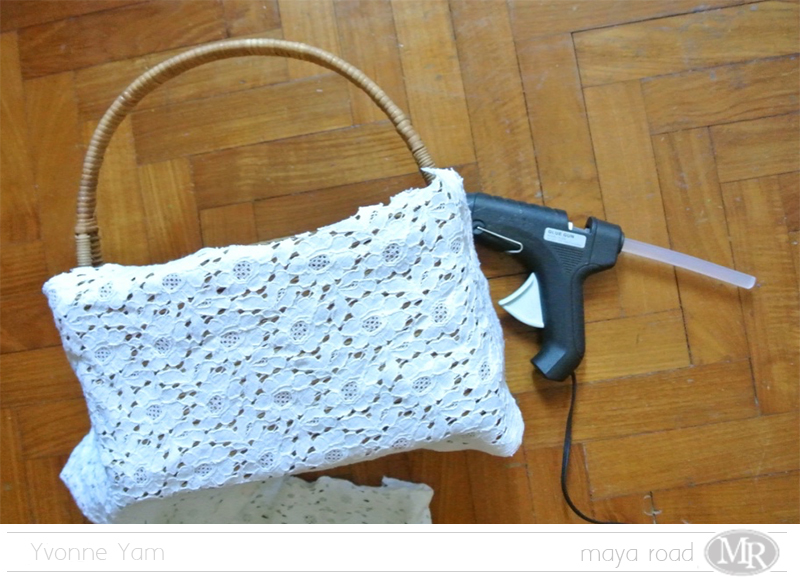
I kept my fingers crossed when I went rummaging through my fabric stash for this remnant lace fabric (that I used for One piece of fabric: 10 projects), hoping that it would be big enough to cover the basket. And it was! Yayness! :)

Next I added some Maya Road pearl trim to the edges of the basket.


I covered the handle of the basket with cream satin ribbon. And embellished with some pearl trim.


The ribbon I had wasn't quite long enough for the entire basket handle so I improvised by adding some Maya Road felt blooms at both ends of the handle. 


Then of course, I had to finish off with an embellishment cluster of all things pretty. :)


Here it is...photographed with 3 large pencil boxes and 2 planners so you can gauge its size. 

What do you think? Did I make it pretty? 


Share/Bookmark

Pin It
Wednesday

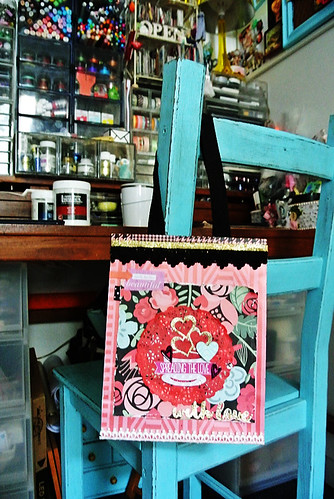
Repurposing happy mail packaging: a decorated paper bag! (part 2)


Repurposing-happy-mail-packaging-(part-2)

Last month, I shared how I repurposed happy mail packaging into 2 cards, here is part 2 of the same happy mail from Lizzy Hill: a decorated paper bag. 


I started with this fun sturdy paper bag from Kikki K which had black handles and b/w stationery pattern on the sides. I cut some patterned papers to size, ran them through my Xyron Creative Station for an even layer of adhesive (and saving a lot of time) before adhering to the front and back of the paper bag.


Then I added this floral patterned paper with red doiley and cup with hearts diecut collage layer from the happy mail. I did distress the edges to add a little bit more texture. I also took the heart stickers and chipboard heart from another part of the same happy mail packaging to add a little more interest with some dimensional pieces.

Of course, I had to be a little "extra"...so I added bling and Maya Road diecuts (the words "with love"). And I further "blinged up" the diecuts with Ranger Stickles. *winks*


For the top part of the bag, I used some b/w washi tape and trim from my own stash before adding the gold glittered tape (from the happy mail packaging).

It was a little challenging trying to repurpose someone else's design and incorporate my own style at the same time. But I love the idea of passing happiness on to another person this way (cumulative happiness?)

P/s: Apologies for the crappy photos. It's been hot and sunny when I'm out and just dark and gloomy when I'm at home. 

Share/Bookmark

Pin It
Monday

9 tag ideas


Hello friends! You know how I love to make tags whenever I have some cardboard laying around. *winks* Ever wonder what is the inspiration behind each tag? Read on to find out.


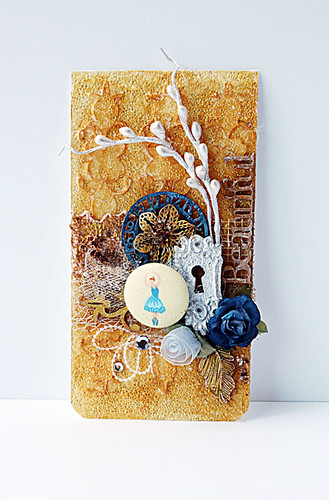
Beautiful-mixed-media-tag-for-Imaginarium-Designs
Mixed media tag for Imaginarium Designs
This is the heaviest and possibly the most blingtastic tag I ever made....because I went a little crazy and covered the whole background with texture paste, glass beads and shimmering paints.

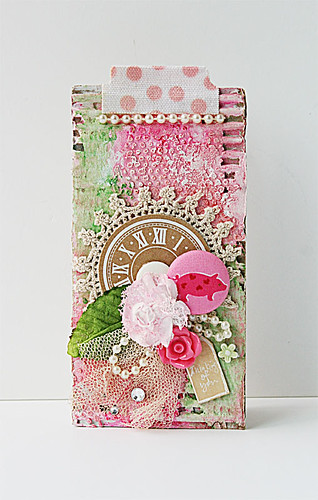
Mixed media card for The Crafter's Workshop

This was the one where I wanted to make a card but it ended up looking like a tag so it became a tag card. And it's all pink and girly because I really wanted to use the pig button! ;)

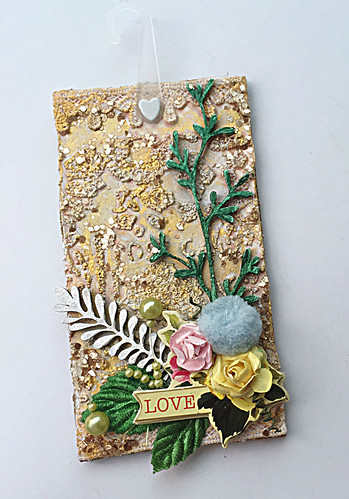
A-mixed-media-tag
Tips and tricks for altering stuff

Ahhh...this tag brings back memories of my gold-obsessed days. Don't get me wrong, I'm still in love with gold but I've run out of my Golden Gold Mica Flakes...hehe.

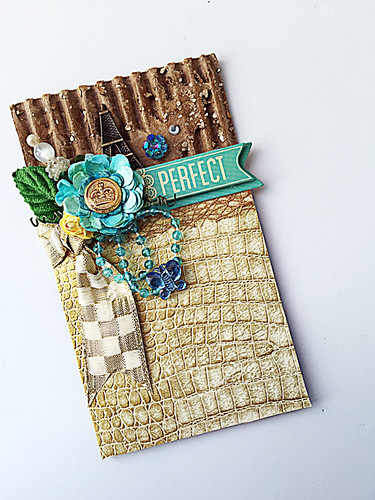
Perfect-mixed-media-card
I scored some textured fabric
Well, check out that incredible gold leather-like texture which I achieved using a piece of textured fabric!


A-super-quick-tag
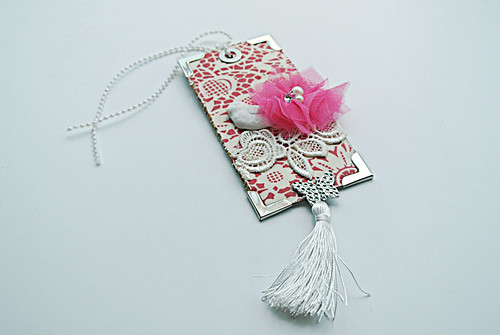
Super quick tag
This was when I was really into those book corners that I got at the textile centre.


Quick-projects-from-paper-scraps2
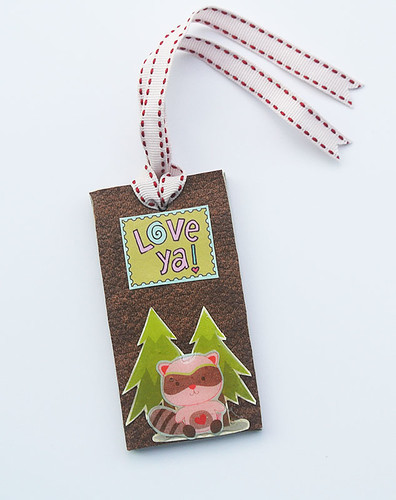
Quick projects from paper scraps
This little fella fell out of my scrap pile and said, "Use me!" and I did!

Christmas-tag-for-Maya-Road-by-Yvonne-Yam
When I went crazy with my Maya Road dies

Of course, this tag came about after an overzealous die-cutting session. ;)

Cardboard tag by Yvonne Yam for Maya Road
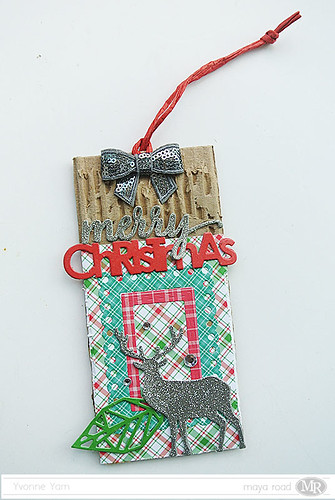
The cardboard Christmas tag

Here I wanted to play with neutrals and a pop of colour.

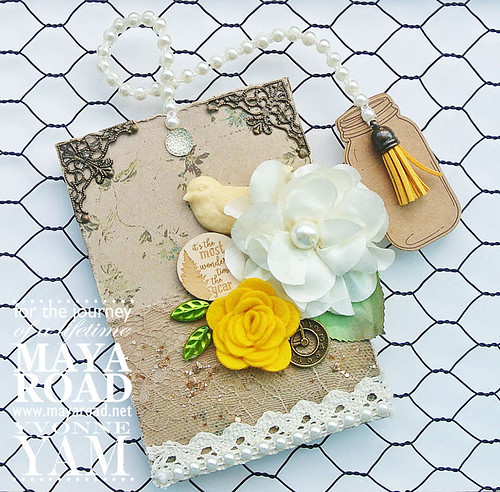
Vintage-inspired-birthday-tag
Vintage-inspired birthday tag

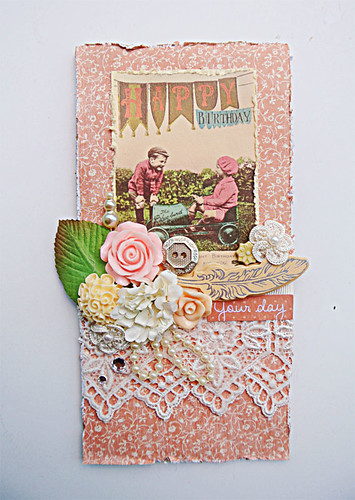
I really wanted to use that vintage image that was in my stash for a really long time....so I built a tag around it. Yep, it is a rather big tag.

There you have it...9 tag ideas and how I was "inspired" to create them. Which one is your fave?


P/s: Here are links to Need some tag ideas? Here are 6! and 10 more tag ideas if you need more tag inspiration. :)


Share/Bookmark

Pin It
Friday

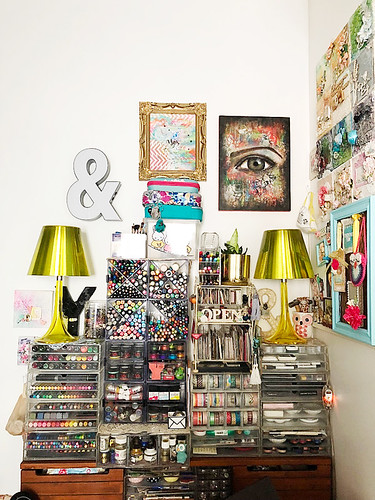
April 2018 desk view


April-2018-desk-view

Back in January, I shared that I was reorganizing and decorating my creative space. Here's how it's looking in April 2018.

The main components are still the same - the Muji acrylic drawers and the Philippe Starck lamps- but I've changed up the contents in the drawers so that all the art supplies get a little love.  Or at least if I see them, I might use them? *winks*

What I have done is lined all the drawers and filled them with art supplies that were previously still kept in their original boxes....and never got any love. 


I've also decorated the "wall" (it's a white cabinet) on the right side of my desk with some old mixed media canvases (I kept the ones I liked the most and reused the others) and jazzed up my noticeboard.

Real plants have also been added to help keep the air clean.

In case you were wondering, except for the wall that the bed is against which is a vibrant blue (you would have seen that in some of the Gangster Gang's photos), the rest of my room is white walls and white cabinets (with no visible hardware). Which is why I am not afraid to add colourful bits. :)


Happy weekend friends!


Share/Bookmark

Pin It
Thursday

Recent eye drawings from the sketchbook


Recent-eye-drawings-from-the-sketchbook3

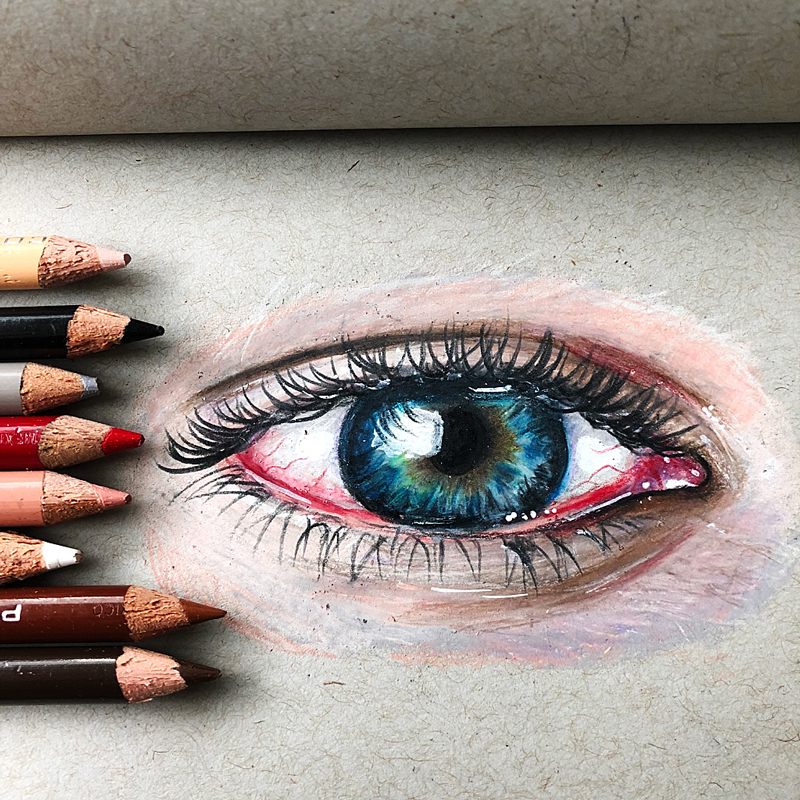
After a year of using my beloved Holbein Artists Colored Pencils in my art-on-the-go kit, I finally swapped them out for some Prismacolor Pencils instead because I was getting too comfortable with them. And you know, as an art supply junkie, I need to give love to ALL my art supplies, right? *winks*


Plus, I also have a gazillion pencils cases/pouches that need to shown some love. You know how when you go shopping they tell you to top up your purchases to a certain amount so that you can get the free pouch/box etc? Yeah, I'm the sucker that always tops up. *LOL* Would you like to see my pencil case/pouch collection????

Anyway, I've totally digressed...here's my new art-on-the-go setup. :)


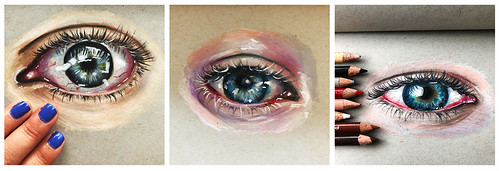
For this one, I went a little crazy with the highlights. For highlights, I usually use a Posca Paint Marker (acrylic paint) or Faber Castell Pitt Pen (india ink) or Stabilo All Pencil (it works on every surface).


This was the one I did when debating if I should go for a swim before dinner and saw a bunch of screaming kids in the pool and decided to draw instead. I generally like having the pool to myself to swim uninterrupted laps (very early in the morning or late at night). 

Anyway, not a lot of blending on this eye because I was going for the "artsy" eye. Looks like a bruised and bleeding eye with all the purple and red, huh? Hahaha.


This eye is more my regular style. But I'm still assessing the colour choices in my new art-on-the-go kit...I may need to add some warmer toned colours.

Hope you are having a wonderful week so far my friends. 


Share/Bookmark

Pin It

Monday

Will I ever get a nice photo?


Will-I-ever-get-a-nic-photo-

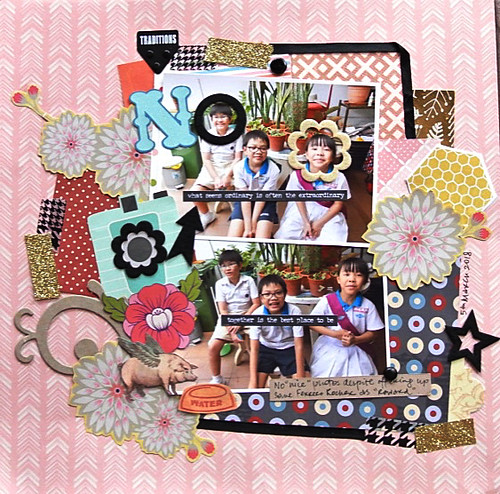
Yep. Will I ever get a nice photo? That is the question.


You would think that with all the "stringent" training all these years by the overzealous aunt the Gangster Gang (aka niece and nephews) would all know how to pose for photos right?

Case in point:
1. Nephew #2 thinks that over-smiling makes a nice photo.
2. Nephew #3 refuses to look at the camera.


Nope. 

Not even the promise of Ferrero Rocher got me nice photos that day. These are 2 of the best shots...*LOL*...seriously.


Just a fun layout using lots of paper scraps. :)

Playing along with the mood board challenge at The Studio Challenges.


Share/Bookmark

Pin It
>
Related Posts Plugin for WordPress, Blogger...

LinkWithin

Pin It