Thursday

Dark rebel: 9 ways to explore your dark side


As you know, recently I've been exploring my "dark" side. Dark colours tend to recede and serve as an awesome backdrop for your focal point. Here are some ideas for the dark rebel in you...*winks*


1. Go for black and metallic silver.

Even if you are going dark, throw in texture and it will add depth and mystery to your project. The base of this canvas was created with layers of modeling paste, fiber paste and stencils. Everything was painted black first before finishing with a coat of metallic silver paint with bits of the black base showing. All the trims are in similar tones with their own tactile quality to create depth and interest.

Room-scene-mixed-media-canvas
My "dark" side...on canvas
2. Bright colours pop on a dark background.

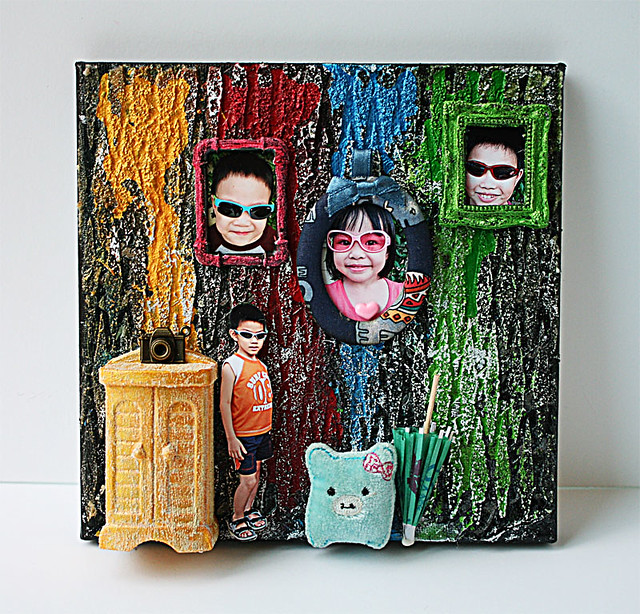
The texture on the background was created with fiber paste and stencils and painted black. Liquid acrylic paint colours were dripped down for the bold pops of colour. The embellishments are in matching hues with different textural properties like the soft pig, the metal frame and the paper umbrella.

Cherished-treasures-canvas
Cherished treasures mixed media canvas for Imaginarium Designs

3. Create depth with a dark colour.

Here the black was used as an accent to create depth for the dimensional elements and add an air of sophistication to the piece. Try painting with glazes so the metal embellishments really stand out.


4. Try chalkboard art.

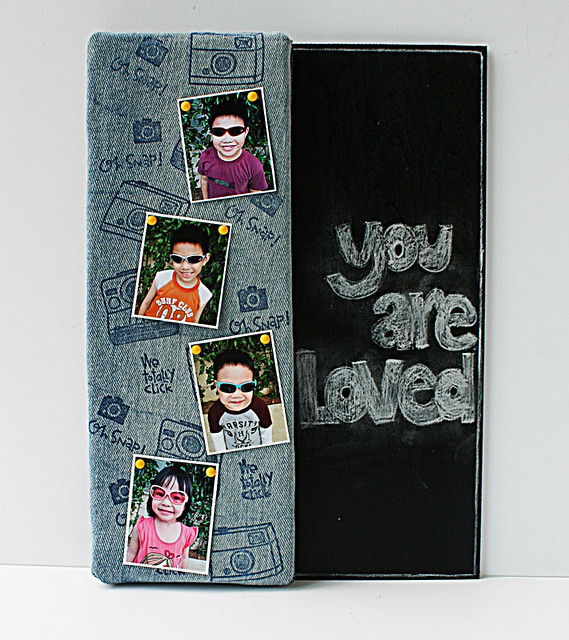
Dark colours can be fun too. Like a dual purpose board - pinboard on one side and chalkboard on the other.


Family-mixed-media-canvas
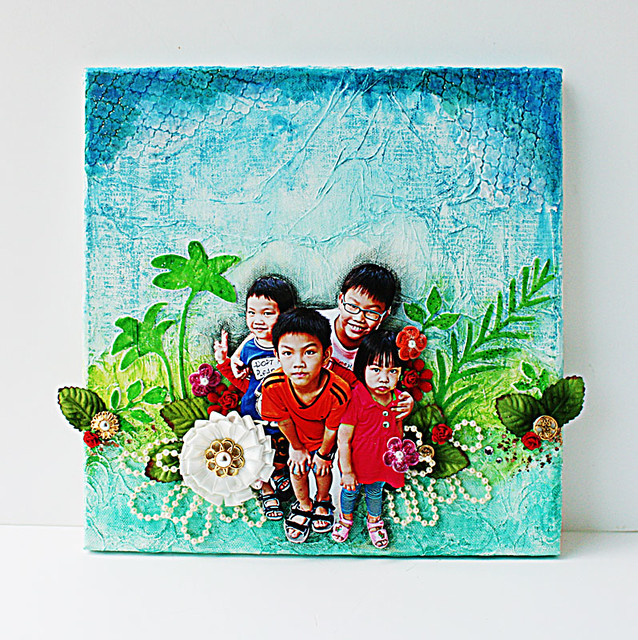
The elevator family selfie mixed media canvas

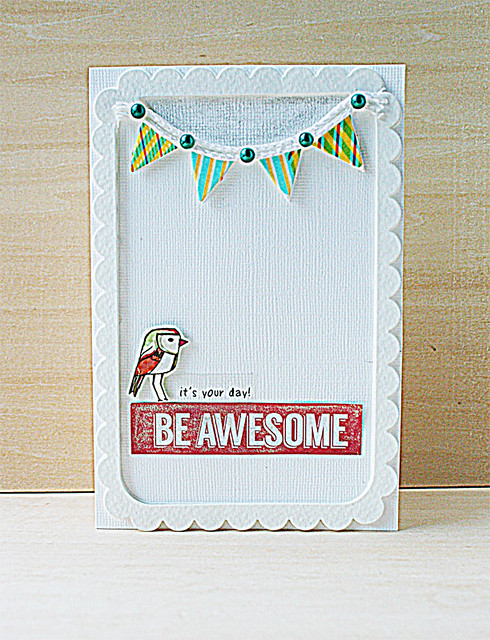
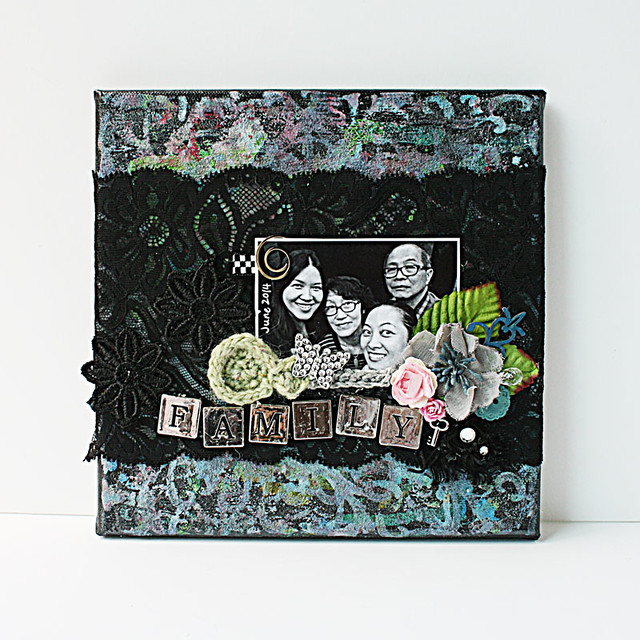
5. Use black lace for classic sophistication.

A black and white photo stands out on a textured black mat of lace. Keep the rest of the colours subdued and the eye will naturally be drawn to your focal point.


Birthday-birthday-layout-by-Yvonne-Yam-for-Xyron
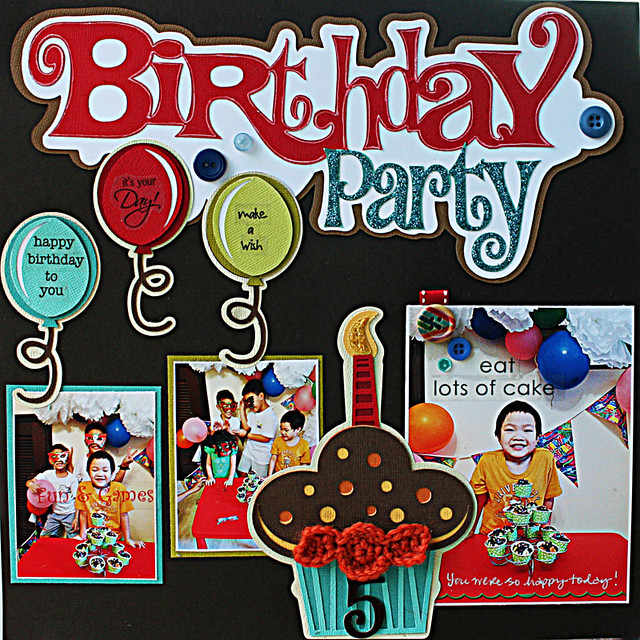
Birthday party layout with Xyron and Out on a Limb Scrapbooking

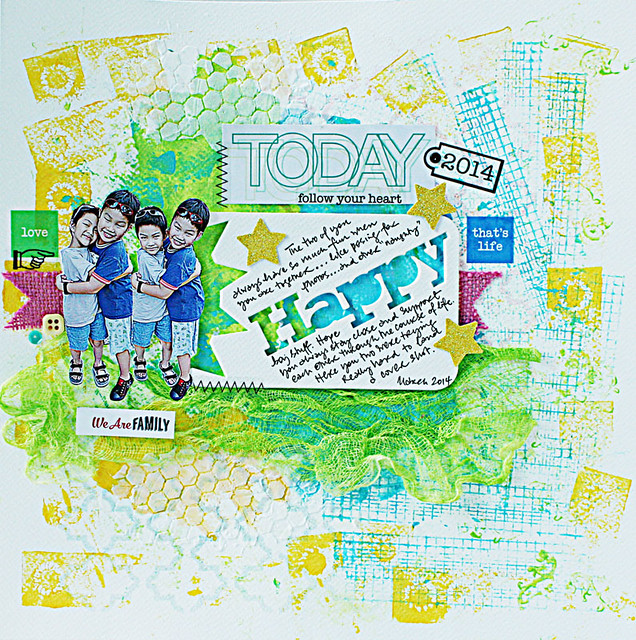
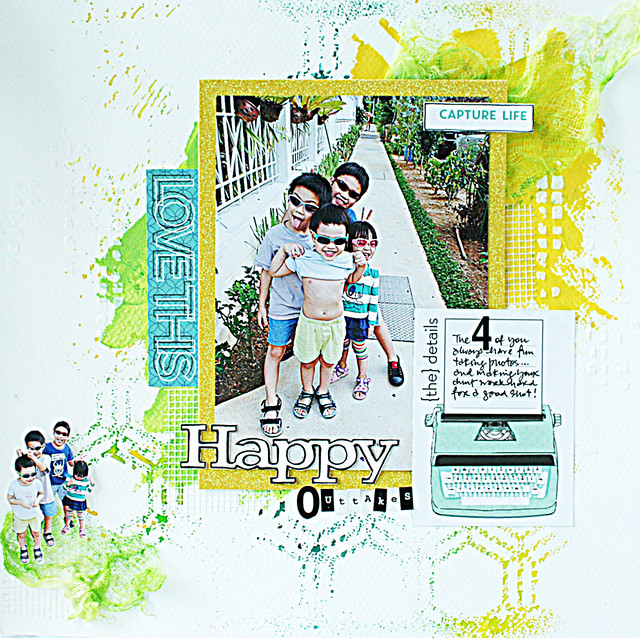
6. A dark base makes bright photos pop.

Bright and happy birthday photos can really stand out when you use a dark brown base that doesn't compete with the colours on your photos.

Apologies...this canvas just got picked up for publication..

7. Mix up textures to create interest.

This simple canvas is all about textures...the burlap, the lace, the crochet bloom and trim, the wood ticket, the pearls, the butterfly bling and the glittered chipboard create visual interest by moving the eye across the elements.

Gangster-gang-canvas1
Why I love working on canvas...

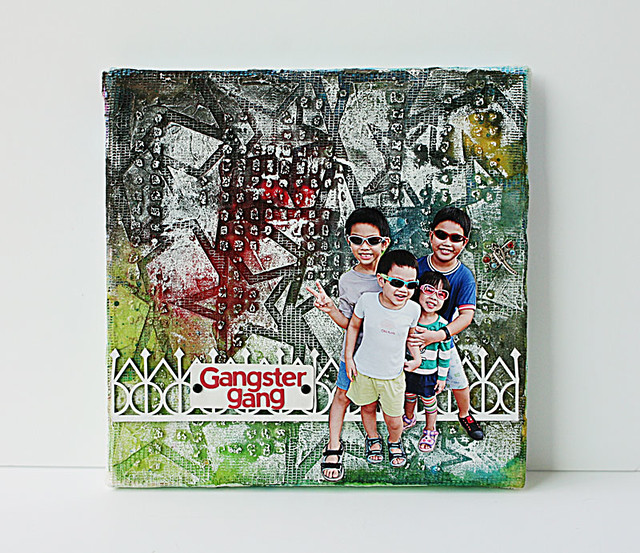
8. Create an artsy background.

There's a myth that one must use bright colours when it comes to scrapping photos of children. Try a "darker" colour palette to make the photo stand out more.

Y-Decorated-black-monogram
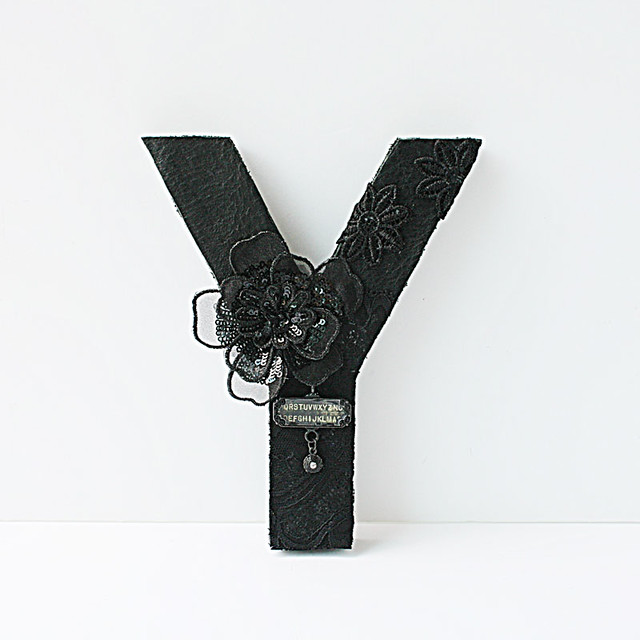
The embellished black wood monogram

9. Go for tone-on-tone.

There's something dark and mysterious about black and tone-on-tone textures. Mix the hard...leather and metal...with the soft...fabric bloom and lace.

There you have it. 9 ways to explore your dark side...which is your fave? 


Share/Bookmark

Pin It

Wednesday

Using sewing-related elements on my canvas...


The-Gangster-Gang-on-12x12-mixed-media-canvas

LESSology Challenge #38: Sew Lovely is all about incorporating sewing-related elements on your project...like fabric, buttons, lace, scissors and spools.


I went with lace, buttons, pearls and ribbon.


I started with some leftover wrapping tissue which I adhered to my canvas before covering it with gesso. The piece wasn't quite large enough to cover the 12 x 12 canvas so I covered the bottom part of the canvas with lace. After a wash with Derwent Inktense blocks, I added some text stamping before apply a layer of light modeling paste with The Crafter's Workshop stencil. Then I coloured over parts of it with Faber Castell Big Brush Pen and Tattered Angels Glimmer Glam.


The 5 x 7 photo was fussy-cut and placed temporarily on the canvas. I then used a graphite pencil to outline the silhouette. The photo was then removed and I smudged the outline to create a shadow. After that, the photo was removed and I added some foliage [The Crafter's Workshop stencil + Liquitex light modeling paste + Faber Castell Big Brush Pen] around the photo area to "frame" the photo.


When the main elements of the background were done, I added two layers of the same photo [with 3D dots] to the canvas and then embellished with the buttons, pearls and blooms.


I finished with Jo Sonja's glitter paint on the "foliage" and bits of Golden gold mica flakes.

__________________________________


I had some lovely ladies over last Sunday for a workshop...check out their versions of my mixed media canvas! :)

Share/Bookmark
Pin It

Tuesday

The one where I used my background paper as a paint palette...


Happy-today 

So I'm guest designing this month with the lovely team over at The Studio Challenges. The first challenge for the month is all about stamping...the more the merrier! :)


I really wanted to use the negative diecut from my canvas memo board class. But it really needed some colour to stand out so I used some Dina Wakley paints. While the paint was still wet, I ran my stamps on it and started stamping the background. [yes, I used the wet paint on my base paper as a palette..hey, no cleaning up! *winks*].


Then I toned down the bright colours with The Crafter's Workshop stencil and Liquitex light modeling paste [love the slightly translucent quality if you add a thin layer].


While the green paint was still wet, I ran some gauze over it too [didn't have much paint left...so the edges are a little lighter...*LOL*]

Share/Bookmark

Pin It

Monday

A glimpse of their "other" life...


Today

A couple of weeks ago, I visited my niece and nephews and got a glimpse of their "other" life...


Everyone had "treasures" to share with me. Sophie with her fave Hello Kitty toy, Jeremy with his Transformer, Sean and Ocean with their hand-drawn card game. :)


The background was created with The Crafter's Workshop stencil and Dylusions ink sprays, then finished with The Crafter's Workshop stencil and Liquitex light modeling paste.


I covered a Sizzix camera diecut chipboard with Art Anthology stone effects paint [love the gritty texture], then outlined with a white pen. The cord was from an old necklace.

If you reside in Singapore, you can get the supplies for this layout at Made With Love.

Share/Bookmark

Pin It

Friday

The one where someone had the morning blues...


Can-we-go-now

So I have a huge collection of photos of the kids [aka niece + nephews] with sullen faces because the overzealous aunt just keeps taking photos...*LOL*


Like these...where someone had the morning blues and just refused to smile for me.


"Can we go now? I want to go see the birdies!" 


I am currently in the blue, yellow and green phase...evidently, I haven't cleared my workspace...*winks*


Made a huge boo boo which I covered strategically with a piece of butterfly fabric...


Playing along with Once upon a...sketch.

P/s: Happy 4th of July weekend friends! :)

Share/Bookmark

Pin It

Wednesday

Happy outtakes...


Happy-outtakes

The journey to obtain the perfect photo of the 3 nephews and 1 niece is a daunting one...with many hair-tearing and frustrating moments. 


There is however, an upside. Like happy outtakes capturing real life, of kids just having fun with each other. Yes, nephew J is currently in the "flasher" phase...*LOL*


Sometimes we should just be like the kids...let go and have fun, right? *winks*


Playing along with the sketch at Sketchabilities and the ad challenge at Let's Get Sketchy.


Share/Bookmark

Pin It

Tuesday

I see more shimmering projects in my future...


Be-awesome-card

So I finally tried out the famed Zig Wink of Stella brush pen...and I LOVE the shimmer. Yep...I see  more shimmering projects in my future...*LOL*


The clear shimmer pen is excellent for covering up mistakes like glue marks...*winks*


And give your sentiment some shine! :) Can't wait to try out the other colours...[I only have 5...so far that is! *winks*]


Playing along with CAS(E) this sketch.


Share/Bookmark

Pin It
>
Related Posts Plugin for WordPress, Blogger...

LinkWithin

Pin It