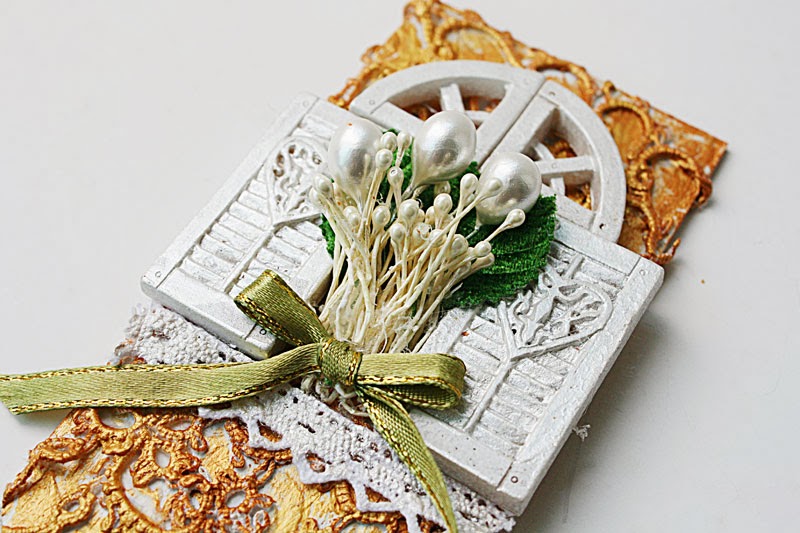
I love using chipboard on my projects. They are a great way to add interest and dimension to projects without bulk. Plus there are a gazillion ways to "dress" them up. Here are 10 ways!:)

1. Use chipboard to "extend" your story.
Here I used the leafy chipboard to help me set the outdoor scene for my layout about a date at the playground with my niece and nephew.

2. Create a monochromatic canvas.
The chipboard pieces were painted white and added with clear and shiny elements for maximum textural impact.

3. Make textured "frames" for an altered book.
Both chipboard layers were painted black but the top layer was covered with glittered texture for more depth.

4. Create a focal point for your card.
The bird cage was painted gold, then "dressed" up with leaves, blooms and bling.

5. Create a whimsical "outdoor" scene.
Mix and match different chipboard pieces for a fun scene to match your photos.

6. Use them to create a trio of shabby chic cards.
Lace and mediums on chipboard create beautiful textures.

7. Make your chipboard work for you.
It's okay to cut up your chipboard elements to match the size of your project.
.

8. Decorate around a tin can.
Add a chipboard sentiment around a decorated tin can for visual appeal.

9. Serve as fun elements on journal pages.
Cut windows in your journal pages and spice them up with some chipboard elements!

10. Add chipboard to an embellishment cluster.
The beauty of an embellishment cluster is in the textures and layers.
There you have it. 10 ways to work chipboard on your projects. Which is your fave?