

My guest today is the super talented Sandie Edwards of Delightfully Crazy. I "met" Sandie when she was on the Zeus and Zoe team last term. Pay a visit to her blog and be prepared for jaw-dropping goodness in every single one of her creations. Seriously. If you love gorgeous blooms clustered to perfection, she is your go-to person. If you love classy and elegant vintage layouts, she rocks them too. And did I mention how sweet a person she is? Today she shares a fabulous tutorial that will help you get a headstart on your Christmas presents and is also hosting a challenge with a RAK for one lucky player!
But first, let's get comfy in our chairs and check out her awesome projects, shall we?


Hello Everyone,
 It is lovely to be here as a guest designer for ‘Do More With Less’ this month. Thank you Yvonne for inviting me. A Little Bit About Me: I live in Geraldton, Western Australia with my partner who works in the mining industry our son Jesse (3), and 2 spoilt felines. We are older parents, and also have grown up children, as well as Grandchildren. I am currently a stay at home Mother, with my previous employment being law enforcement. In 2011, I discovered Scrapbooking, and have enjoyed the journey over the last few years immensely. Creating memories for future generations is very important to me, especially being an avid diary writer – now my words are included in scrapbook pages, mini albums and so forth.
Today, I want to share with you a quick, and easy tutorial on how to create a note or photo holder fridge magnet, using a mouse trap. Now, I do not think I need to stress how important it is to use new mouse-traps (LOL). Recycling is wonderful, but perhaps not with mouse-traps! These little note holders would be perfect little gifts with Christmas around the corner, and are something unique and certainly an entertaining, conversation piece.
Altered Mouse Trap
Materials: Mouse Trap, Pliers, Paint, Misc. Paper Scraps, Quick Dry Adhesive, Lace Remnants, Silk Ribbon, Small Roses, Buds and Leaves, Distress Ink, Magnetic Strip, and Wording.
1. Remove wire catch with pliers.
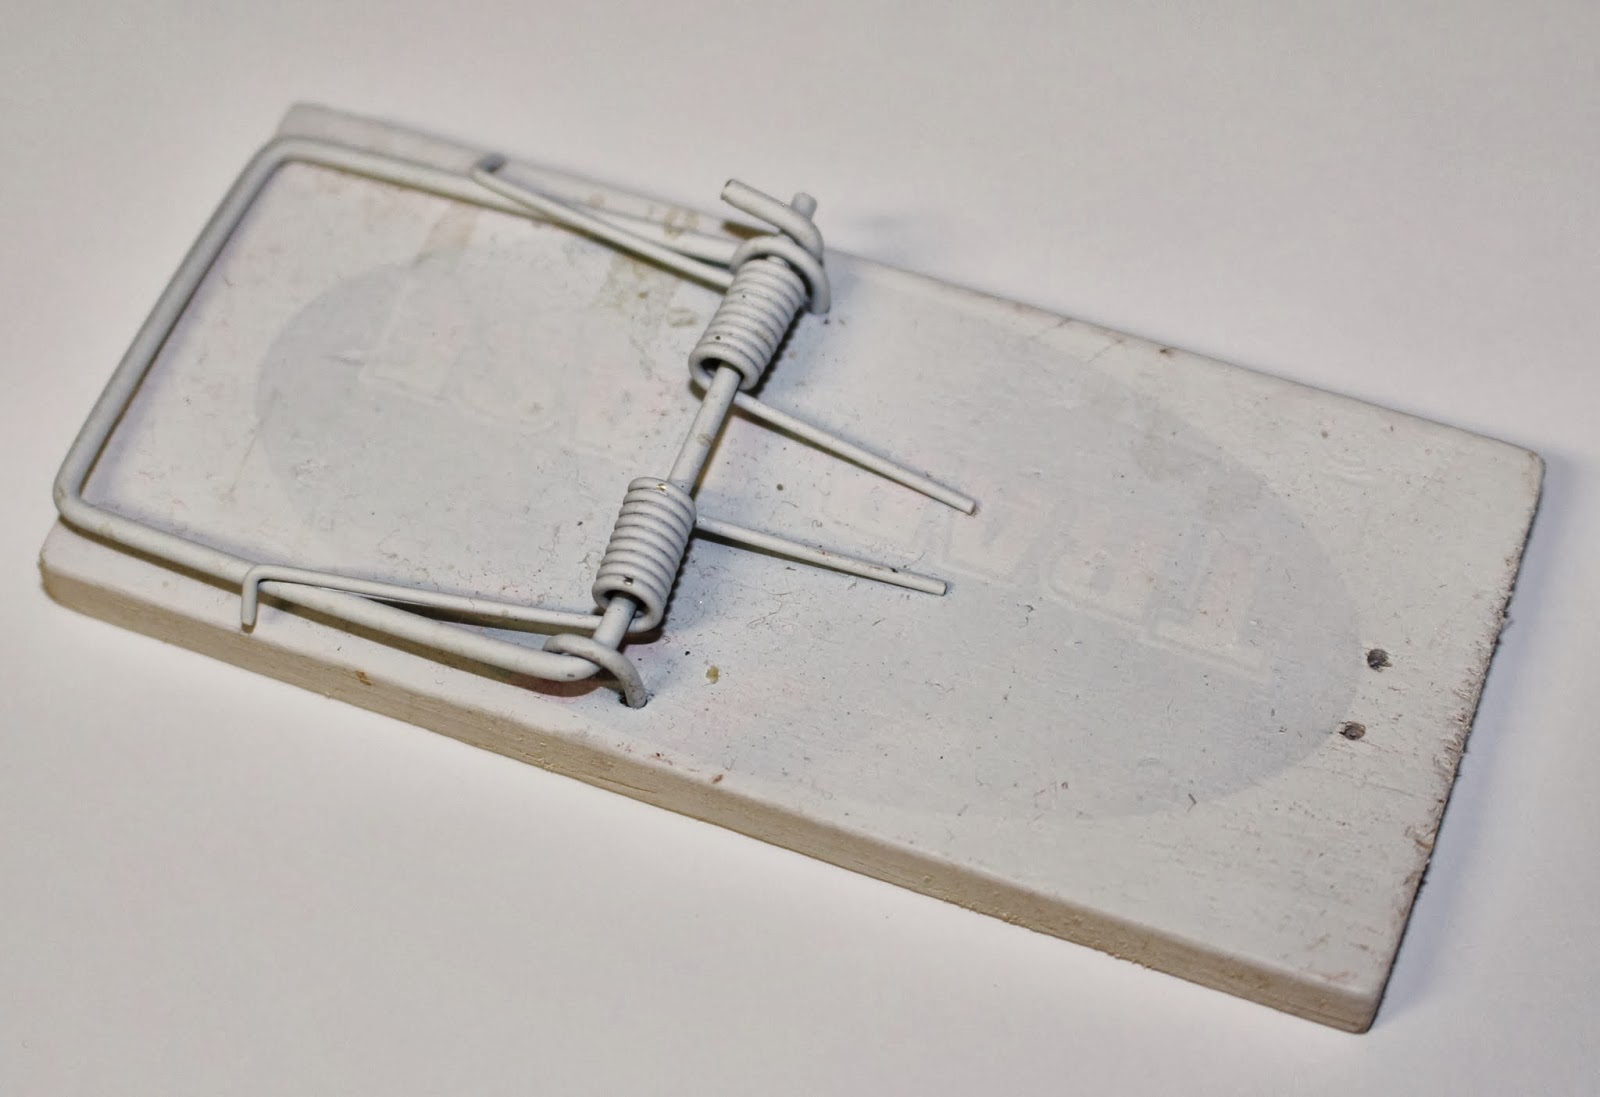 |
| Photograph 1 |
2. Paint trap white as in photograph 1. I find it best to use spray paint, as this adheres to the metal elements of the trap perfectly, and gets into all grooves and crevices.
 |
| Photograph 2 |
3. Insert a small paper piece as shown in photograph 2. This eliminates a gap of white in the centre when completed. I find it best to use a quick dry adhesive rather than tape, as glue allows for manipulation to get the paper into the correct position.
 |
| Photograph 3 |
4. Measure and cut 2 pieces of pattern paper to fit both the top and bottom portion of the trap, as shown in photograph 3. Ink paper edges, and adhere into place on the trap.
5. Affix wording of some sort across the top part of the trap (part without latch across it).
 |
| Photograph 4 |
6. Arrange flowers, buds and leaves and adhere into place, around wording. Use photograph 4 as a guide for placement.
7. Create a bow from ribbon, and adhere to middle trap mechanism.
 |
| Photograph 5 |
8. To complete, affix lace to outer edge, on back of trap, and adhere magnetic strip. See photograph 5.
I do hope that my tutorial has been inspiring and an appealing idea to some of you to make simple, adorable gifts for Christmas. My challenge for you, is to get creative with something unusual laying around the house. Examples: Coffee jars, boxes, containers, old tins, plant pot, paper towel cylinder, paint brush (all the rage at the moment), chipped tea cup, anything that you can revamp, that would normally end up in the bin. Bring new life to the piece you have picked, create up a storm and give the item a new place in your home..... I cannot wait to see what you come up with!

I have a RAK of a Shadow Box from Imaginarium Designs, up for grabs. You can see a completed version of the shadow box in the slideshow.
________________________________
Ready to play along with Sandie's challenge? Please link your newly created projects via InLinkz [located at the end of the post] by Friday November 29, 11.55pm (GMT +8).
As always, please leave a little love for my guest Sandie. :)


.jpg)


