Showing posts with label Tips. Show all posts

Thursday

Tips on paper bag decorating (Part 3)


Hello friends! It's been a while since I shared Tips on paper bag decorating Part 1 and Part 2. And here is Part 3!


1. Work with the existing design of the paper bag.

Especially when the paper bag is this cute to begin with. Just keep the base design and cover up the brand name with some simple elements.:)


2. Try a splattering of little elements across the bag.

Sometimes there isn't a need for a main focal point. Just place the elements in a way that would draw the eye across. On this bag, I added texture, interest and flow just by tearing the top of the patterned paper and putting small elements across it to guide the eye.


3. Repeat elements help to create a cohesive look.

Sometimes you tend to go overboard with the decorative elements (talking about me of course...*winks), but you can ensure a cohesive look and feel with repeated elements placed in a "triangle". I repeated the birds and butterflies on this bag. 


4. Keep it simple.

There isn't a need to use many elements to decorate a paper bag, especially a small one. Here I only decorated the bottom half of the paper bag, using the top half as my "white space" to give the design a little more "drama".


5. Use a graphic design to draw the eye.

Here the bold patterned paper helped to ground the elements and lead the eye to the focal point. By adding elements to "close" the triangle, the overall design feels more cohesive and complete.

There you have it. Tips on paper bag decorating (Part 3). 


Share/Bookmark

Pin It

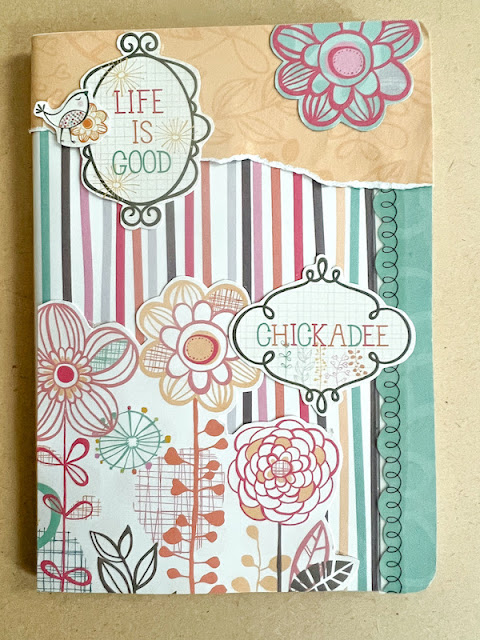
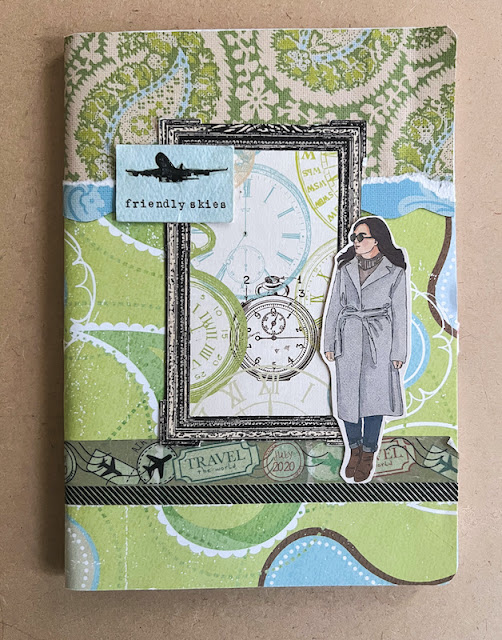
Decorated notebook ideas


So I've recently finished decorating a whole stack of notebooks to tuck into my happy mail packages. I've consolidated them into one post so that you can be inspired to create your own. :)


I've kept them relatively flat for ease of use and to facilitate efficient storage. It's great way to use up your fussy-cut elements from other projects, add texture through washi tape and interest through stickers.:)

Which is your fave?

Share/Bookmark

Pin It

Tuesday

Tips on paper bag decorating (Part 2)


Hello friends! Back in November I shared Tips on paper bag decorating (Part 1), here is Part 2! :)


1. Go for dry adhesive for adhering patterned paper to your paper bag.
Wet adhesive tends to wrinkle your patterned paper when you adhere it to the base paper bag. Especially if your patterned paper is thin.  I like to use my Xyron Creative Station for an even layer of adhesive or plain old double-sided tape. I might use some wet adhesive just at the edges for reinforcement.


2. Try making your paper bag into a single-handle one for added design interest.

All you have to do is cover up the original holes of the paper bag with patterned paper, then punch a hole in the front and back. Have a little fun with the width of the ribbon too! :)


3. Keep the elements flat when decorating a lightweight paper bag.

A typical brown paper bag is quite lightweight so keep your decorative elements flat and light so that you can maintain the integrity of the paper.bag.  Fussy-cutting patterned paper elements and piecing them to create a fun collage would be a viable approach. Here on this paper bag, all the elements are flat which also makes it super easy to store.


4. Extend the patterns on the paper bag with your decorative elements.

Sometimes we might get a printed paper bag that already has some patterns on it. Take advantage of the pretty patterns and add some dimensional elements to extend the design and make it look even better.


5.  Treat your paper bag like a (bigger) card.

I like to think of my paper bag like a card and just create fun collages on it...and add a sentiment or two. 


There you have it...tips on paper bag decorating (Part 2). There might be a Part 3. *winks*

Do you have any tips to share?


Share/Bookmark

Pin It

Wednesday

What I learnt from cooking for my family for almost 2 years (Part 2)


What I cooked for Reunion Dinner 2022


Well my friends, it's been almost 2 years since I started cooking for my family and 9 months since my last update (see Part 1) *dramatic music plays in the background* As you know, initially I was cooking just ONE meal a day (lunch) for my family but after mum's stroke, I'm now cooking both lunch and dinner (5 months in and counting). 

At first, it really stressed me out because the actual cooking was fast but the prepping and cleaning up was so time-consuming. I have a few hours after lunch to do my own stuff before I had to start cooking dinner. Every single day. My sister would help with the washing up sometimes and the nephew when he's at home. But most of the responsibility was on me.

I can look back now and laugh at how silly I was. But at that time, I was thinking about food before going to bed and thinking about food the moment I got up. Now, I'm down to an hour for food prep and cooking. And maybe 30 minutes for cleanup because I clean as I go along.

Here are some things I learnt from my second year of cooking for my family.


1. Stick to what works. Especially when pressed for time.

The family is very happy with the current way I cook my steak so I haven't tried anything more fancy yet. And I like cooking steak because the actual cooking is super fast and when the meat is resting, you can do some cleaning up. :)

Do I want to make something more complicated like a beef wellington? Of course. But maybe when I have more time.


2. Mix it up.

My family members love variety. So having a wide selection of produce makes it easier to "mix and match" my veggies...which I cook in one of 4 ways - in a fresh salad, oven-roasted, stir-fried or in a soup. I try to vary the methods throughout the week so that they don't get bored. I get an organic produce box once a fortnight so there's always something new to try. :)


3. One dish meals are totally necessary to maintain your sanity.

Some days I have early morning meetings out and have to rush back by 11am to cook lunch and that's when I do my one dish meal like a stir-fried noodle. Usually, the protein would have been cut up and marinated so I just need to cut up the veggies and do a quick stir-fry. FYI, we are all watching our carb intake so it's mostly protein and veggies. *winks*


4.  Try something new every week.

Cooking can get boring sometimes for me so I like to stretch my creativity by trying at least ONE new dish every week. Sometimes it works out and I put it on rotation. But then, I might tweak it again to make it better.


5. Trust your tastebuds.

Initially I was a stickler for following recipes exactly as described. But over time, I've learned to trust my own tastebuds, especially since I've been lucky enough to have eaten some really excellent food in Michelin-starred restaurants in my travels (pre-Covid). 

There you have it...what I learnt from cooking for my family for almost 2 years (Part 2). 

What about you? Any lessons from your second year of stay-at-home cooking?


Share/Bookmark

Pin It

Thursday

Tips on paper bag decorating (Part 1)


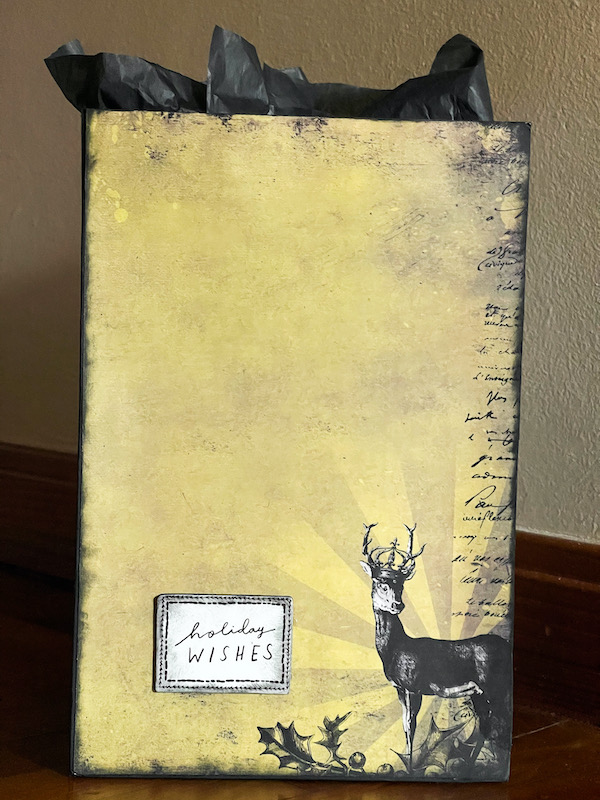
I love decorating paper bags. The possibilities are endless. You can make it really clean and simple, or really elaborate and dramatic. Here are some tips to help you with your paper bag decorating. :)


1. Use sturdy paper bags with lots of "white" space.

Choose paper bags that have minimal brand/printing on them so that you have less "cove-up" to do. 


2. Switch out the bag handles for texture and interest.

Paper bags usually come with matching handles. You can coordinate your bag handles to contrast with your design for added texture and visual interest. 


3. Consider eliminating the bag handles completely.

You could have a decorated paper bag with no handles at all as part of the design.


4. Try a matching box and paper bag set.

You could create a coordinating box and paper set by repeating similar elements on both items. 


5. Make it bright and cheery.

The paper bag is the first thing the recipient sees. Why not try a fun and cutesy theme to put on a smile on the recipient's face? 


There you have it. Part 1 of my tips on paper bag decorating.  :)

Do you like to decorate paper bags?


Share/Bookmark

Pin It

Using cardboard packaging on my projects (Part 2)


If you are a regular blog reader, you know that I am big on repurposing and giving things a new lease of life. If possible. It is so easy to just put everything in the recycle bin and let the relevant agencies deal with the by-products of your purchases. Even though we cannot repurpose everything, we should try to at least reduce single use items. And it's a great way to get creative too. Back in May, I shared how I used cardboard packaging on my projects...here is Part 2. :)


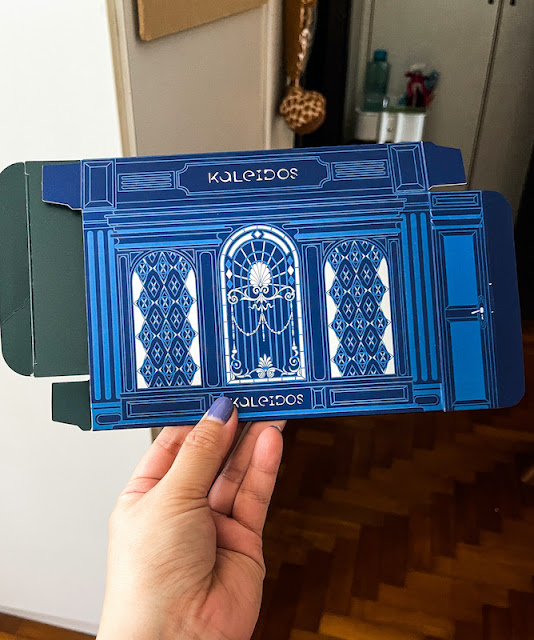
I really love the bright bold colours on this makeup packaging so I used it as a photo mat on my layout. I even cut out the text from the side of the box (Make your escape) and used it on my layout.


The eco-bag set that came with a skincare purchase had a kraft tag...


Which was perfect as an element on my card. :)


My recent nail sticker purchases came in individual cardboard sleeves with a cut-out window...


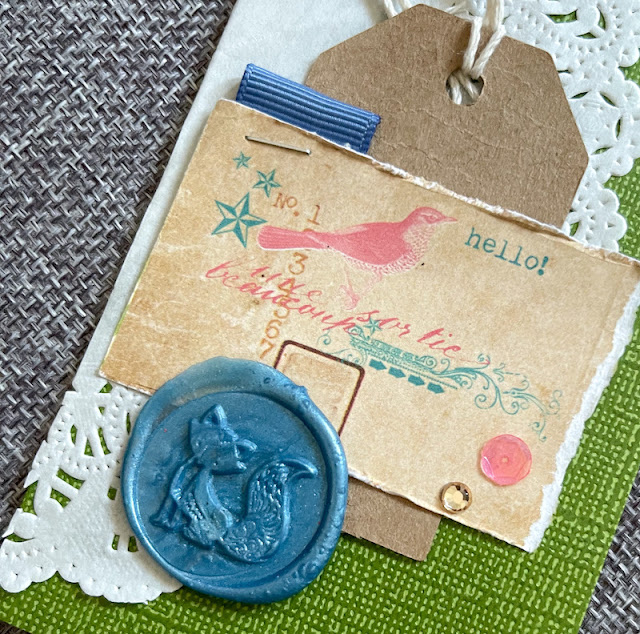
So I used that as a fun base to design some happy mail bits. 

What about you? How are you getting creative with your packaging materials?


Share/Bookmark

Pin It

Monday

Using cardboard packaging on my projects


Using cardboard packaging on my projects

As mentioned previously, I am trying to repurpose any packaging I get these days so that I put less in the recycling bin (especially since only 10% of it actually gets recycled).  Things that catch my eye are pretty designs on cardboard...

Using cardboard packaging on my projects

That I just use like patterned paper on a layout.

Using cardboard packaging on my projects

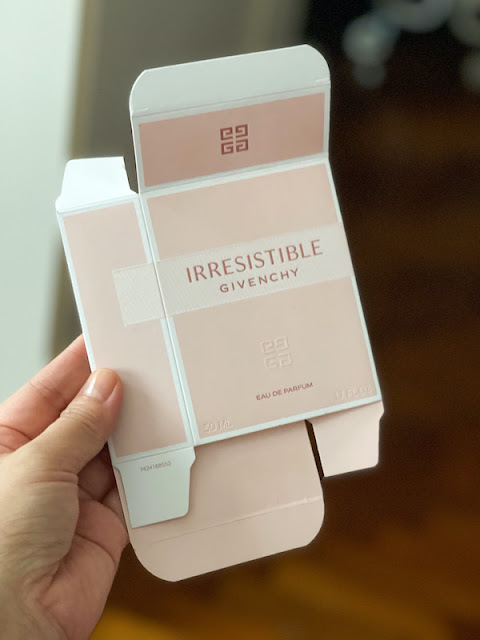
And text that I can cut out...this was from a fragrance box.


Using cardboard packaging on my projects


Can you spot where I used it?


Using cardboard packaging on my projects

This was the packaging for a  tea cup.


Using cardboard packaging on my projects

For this decorated box project, I actually incorporated both the pink packaging boxes. :)

What about you? Do you incorporate cardboard packaging on your projects?


Share/Bookmark

Pin It
>
Related Posts Plugin for WordPress, Blogger...

LinkWithin

Pin It