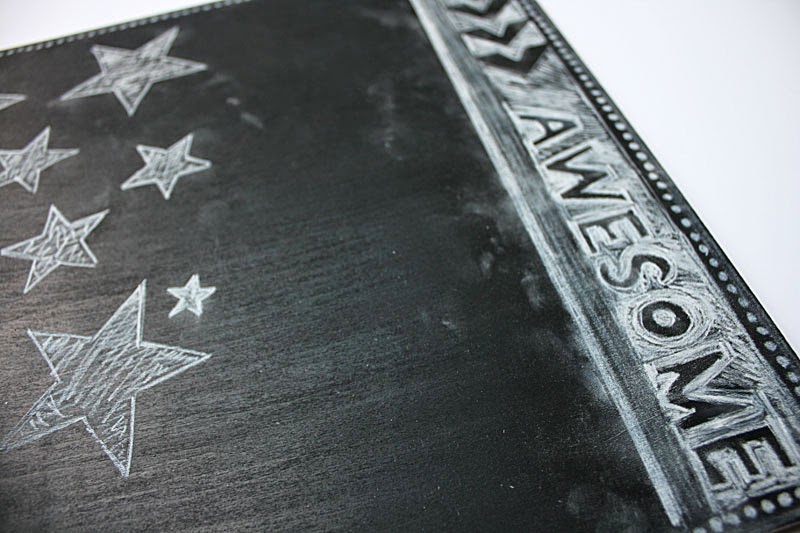
So I have finally succumbed to the chalkboard art trend. And of course, you know, when I start on something, I go big...*winks* Probably should have tackled a card first...*LOL*
A google search on chalkboard art led me to lots of inspiring chalk penmanship [read: super hard!] and lots of tips on the best ways to start .....like deciding on a design and then using a projector to project the image on your board before drawing with your chalk. Or measuring your design so that the text will fit your board.
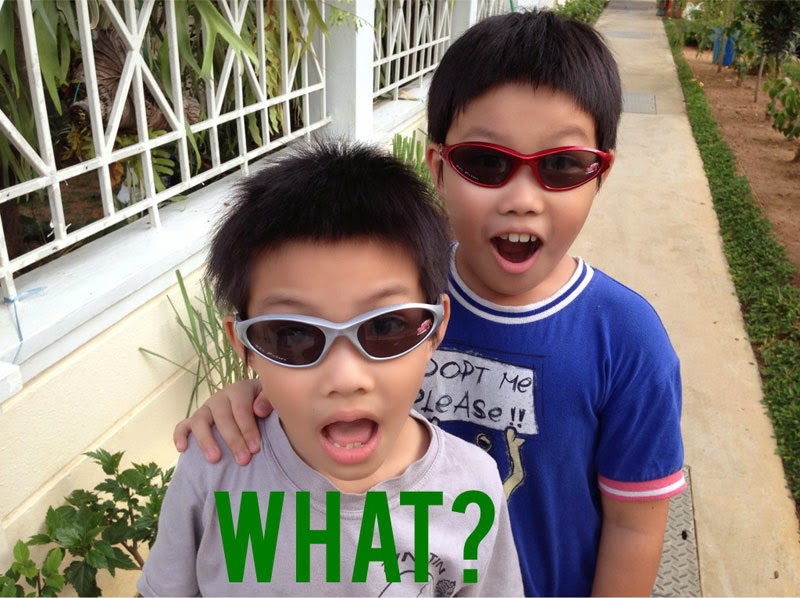 |
| Even the nephews think that it's toooooo much work! |
What? That sounds like a lot of work. And so NOT me. So I went with stencils. *LOL*
Kind of wish I had more word stencils though...
1. Get a piece of plywood, prime it with gesso and then follow the instructions for the chalkboard paint...[1 hour between coats and 1 day to cure]. The chalkboard paint comes in a variety of colours so you don't have to use black.
2. Choose your stencil and start creating your chalkboard art! I love the Faber Castell Pitt Pastels are perfect for the chalk effect minus the chalk dust! You can just use a wet rag to erase mistakes. If you LOVE what you did, you can spray a chalk fixative over it. I love the idea of changing it up when I get bored.
P/s: Hope you will give chalkboard art a try. I've 2 more pieces painted and all set for some serious drawing...ahem..tracing! Signing off for the long weekend...hope you have an awesome one! :)
Pin It


