I am packing a gift box of scrappy goodies for a friend I'm meeting next week and decided that everything in the decorated box needs to be packaged in decorated kraft bags as well. You know, because I'm so extra. *winks*
Here's a quick tutorial on how I made these super quick decorated kraft bags.
I made the kraft bags reusable by sealing the opening with washi tape and also attaching the "decorated" portion with washi tape to the kraft bags so that the recipient can re-use the kraft bags as they are or add their own design to them
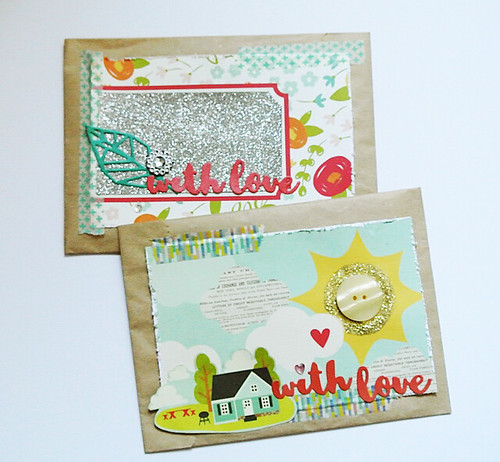
Pick a fun piece of patterned paper, cut to size and distress the edges to create a little texture.
Next, I attached the patterned paper piece to the kraft bag using washi tape.
Then I added another piece of patterned paper and the die-cut "with love".
I finished this bag with a heart bling, a button and gold glitter.
For this second bag, I kept it even more simple but used the same "elements" to create a little cohesiveness between the decorated kraft bags.
As with the previous bag, I started with a piece of patterned paper that I distressed to create texture.
Next, I adhered to the kraft bag using washi tape.
This time, I skipped the glitter glue and went with glitter cardstock instead. I went with a leaf die-cut as an extension of the patterned paper design and used the "with love" die-cut sentiment to ensure cohesiveness between the two decorated kraft bags.
I finished by adding some bling.
There you have it....quick decorated kraft bags. :)
Pin It


