Back in May 2018, I asked you to
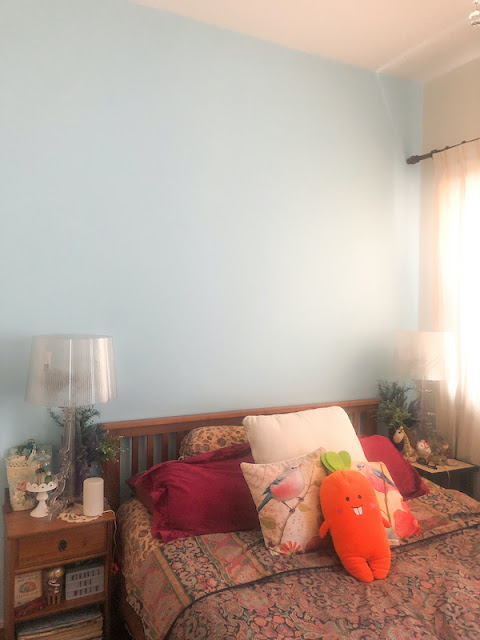
help me pick a paint colour for my room wall and I finally got it
painted in September 2018 - a really pretty light blue. There were grand plans to eventually do a little stencilling on the wall because I've always wanted a patterned wall. So when the lovely folks at
Photowall asked if I would like to work with their chemical-free products, I jumped at the opportunity to do another makeover of my room wall.
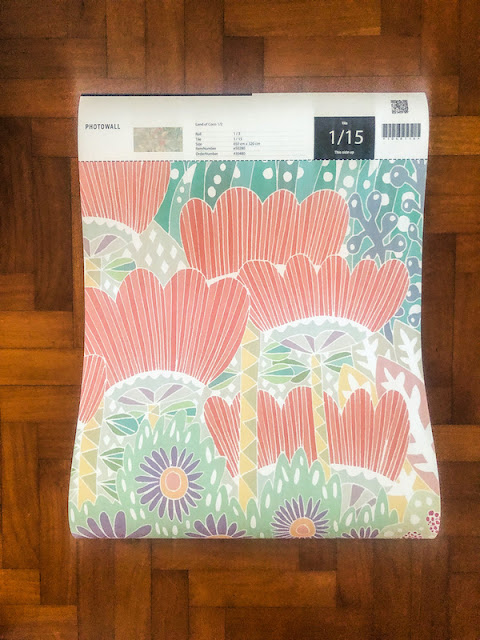
It took me a few days to go through the massive selection of photo murals and wallpaper. Since I have never installed wallpaper before, I was a little intimidated by the process and I went with a "busy" print that had a little light blue in it so that I can hide any mistakes I made in case the seams didn't meet perfectly. I went with
Land of Coco because I really love the colours and fun design. :)
The online ordering process is simple. Just add a few extra inches to your actual measurements for a little buffering and you are good to go. The wallpaper is only printed when you order and it comes in rolls packed in cardboard boxes. I got my order in 3 days.
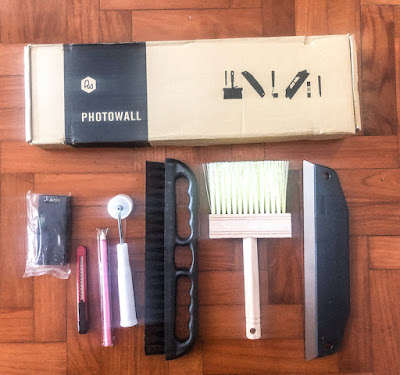
After watching the instructional video, I decided to add the toolkit box to my cart too. And I used every single thing in the box. :)
Each wallpaper roll comes with a packet of the wallpaper paste. You have to unroll the wallpaper and cut them according to the numbered strips. The inks used for the digital print are solvent-free so there is no weird odour...yay!
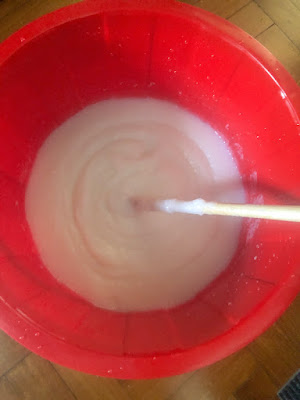
Mix the contents of the packet with 4 litres of lukewarm water, stir with a long stick and let it sit for 5 minutes and it will thicken to a paste-like consistency.
Make sure you work on a clean surface free of bumps and imperfections. You first apply the paste (width of the wallpaper panel of 45cm) to the wall before adhering the wallpaper. This was a bit of a trial and error because I didn't really know how much paste to apply. You need to make sure that the entire portion is applied with the paste so that it doesn't create potential air pockets when you adhere the wallpaper. There is a lot of time to adjust and manoeuvre the wallpaper and match the seams up so I would say go slow and steady. When you use the seam roller to join up the seams, some of the excess paste will ooze out so have a wet rag handy for cleanups.
Here pictured is 2 panels in and me wondering, "What did I even start this?" *LOL*
Overall, I would say that the installation was harder than what was shown in the instructional video but totally doable. And way more time-consuming...but then, first-time wallpaper installer here, remember? *winks*
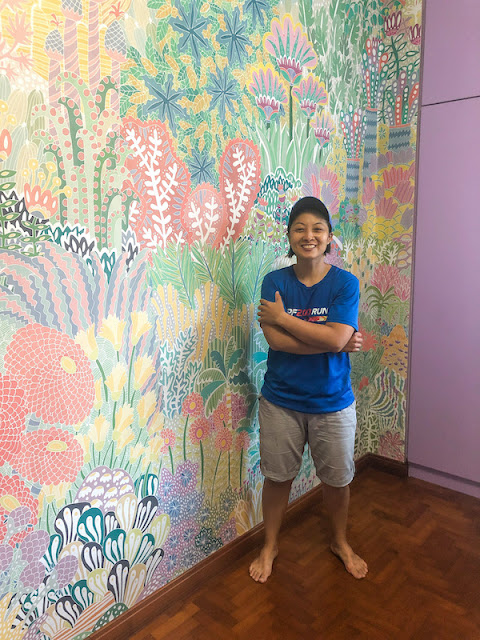
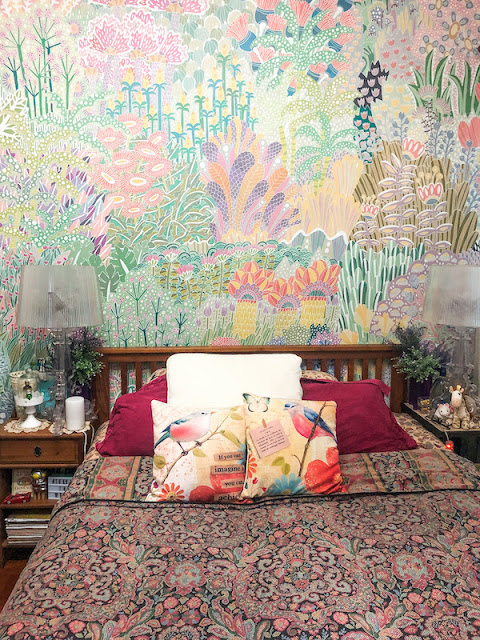
All I can say is that my wall is so pretty now and makes me sooooooo happy! :)
A big thank you to
Photowall for sending me the product to try. The Swedish company also offers canvas prints and posters on their website. For the next 30 days, enjoy 25% off any purchase at Photowall using the discount code "yyam2021" at checkout.
P/s: Shall I do up another room in the house???
Pin It
