Back in February, I shared that I was drawing my niece Luna in my sketchbook. Just discovered the process photos on my phone (when I got a warning that I'm running out of storage on my iPhone and got busy deleting my many food photos...you know, the bulk of photos on my phone..*winks*) so I'm sharing them today.
Disclaimer: I didn't go to art school...learned how to draw from a few online classes, reading a bunch of old art books at the library and practising on my own for the last few years. I wasn't the kid who was always sketching. I learned how to draw as an adult. So my "process" may not reflect the proper way one should approach a drawing.

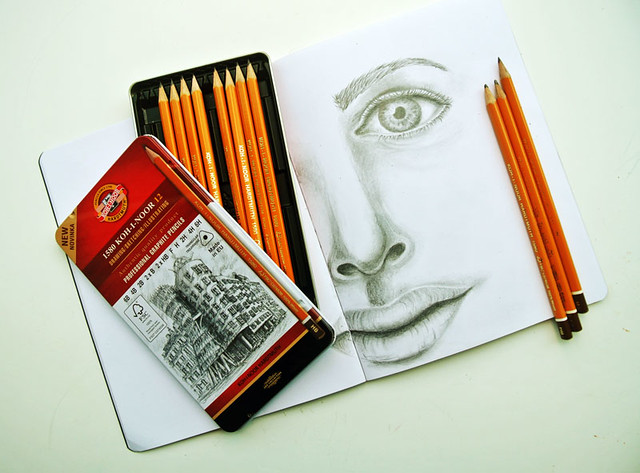
I started with a rough sketch in graphite pencil. Lots of artist books will tell you that the more accurate your sketch, the easier it would be to complete your drawing. And I agree. But that takes a long time for me so I just wing it and go for rough placement of features. *LOL*

Once I'm happy with my sketch, I take a kneaded eraser and go over my sketch to lighten the pencil marks because graphite does not play well with coloured pencils. Then I go in with my coloured pencils to draw the eye...because that's my fave feature. :)

I like to work on toned paper (this one is Strathmore Toned Gray sketchbook) rather than white paper because it saves time. The toned colour provides the baseline for the midtones that allows you to push either darker or lighter values in your drawing. If you work on white paper, you have to work from light to dark which takes a lot more time. (Now you know why artists tone their white canvases before painting..;)

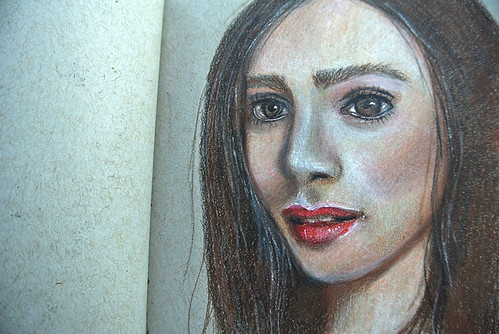
At the beginning of your drawing, you want to be light-handed with your coloured pencils. Coloured pencil drawing is a rather slow medium and requires many layers of pigment to reflect the colour you want from your drawing.
Also, when you colour lightly, you can easily erase your mistakes without ripping a hole in your paper.
Understanding basic colour theory will help you greatly in choosing the mix of colours to use. I used the Faber Castell Polychromos for this sketch.

I like to repeat the use of certain colours throughout my drawing so that there is cohesiveness and harmony in piece.

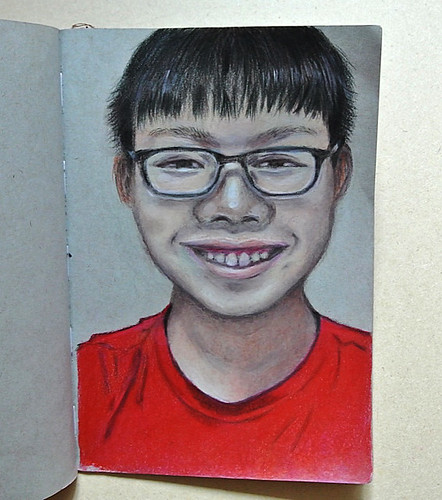
If you like a smooth paint-like finish to your drawing, you can burnish your drawing with a colourless blender or a solvent (rubbing alcohol, acetone nail polish remover, odourless mineral spirits or turpentine) before fine-tuning the details. It would remove the graininess of your drawing. Personally, I don't like using the solvents and burnishing is hard labour. Plus I actually like the raw grainy look of a somewhat "unfinished" drawing like all of mine...hahaha.

For the highlights, I like to use a white paint marker/gel pen.

If you were wondering why I didn't complete the drawing based on the photo, it's because I got tired. I mean this took many many days. Plus nobody will know that once I cut the piece out from my sketchbook and put it in a nice frame. Except you. But you won't tell on me because we are friends right???