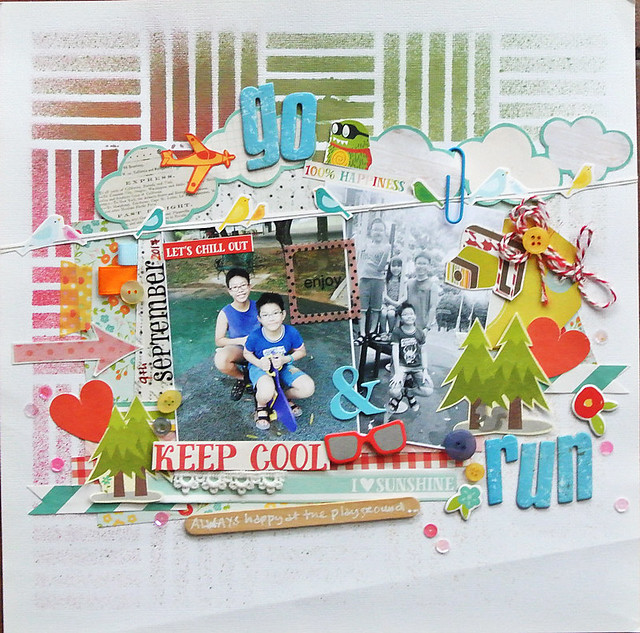
Hello friends, you know how I love to fussy-cut elements from patterned papers and create fun embellishment clusters? The ones that don't really make sense (usually involve some bird or cute critter) but somehow look somewhat decent and pleasing to the eye? *LOL*
Well, today I try r
 |
| Using my paper scraps on my travel journal |
1. Stick to a limited colour palette.
The key to creating a cohesive look (even if the elements involved seem odd) is to pick elements within a set colour palette. They don't have to be exact colours...tonal variations work too!
Picking three or four colours is the "safe" way to go. Here I went with a neutral background and took the colours off my washi tape (under the ampersand) to pick elements for my cluster.
2. Overlap the elements.
You know the famous John Donne quote, "No man is an island."? Well, it applies to embellishment clusters too. Don't let your any of your elements be lonely...give them some friends or competition. to help them stand out more. It's like when one of my aunts got married...she chose two of her "ugliest" friends to be her bridemaids so that she would be the prettiest one in comparison. (Now I wasn't even born yet when she got married but I did see the photos...*LOL*)
Anyway, overlapping your elements makes it seem deliberate..you know, like you really know what you're doing, style-wise.*hahaha* And a great way to use up torn/partial elements too. I tend to use them to cover odd corners and "mistakes" I made.
3. Repeat your elements.
The appearance of repeated elements really helps to pull your piece together. Bonus points if you triangulate your repeated elements to really help the eye navigate through your project. Here I used flowers and butterflies.
4. Create a "fun" scene.
I'm all about creating fun "scenes" on my projects even if they don't seem logical. It makes me happy...and yes, I giggle when I'm putting them together. And the Gangster Gang (aka niece + nephews) get a kick out of the fun "scenes" when they flip through the scrapbook albums.
There you have it. 4 ways to create fun embellishment clusters on your creative projects. :)
The key to creating a cohesive look (even if the elements involved seem odd) is to pick elements within a set colour palette. They don't have to be exact colours...tonal variations work too!
Picking three or four colours is the "safe" way to go. Here I went with a neutral background and took the colours off my washi tape (under the ampersand) to pick elements for my cluster.
 |
| The one about the lame mooncake-making session |
2. Overlap the elements.
You know the famous John Donne quote, "No man is an island."? Well, it applies to embellishment clusters too. Don't let your any of your elements be lonely...give them some friends or competition. to help them stand out more. It's like when one of my aunts got married...she chose two of her "ugliest" friends to be her bridemaids so that she would be the prettiest one in comparison. (Now I wasn't even born yet when she got married but I did see the photos...*LOL*)
Anyway, overlapping your elements makes it seem deliberate..you know, like you really know what you're doing, style-wise.*hahaha* And a great way to use up torn/partial elements too. I tend to use them to cover odd corners and "mistakes" I made.
 |
| Pasta and waffles for lunch |
The appearance of repeated elements really helps to pull your piece together. Bonus points if you triangulate your repeated elements to really help the eye navigate through your project. Here I used flowers and butterflies.
 |
| Working off the cheese tart at the playground |
4. Create a "fun" scene.
I'm all about creating fun "scenes" on my projects even if they don't seem logical. It makes me happy...and yes, I giggle when I'm putting them together. And the Gangster Gang (aka niece + nephews) get a kick out of the fun "scenes" when they flip through the scrapbook albums.
There you have it. 4 ways to create fun embellishment clusters on your creative projects. :)


6 comments:
Awesome tips!! You cluster perfectly every time!! Have a great day!! Big hugs :)
Lisa
A Mermaid's Crafts
You ALWAYS rock the embellies!!! When I grow up, I want to be you!!!! :)
Always love your projects and how you put everything together! Thanks for sharing some great tips! :)
I too love clusters, even if they don't make sense...cuz same: they make me happy! And what's not to love about being "happy"! Fun clusters and projects! BTW - you had me at whisky on the rocks, LOL
I love your use of the random die cuts. And I love it even more when they make sense with the layout, like a critter eyeing some tasty food!
You always have such great tips! And such a knack for combining embellishment clusters!
Post a Comment
Thanks for visiting my blog and taking time to leave a comment. I really appreciate it. Have an awesome day!:)
Cheers, Yvonne.