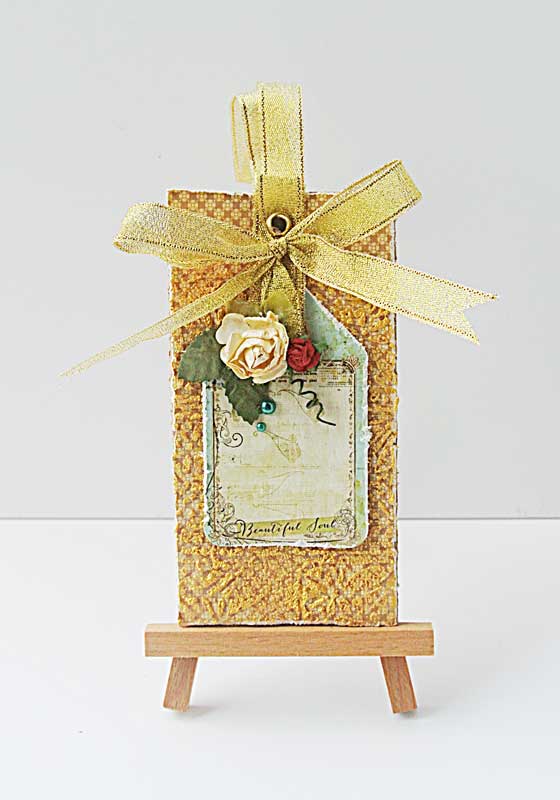
When I want instant gratification on a project, I usually go for a tag. Since it doesn't have to fit in an envelope like a card, I can get away with any size [usually based on the scraps I have] and adding dimensional elements. :)
I started with a piece of packaging cardboard. I trimmed some Graphic 45 patterned paper and adhered to the front and back of the cardboard.Then I distressed the edges.
I added some packaging ribbon to the tag and secured it with a brad. Then I applied Golden Glass Bead Gel with The Crafter's Workshop stencil. While that was drying, I picked out my embellishments.
When the glass bead gel dried, I applied Daler Rowney gold paint over the raised surfaces. The last step was to embellish.
I left some space on the tag so that I could write a personalized message for the recipient.


9 comments:
Instant gratification :D love it Yvonne
Gorgeous tag, Yvonne! I love that you showed us how you made it, too. Thanks!!!
Yup, this is a great quick fix... Love the gold over the glass gel. Looks fantastic:):)
Sooooooo beautiful! LOVING the colors and that ribbon!!!!!!!!!!!!!!
beautiful. Love all the gold!
SO beautiful, Yvonne! Love all the rich gold on here, and the texture and pattern you created with the bead gel and stencil are sooooo stunning!
It's so pretty. I love that you're in a gold phase. :)
This is stunning!! I love the gold!! The texture is amazing!! Absolutely gorgeous my friend!! Have a great day :)
Lisa
A Mermaid's Crafts
Such an elegant and beautiful tag! Gorgeous work!
Post a Comment
Thanks for visiting my blog and taking time to leave a comment. I really appreciate it. Have an awesome day!:)
Cheers, Yvonne.