Pages

Friday

This week's 15 minute card


This-week's-15-minute-card

This year I'm making an effort to send out more surprise cards to my bloggy friends. You never know when someone needs a little cheering up....especially since only the highlights of our lives are shared on social media. 


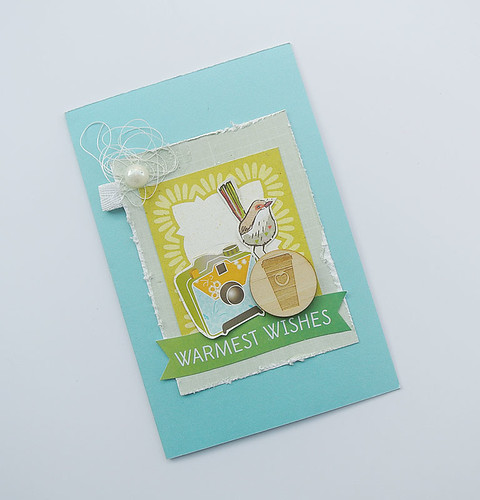
This card was put together in 15 minutes because my scrap pile consists of many already-cut elements and I pretty much just have to decide on a colour scheme.


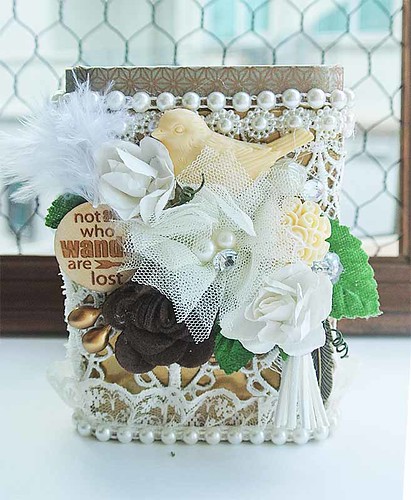
I also wanted to play along with the 2017 Spring Coffee Lovers Bloghop. It's a great way to use up my coffee-related embellishments like this wood token from Maya Road. :)


I had a little glue "accident" when adhering the thread but I added some Ranger distress stickles in rock candy to cover it up. Glitter can hide all mistakes. *winks*


Happy weekend friends! :)


Share/Bookmark

Wednesday

A mish mash card from scrap bits


A-mish-mash-card-from-scrap-bits

I have to be honest. Some days I feel happy that my scrap pile seems to be dwindling. Other days, I feel totally disheartened and wonder if I will ever finish using up my paper scraps. Anyone with me on this??? 


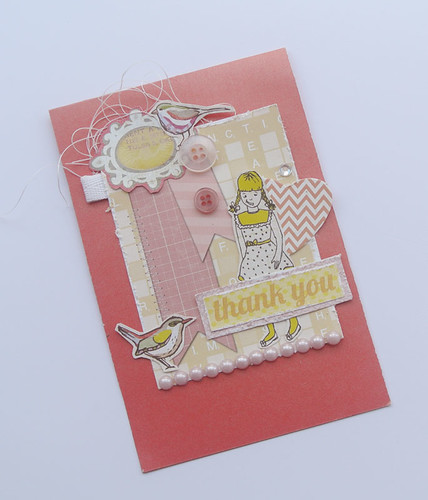
Case in point: I thought I had used up all the cute birds from a sheet of Basic Grey patterned paper...when I found 1/2 a sheet of uncut birds in my scrap pile....mocking at me, chirping"we're still here!" 


Fortunately for those birds, even after using them on a dozen or so layouts and cards, I still find them cute. And perfect for my mish mash card. *winks*


Scrap bits used here: 8
Scrap bits left in pile: Infinity


Share/Bookmark

Monday

10 ways to use remnant lace on your projects


It's no secret that I love lace. And that I'm super lucky that people like to keep their remnant lace and send them my way. :) My faves are white so that I can colorize them any way I want to. I don't mind the small pieces either. With gel medium, I can create the "whole" illusion. *winks*
Here are 10 ways to use remnant lace on your projects.


Black-and-gold-tag
Black and gold tag

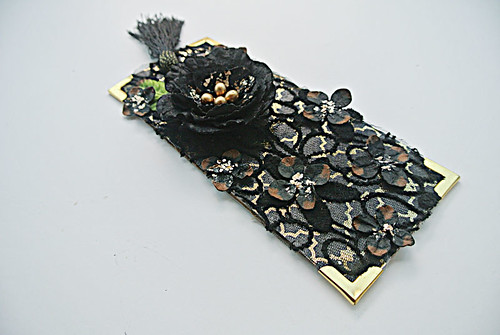
1. Layer the lace over patterned paper for contrasting texture and interest on your tag.

Here I layered the black peekaboo lace over patterned paper and then added another layer of paper blooms for even more texture and interest. I tied all the elements together with gold book corners, and gold mica flakes for a dramatic look.


A-mixed-media-canvas-inspired-by-Iceland
A mixed media canvas inspired by Iceland

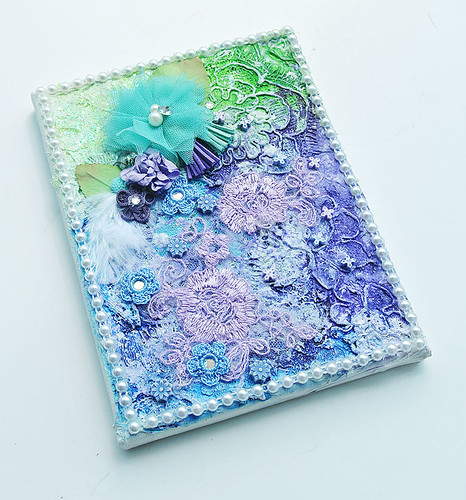
2.  Try lace over lace for a dreamy feel.

My canvas base was first covered with remnant lace and wrapping tissue, gessoed and then misted. Next, I applied white gesso on the raised surfaces to really showcase the intricate lace patterns. Then I added the lilac floral lace pieces to create an ethereal feel to the piece.

The overdone tea tin

3.  Gold and white lace - a winning combination.

Spray paint an old tea tin with gold paint, add a layer of white remnant lace and embellish to your heart's content. :)

Shabby-chic-magnet
A shabby chic magnet
4. Peach and aqua work well too. 

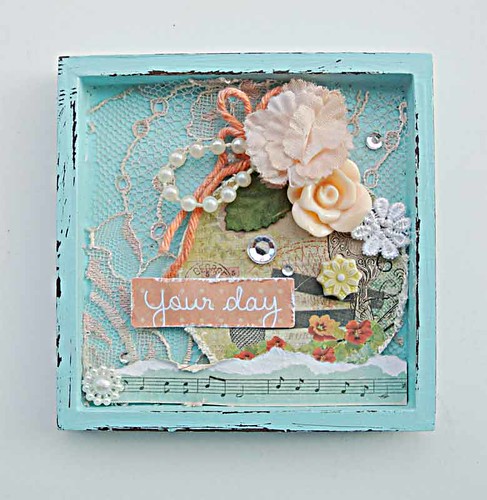
Here I used the peach lace as the backdrop for the embellishment cluster on my shabby chic magnet.

Pretty-envelopes
Easy to make pretty envelopes

5. Decorate little envelopes with lace.

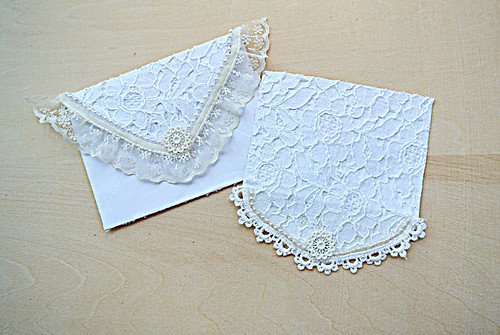
These are so easy to do and are fabulous for tucking in little notes for a special someone.

The-textured-neutral-card
Neutral textures on a card
6.  Have a play with textures.

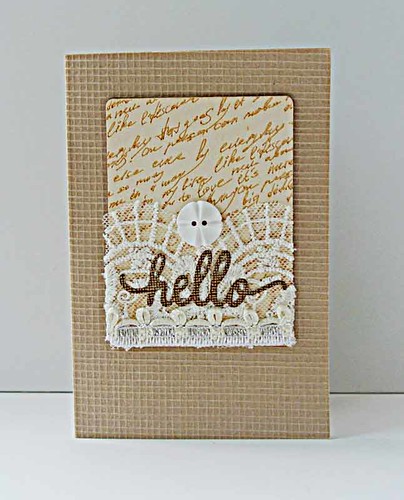
When you keep to neutral tones, you can play up the layers without making it "heavy" or overdone. Here I adhered a lace layer over a wood ATC and incorporated a diecut on top.

Altered-zipper-bottle-for-LESSology.
An altered bottle tutorial

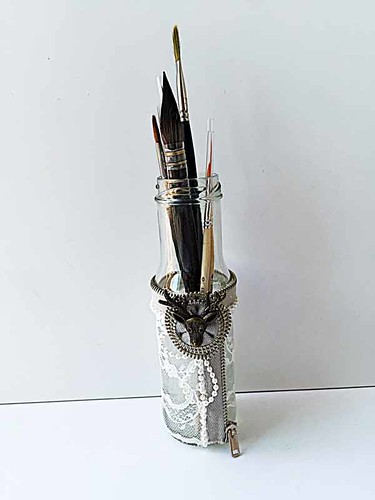
7. Cover up a glass bottle in a pretty way.

This is why I love clear bottles. :) Cover up with white remnant lace and add drama with a zipper for a one-of-a-kind paintbrush holder.

Beautiful-card-by-Yvonne-Yam-for-Maya-Road1
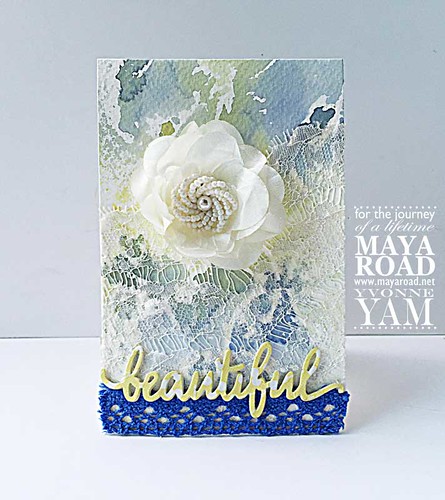
I love the look of peekaboo lace

8. Use lace to tone down a busy patterned background.

Went a little overboard with the misted background? No worries, just tone it down with a little peekaboo lace....it looks like you did the background on purpose.

Afternoon-tea
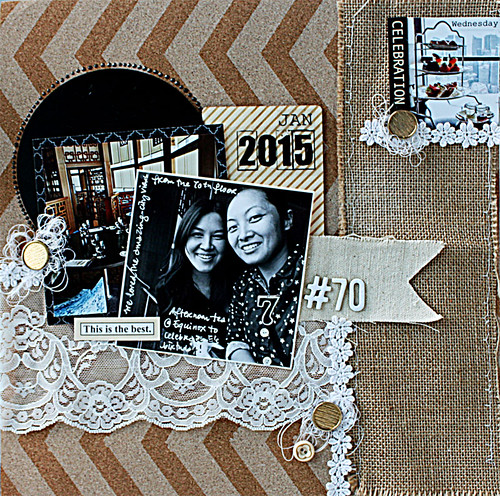
Afternoon tea

9. Create textural interest by using lace as a photo mat for your layout.

The lace really helped to tie all the neutral elements together and make it a little more feminine.

Window
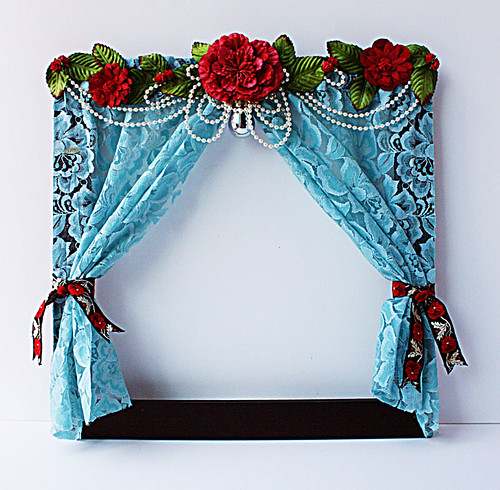
Window for LESSology

10. Make a pretty window display backdrop.

Here I used the vintage lace to create "dramatic" curtains for my "window" frame.


There you have it...10 ways to use remnant lace on your projects.  Which is your fave?


Share/Bookmark

Friday

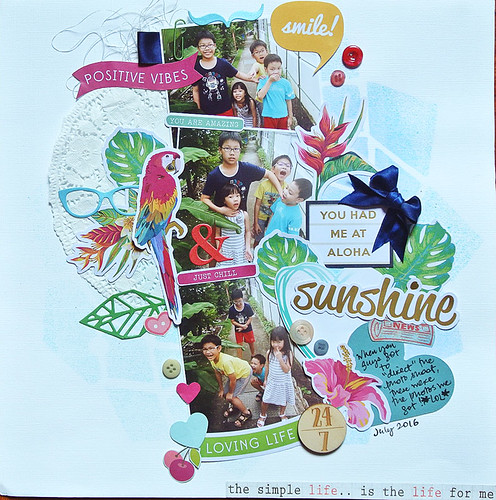
When the Gangster Gang directed the photo shoot...


When-the-Gangster-Gang-directed-the-photo-shoot

The other day I decided to give the Gangster Gang (nephews + niece) creative freedom to direct the photo shoot with the hope of scoring some decent photos in the process. *winks*


Of course, I got photos like someone with a finger up their nostril and another "biting" someone's butt....*LOL*


You know, things that the kids thought was funny.*shakes head*


You can tell by the photos here that my plan backfired and I didn't get nice photos. :(


But I did have fun putting together this layout with new goodies from my bloggy pal Lizzy Hill (all those fabulous tropical diecuts). :)


Playing along with Stuck?! Sketches.


Share/Bookmark

Wednesday

A textured and layered tag


A-textured-and-layered-tag

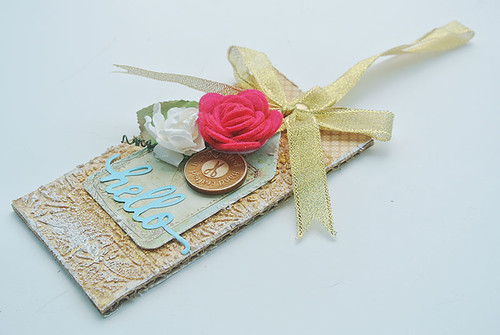
I love making textured and layered tags which are great for adorning a gift bag in lieu of a card. 


My tag base is always cardboard from packaging because it holds up better to my "abuse". :) 

I had a little "accident" and stained the patterned paper that I had adhered to my tag so I went in with a stencil and textured paste. Which I then decided to paint gold. And when that looked a little too gaudy, I went in to tone it down with some white gesso.


I distressed the edges of a smaller Prima tag to form the base of my focal point. Then I went in with some Maya Road embellishments. And finished my tag with gold glitter ribbon from packaging.


Hope you are having a great week friends! :)


Share/Bookmark

Monday

Old clock turned photo frame


Old-clock-turned-photo-frame

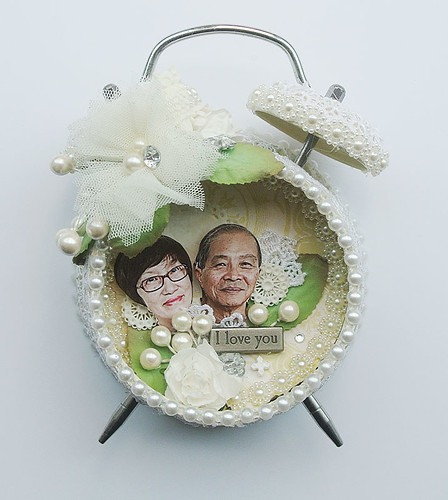
I bought this vintage-inspired clock about 2 years ago. It was one of those battery suckers that never told time accurately and only looked pretty. So when it finally stopped working even though it had a fresh battery, I was kind of happy *insert evil background music*.... You know, because I get to alter it!


Of course, even in "death", the clock had to torment me a little more. It took a bit of time to actually dismantle it. *winks* This was from a few weeks ago....


This was from this past weekend...mid-way through the process when I was auditioning embellishments....yes, it was a tough audition, a lot of them didn't make the cut! *LOL*


Now,  I didn't start out thinking it would a photo frame but since I had multiples of a photo of my parents, I went for it.


Their heads form a heart. :)


White lace trim is just divine! Thanks Lizzy Hill! :)


It was a fairly easy albeit time-consuming project. But it turned out really pretty. What do you think?

Share/Bookmark

Tuesday

Photo booth props from found objects


Photo-booth-props-from-found-objects

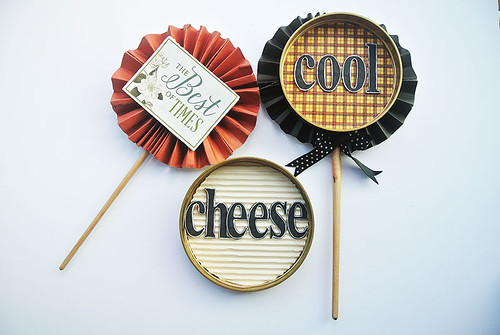
So I found these fun photo booth props that I made for my grand-aunt's 90th birthday bash last November when I was sorting through my "save-it-for-a-rainy-day" stash the other day.


Now it was easy to just head to the store to buy ready-made props of course but I thought to myself, "Why buy when I can make them, right?" [Apparently I enjoy creating more work for myself...*winks*]. 

And then of course, I just had to challenge myself to use some found objects around the house. Er, you know to reduce the amount I was hoarding. ;)

I had spray-painted some plastic containers to be the "pots" for my giant flowers [They were the large plastic containers for protein powder that I nabbed from a body-building uncle.] So I decided the lids would be great for the "frame" of my photo booth props.


I also had these old paintbrushes that had lived past their usefulness which I thought would be perfect "sticks" for my props.

The challenge was of course to attach the two items together in an elegant way. Okay, just in a way that it would at least hold together for the duration of the party. *LOL*

So I pleated some scrap paper that was then glued to "hold" the paintbrush and then attached the whole thing to the plastic cover. A black Sharpie + white pen and some chipboard letters completed my photo booth props. [If you were wondering about the words I actually used...wonder no more, I just tried to form plausible words from my chipboard letter stash...haha]


Here you have my ever-sporting mum and sister, posing with my photo booth props, including the giant paper flowers. 

Hope you are having a great week so far!

Share/Bookmark

Monday

Black and white altered box


Black-and-white-altered-box

One of my goals this year is to finish up all of my half-done projects or just get rid of them. *dramatic music plays in the background* 

Don't get me wrong. I love to recycle and repurpose but when the stuff you save for a rainy day starts to overwhelm you, you've got to take drastic measures, right? *winks*


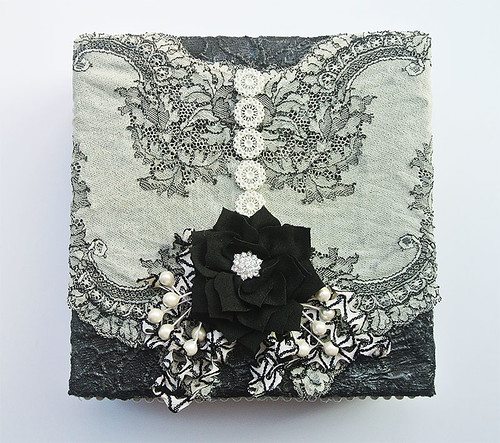
Here's the first of my half-done projects that I managed to save from the "jaws" of the recycle bin....a black and white mooncake box. I remember spending quite a bit of time covering up this red box in remnant lace before applying a layer of black gesso. And then chucking it to a corner where it stood unloved and almost forgotten for the last few months. *Bad me!*


I added a coat of silver glaze to really highlight the texture from the lace and was about to do my usual clustering of embellishments thing when I found this lovely lace from old lingerie in my stash. And of course, decided to go another direction.


I think it turned out pretty classy actually. Another box to add to my mum's collection of decorated boxes.  

P/s: I always thought that these boxes will eventually be mine again in a few decades but apparently, my mum has promised my niece that she will get them. *LOL*


Share/Bookmark