Pages

Thursday

This month’s self-portrait from the sketchbook


Hello friends! Just sharing this month’s self-portrait from the sketchbook. Some people call it narcissism, I call it self-love. *LOL*


This time when I was colouring at McDonald's, a staff walked by and said,"Hey, that's you!" :) Guess I must be doing something right.

I must say that learning more about the contours of my face makes me more aware of my facial imperfections. Like how I have 2 different eye shapes. *winks*


Hope you are having a great week so far. :)


Share/Bookmark

Tuesday

When cousins hit it off...


I was pretty surprised to see nephew #3 really hitting it off with his cousin E during CNY 2019. He let E play with his remote control car and was really patient with the toddler. :)


And E was clearly in awe of his cousin....


Check out his happy face even though nephew #3 did a terrible job of attempting to carry him. As you know, the Yam men are not great at carrying kids! *LOL*


This was E's face when he saw his cousin up on the second floor. Just pure happiness! 
Guess it was written in the stars that these two would hit if off. :)

Playing along with Scrap the Boys.

P/s: Still using the CNY 2019 decorations on my layout.:)


Share/Bookmark

Friday

A birthday card!


Hello friends! Just wanted to share a quick card today... because I really needed to get a birthday card postal soon. *winks* 


Can you believe that this is the first card I made this year? I’m sure you can tell that I’m a little rusty! *LOL*

P/s: Happy weekend friends!:)


Share/Bookmark

Wednesday

I am a sampling queen!


As a savvy shopper, I'm all about the samples. Really. Nephew #1 is always amazed at how many samples I can amass per visit to the stores. *LOL*

Jokes aside, I love trying out new skincare products. And samples are a great way to ascertain if your skin likes a product or not. I have very normal skin so it takes an awesome product to really make a difference to my skin. In the last year, I've added AHAs, BHAs, Vitamin C and retinol to my skincare routine and those have made the most visible difference to brightening and adding a glow from within. *winks*

The key to trying new products is to try them ONE at a time so that you know which is the culprit if your skin has a negative reaction.


These days, even the foundations and tinted moisturizers are packed with skincare benefits. Like La Prairie has caviar in their foundation. Which totally broke me out...apparently it's too rich for my skin. Thanks for saving me $$ skin! :)

What about you? Are you a sampling queen?


Share/Bookmark

Tuesday

My latest mixed media eye on canvas...:)


Hello friends! Just popping in to share my latest mixed media eye on canvas. :)


The base of this 20 x 20 canvas is scrunched up recycled wrapping tissue for texture without bulk, whitewashed with gesso and then covered with paint, inks and watersoluble crayons. You know, my usual modus operandi. *winks*


I had so much fun with the ink splatters on this one....except for the part where I had to clean up the overzealous splattering.


Happy week ahead friends! :)


Share/Bookmark

Friday

Guest designer at Stick It Down


Hello friends! This month I got to guest design alongside the awesome design team at Stick It Down.


Here is the sketch if you are so inclined to play along. :)

As always, I took liberties with the sketch (What's new right? Hehe). I recently got a coupon for fifty 4R prints at Harvey Norman so I went for four 4R photos on this layout. Instead of putting 3 diagonal strips of patterned papers, I used patterned paper as my base and used 3 strips of plain cardstock.


Nephew #3 and niece S were very excited to meet their cousin L for the very first time at CNY. And of course, they wanted to carry the baby. :)


Yes, I'm still going strong with my repurposed CNY decorations on my layout. *winks*


If you don't already know, I'm working my way through my sticker stash too. :)


Happy weekend friends!


Share/Bookmark

Wednesday

My most repurchased art supplies


Even though I have a lot of art supplies (I told my sister that if anything ever happened to me, she can probably sell my fine art supplies for a small fortune..*winks*) and struggle a bit to give them a little love, there are some supplies that I use up regularly and always have to replenish.

1. Tombow Pit Multi 2 Glue

I love this adhesive because it dries clear and has a good strong hold. Great for adhering embellishments. When adhered wet, it has a permanent hold. If you let the glue dry a little and become tacky, it becomes a removable adhesive. It has 2 tips - a fine tip for precision work and a broad tip for broad area application. I generally only use the fine tip because I use it mostly to adhere small embellishments.

2. Uniball Signo Broad Point Gel Paint

This is my go-to pen for adding highlights on my drawings or journaling on a dark surface. It even writes on glossy photos. The ink is acid-free and if you clean your pen tip religiously after each use, you can enjoy smear-free and skip-free white ink. Possibly the best gel ink pen in the market.

3. Faber Castell Pitt Big Brush Pen in white

I love this for the opaque ink and broad brush tip which allows for coverage of a larger surface area. It is filled with India ink that is permanent, waterproof and lightfast.

4. Faber Castell Polychromos Colour Pencil in black

I use this to blend with other colours to get a darker hue. The pencil is hardy and can hold a fine tip which makes it perfect for tiny detailed work. It is acid-free, smear-proof and lightfast.

What are your most repurchased art supplies? Do you tend to buy them in bulk when they are on sale so you can save some money?


Share/Bookmark

Sunday

The one where we got photobombed by the toddler


So nephew E was happily playing with his cousin, nephew #3 during CNY 2019 when of course, he decided to spontaneously mess up my hair and photobomb my photo with my cousins. *LOL*


With the sweetest smile for the camera. *hahaha*


Still fussy-cutting the CNY decorations on my layout. :)


They are rather large though so photo placement has to be quite strategic. *winks*


Playing along with The Studio Challenges.


Share/Bookmark

Thursday

8 ways to incorporate tags on your projects


I love using tags on my projects. They are a fun way to add a little texture and interest to any project. Here are 8 ways to incorporate tags on your projects. :)

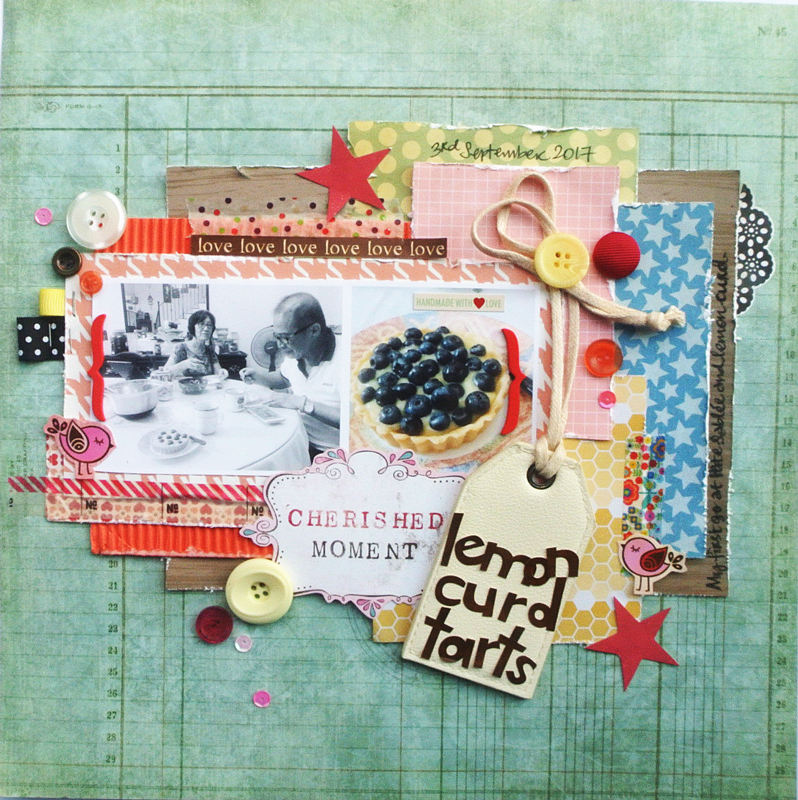
The-one-about-the-lemon-curd-tarts
The one about the lemon curd tarts
1. Your titlework.

This faux leather tag came as part of retail packaging. One side had the brand name and the other side was blank....perfect for me to add some stickers and make it my titlework tag. The stickers didn't quite fit on the small tag so I tilted the letters and turned it into a stylistic decision...bet you didn't know! *LOL*


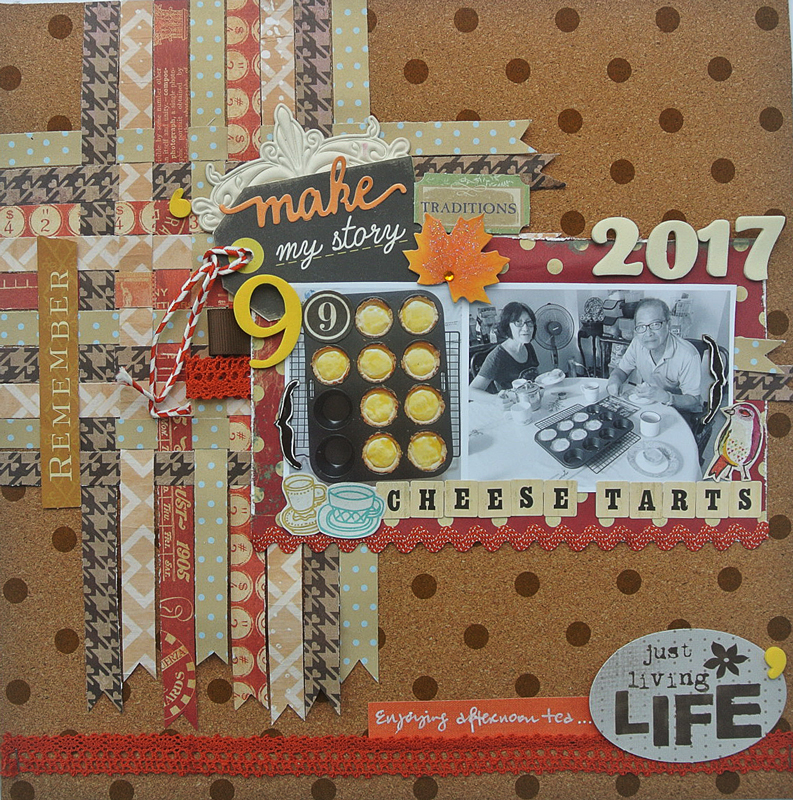
The-story-about-the-cheese-tarts
The story about the cheese tarts
2.  Part of your titlework.

And when you have a longer title...*winks*

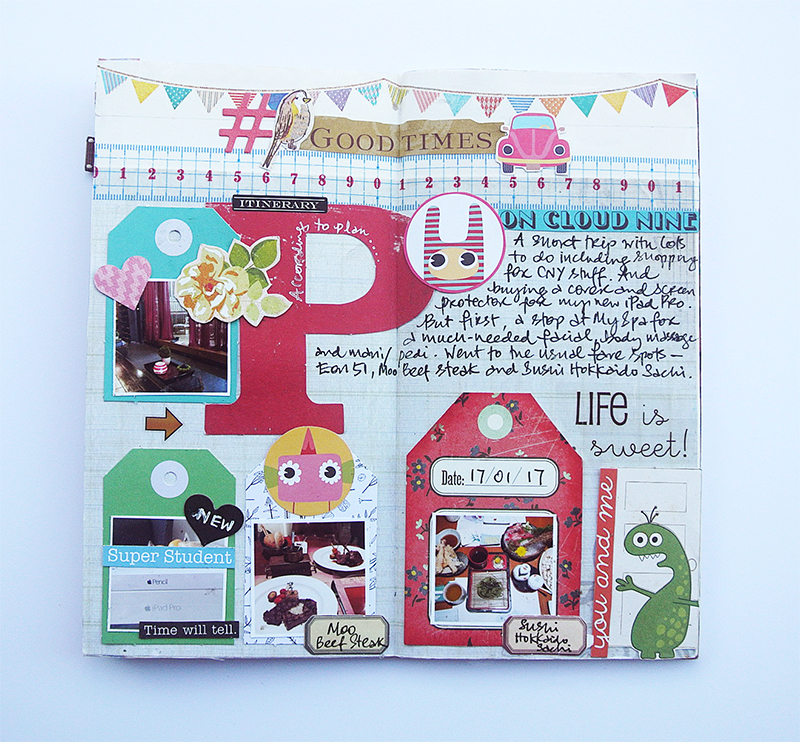
Travel-journal-pages-Jan-2017-1
Travel journal pages January 2017
3. Frame small photos.

Tags are perfect for framing small photos in your travel journal.

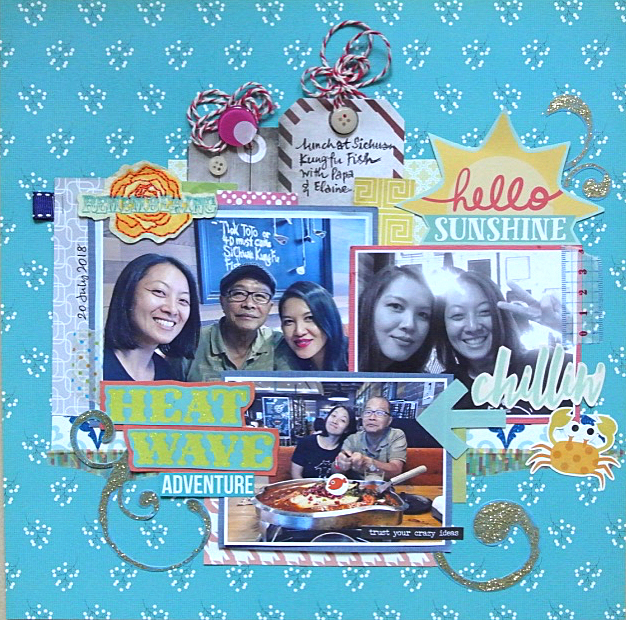
The-heat-wave-adventure
The heat wave adventure
4. Your journaling.

When your layout is too busy with patterns, just add your journaling to a tag and tuck it in somewhere. :)

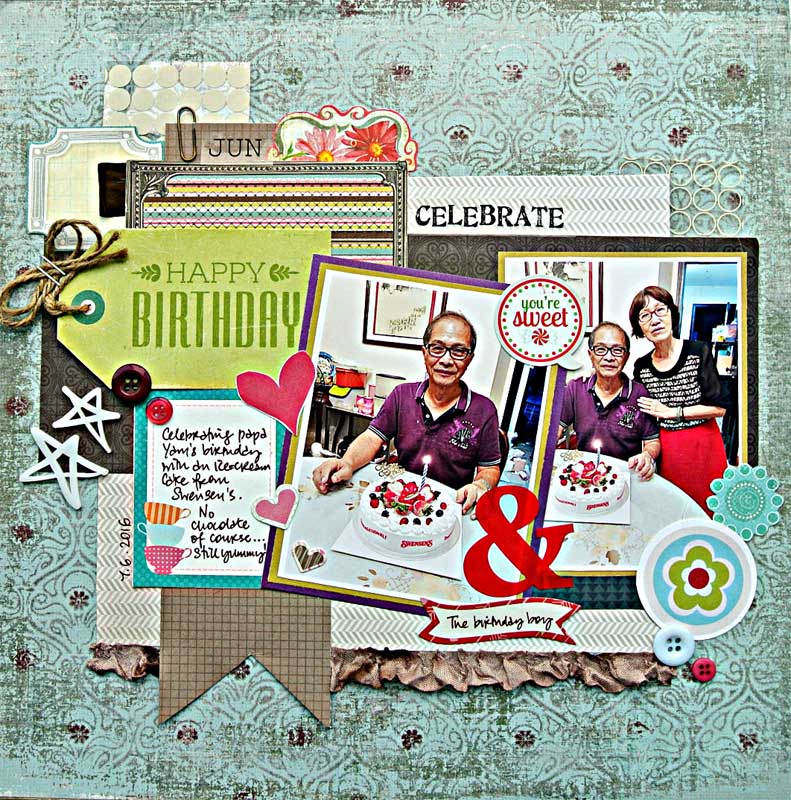
Someone-had-an-ice-cream-birthday-cake
Someone had an ice-cream birthday cake

5. Additional text embellishment.

I love tags that have text on it that is relevant to my layout. It can be incorporated as part of a design element while serving a practical purpose too.

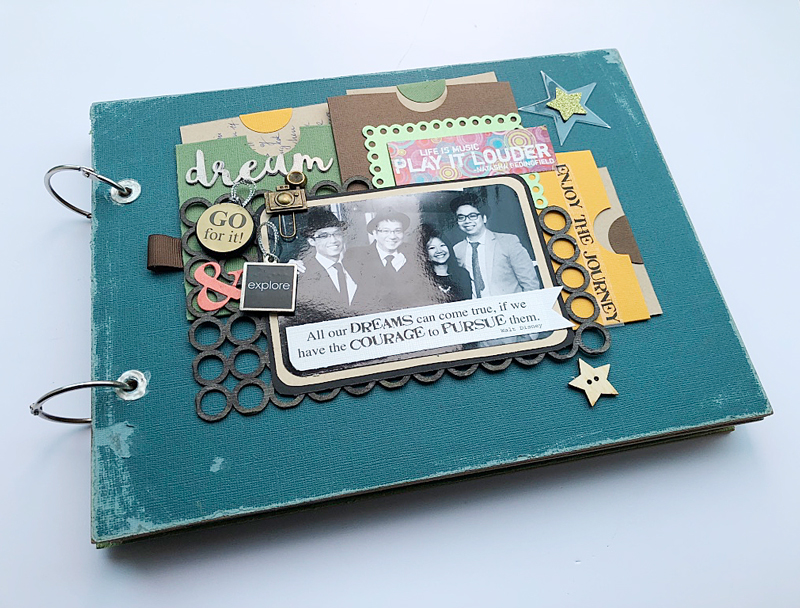
The-album-with-lots-of-photos-and-tags1
The album with lots of photos and tags
6. Pull-out elements for journaling.

When you have to incorporate a lot of journaling, try pull-out tags. This keeps your design clean and neat and it's also fun to pull out the tags to read the journaling.


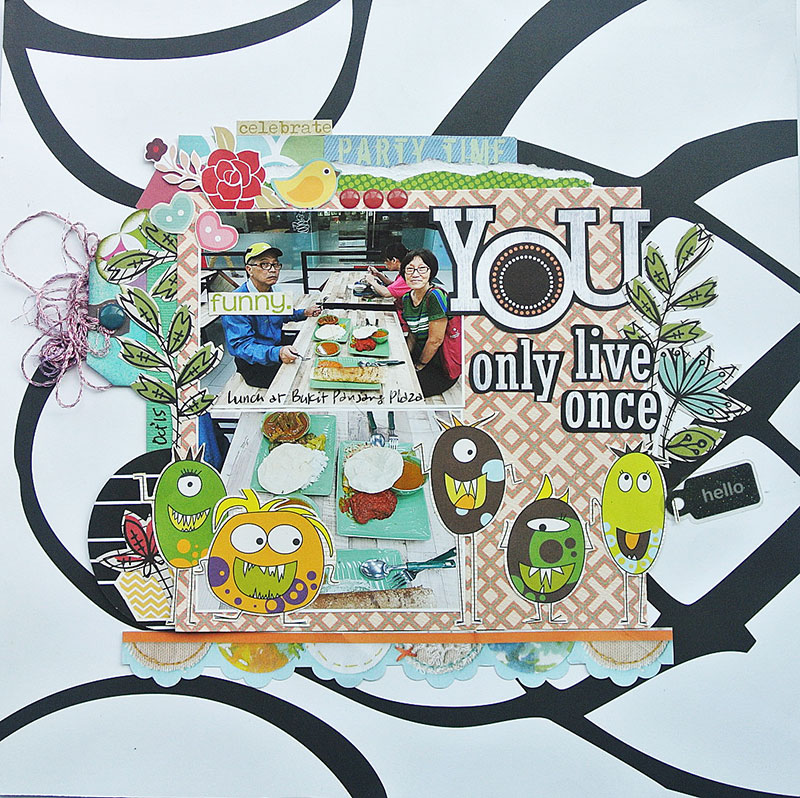
You-only-live-once
You only live once
7. Mat for embellishments.

Try using a tag as a mat for creating an embellishment cluster. Here I used the tag to add my textural element (the twine) and it also serves as a mat for the fussy-cut leaves.

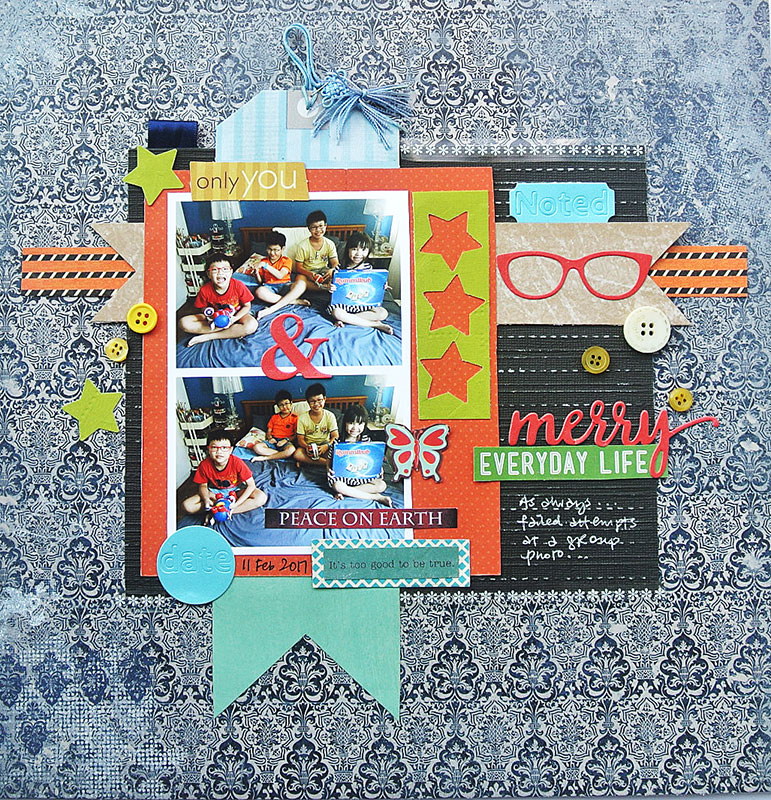
The-Yam-circus
The Yam circus
8. Design element to anchor a grid-style layout.

Here I used a tag with a pretty tassel to break up the busy patterns and help guide the eye to the photos.


There you have it...8 ways to incorporate tags on your projects. Do you use tags on your projects? What are your fave ways to use tags?


Share/Bookmark

Wednesday

What's new in my life: February 2019 edition


I am what you call a bargain hunter. I have a running list of items I want to try out (based on reviews I've read or samples I've tried out) and when they go on sale, that's when I grab them up. :) I don't know what the retail climate is like in your neck of the woods but sales are pretty common here so a savvy shopper never has to pay full price for anything. For everything else, there's Amazon! *winks*

Yep, I especially like it when sets go on sale...more savings! :)


So I might have a thing for lightboxes. They are so fun! I scored these at a bargain at Typo at their post-Christmas sale.

What about you? Are you a bargain hunter?


Share/Bookmark

Tuesday

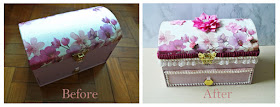
Another decorated mooncake box :)


Well friends, it's about time I shared another decorated mooncake box right? *winks*


Yes, they are getting really fancy with mooncake boxes these days. This one was designed for you to use as a jewellery box after you've eaten the mooncakes.  Big thanks to my cousin F who saved this box for me because she knew I would enjoy decorating it. *High fives all those who have relatives that give them pretty but empty boxes ...hehehe* 


The mooncake had a pretty floral print on it so I just added a large ribbon bloom (to cover the name of the restaurant) and some paper blooms to add a little more texture and interest. The most time-consuming part was the pleated ribbon because I had to fold and hot-glue each pleat. On hindsight, I should have just done the pleats with the sewing machine instead. It would have been way faster! And a lot more even!*LOL*


What do you think??

P/s: If you would like to see my other decorated mooncake boxes, please read this post: 12 ways to decorate a mooncake box.


Share/Bookmark