Pages
Friday
Friday's abstract florals
Thursday
This week's quick birthday card
I've been quite enjoying the challenge of pulling random stuff from the scrap pile and trying to put together a somewhat cohesive card. *winks*
I decide on the ONE element from the pile that I want to use. Then pull other elements to somehow coordinate with that element. For this card, it was the fussy-cut postcard patterned paper. It was from a travel-themed paper pack so it had the Statue of Liberty on the left. So I found the cute kid in a frame to cover that up.
I finished with some fussy-cut blooms, pearl strip for texture and a sticker sentiment in bright yellow to tie all the elements together.
What do you think?
Wednesday
Workspace Wednesday - what's on my desk and new art supplies
On my desk: this morning's loose watercolour florals painting practice. :)
I've been really consistent and painting every day. Some days are better than others. And I'm convinced that it's because I don't have the right brushes so today I went to the art supply store to...
Buy some new watercolour brushes!
And of course, picked up some practice watercolour paper too. I used up 30 sheets in the last 2 weeks alone. I did order the fancy Arches watercolour paper for my "serious" paintings (you never know, someone might actually want to buy my art...*LOL*)...those will arrive in a few days.
Hope your week's been awesome so far.
Tuesday
A quick rooster watercolour painting
Happy Tuesday friends! Sharing a super quick rooster watercolour painting I did (15 minutes). I tried hot-press watercolour paper for this and the paint dried super quick so the rooster looks a bit carttoonish. *LOL*
Monday
Make Stuff Monday - an upcycled decorated box
It's been a while since I last decorated a box. Haven't bought anything that was packaged in a nice box....
I dry brushed some gold paint to tie all the gold elements together. And finished by adding ribbon to the sides of the lid of the box (yep...the same one that came with the box!)
I think it looks really pretty. What do you think?
Friday
Friday's abstract floral watercolour painting
Happy Friday friends! Here is Friday's abstract floral watercolour painting that was done with flat brushes.
This was done mostly with the wet-on-wet technique. You don't get a lot of control using this technique because the paint flows to all the wet areas and may pool in some areas. But you get surprises when the piece dries. I think there's a soft ethereal quality to this painting with the blurred leaves and petals.
Not quite sure if I'm an abstract florals kind of girl...because I so want to go in and refine this piece with other mixed media supplies. *LOL*
Enjoy your weekend!
Thursday
This week's quick card using scrap bits
Hello friends! It's time for this week's quick card using scrap bits. :)
The kraft tag and ribbon came with recent skin care I bought....and I found this random piece of patterned paper that had "hello" written on it...made the sentiment for my card.
Wednesday
Workspace Wednesday - bird in a floral wreath watercolour painting
"Happy Workspace Wednesday!" chirped the birdie in my floral wreath painting. :) Just a fun colourful piece I did this morning to cheer myself up.
After a few weeks of finally being able to dine out, we are back to restrictions again for another month starting tomorrow because of the increasing number of COVID 19 cases in the community. :(
On a brighter note, no need to cook dinner for 10 for the next 4 Saturdays! More time to paint! :)
Tuesday
Mummy Yam's birthday 2021
Earlier this month, we celebrated Mummy Yam's birthday at home with my first peanut butter mousse crunch cake.
Mum wanted all her grandchildren in the photo.....it took a while and some threats of not being able to eat the cake to get this "almost perfect" shot. *LOL*
The glazing wasn't perfect...I used the crunchy popped rice bits to cover up the imperfections. *winks*
Just some random scrap bits from the stash....
Playing along with Stick It Down.
Monday
Make Stuff Monday - 2 twenty-minute projects on a Monday
Happy Monday friends! For today's Make Stuff Monday, I'm sharing 2 twenty-minute projects that I did today. :) Yep...this girl is going real time. *winks*
First up, this morning's warm-up watercolour painting of abstract florals which were done with just flat brushes. I think I might have overdone the leaves but I was having fun! And I was all done in 20 minutes! I followed along with Ellen Crimi Trent's tutorial on abstract florals. Of course, mine looks nothing like hers because I like to add my own creative flair to things (but in this case maybe creative mistakes! *LOL*)
Nest up I decided to make a quick card...for my bloggy pals who are more in to the papercrafting side of things. I know I have been in watercolour overload for the last 2 weeks or so. Which is how I roll when it comes to obsessions. Hehehe.
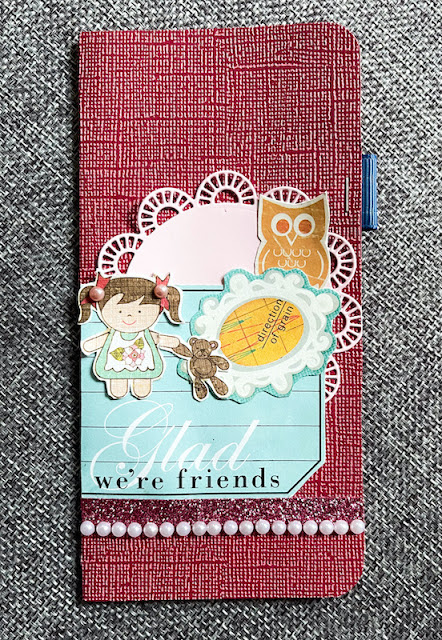
So here is today's 20 minute card. I really really wanted to use the cut-out sentiment but I didn't really like the original design of a crown. I dug through my scrap stash and found the cute little girl with her teddy bear and some random fussy-cut frame (perfect for covering the crown) To add a little more interest I added a doily diecut and a fussy-cut owl to "complete" the visual triangle. And for more texture, I finished with a ribbon tab, a glittered tape strip and a pearl strip.
There you have it, 2 twenty-minute projects on a Monday. :)
Friday
Friday's Florals: geraniums in terracotta pots
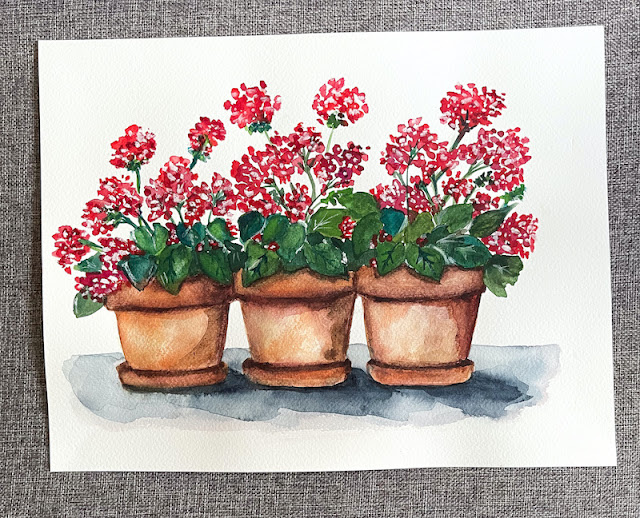
I have been practising my loose florals every morning...here are some geraniums in terracotta pots for Friday's Florals. :)
Still have so much to learn about being "loose". So tempted to paint the individual blooms instead of blobs to represent flowers. *winks* Quite enjoyed painting the pots though. Except for the shadows. I always feel like mine looked like bad accidents.*LOL*
Happy weekend friends! :)
Thursday
This week's 5 minute card with scrap bits
Well, it's July and about time to start on the Christmas projects! *winks*
Last year I had a theme going because I had a gazillion Santa faces that I could incorporate on ALL my Christmas projects. This year, I'll be attempting to use up my random bits of Christmas stash. *uplifting music plays in the background*
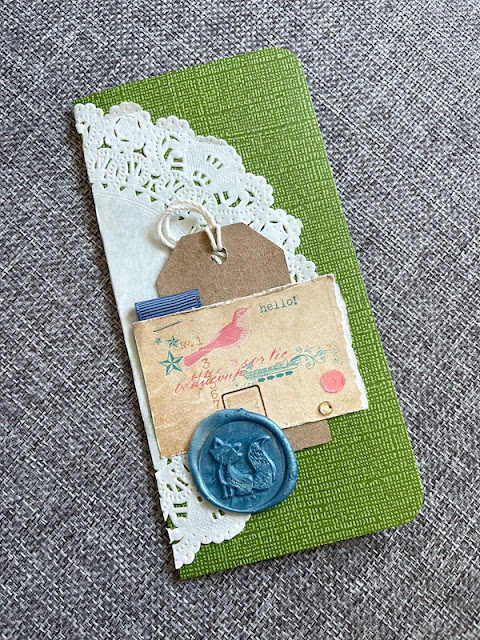
This quick card only has 4 elements - 2 fussy-cut pieces, a wax seal sentiment and a sequin. :)
Happy Thursday friends! :)
Wednesday
Workspace Wednesday - my messy standing desk setup
On today's edition of Workspace Wednesday, let's have a look at my unglamorous and messy standing desk setup, shall we?
I have had this bamboo portable desk for years...which I would prop on the bed when I needed extra desk space to spread out my stuff (when I have multiple projects going at the same time...*winks*). The other day, I just put it on my actual desk and it was the perfect height for me to stand and paint!
Of course, it also means extra space for me because I can use the space under the mini desk as a storage nook for even more stuff. *LOL*
Tuesday
Incorporating an old project into a new one
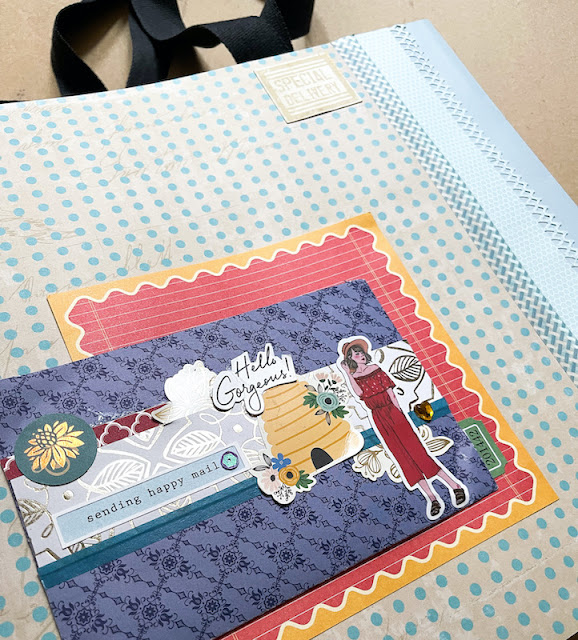
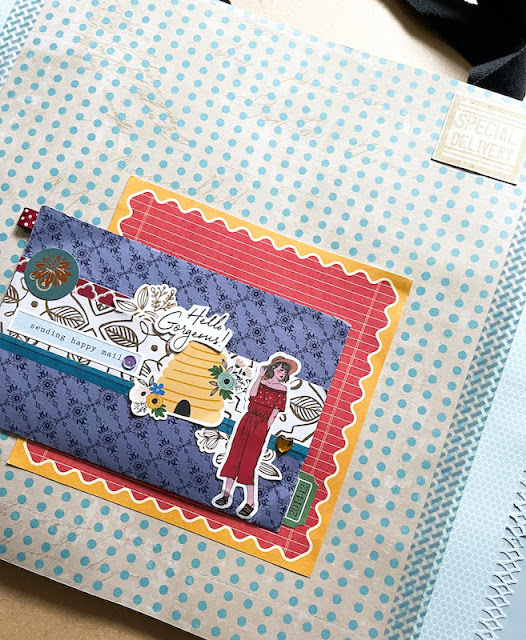
So you might have noticed something familiar on this decorated paper bag....
It was the redesigned decorated envelope that I did back in Match.
So I tore the flap of the envelope which meant that I could:
1. Remake a flap so that it can serve as an envelope.
2. Incorporate it in a new project while still serving its function as an envelope.


