Pages

Friday

Want to win a $25 gift certificate to the ColourArte store?


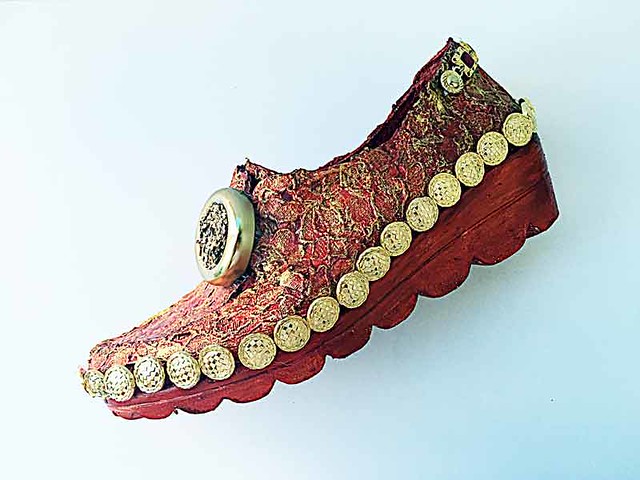
Altered-shoes-by-Yvonne-Yam-for-ColourArte

So friends, ONE of you will have the chance to win a $25 gift certificate to the ColourArte store....


Because today is the day for the ColourArte Altered Shoe Blog Hop!:)


I started with this pair of comfy wedges (my mum's old shoes) which has seen better days.


I adhered old lace fabric to the shoe with matte medium.


Next, I painted it with a coat or 2 of gesso to prep the surface for painting.


Then I painted the whole shoe with ColourArte Radiant Gel in Spiced Pumpkin.


Once that was dry, I went in with Silks Acrylic Glaze in Solar Gold on the raised surfaces. This really showcased the lace design.

The last step is to embellish! I used gold buttons!
I didn't want to add too much bulk to the front so I used an old bottle cap and added Golden Gold Mica Flakes.

Before and After

To be in the running for the $25 gift certificate to the ColourArte store, leave a comment here and on the ColourArte blog by 5 August 2015 12am EST. I will announce the winner here on August 7.

To increase your chances of winning, you can leave a comment on each of the blogs participating in the blog hop.


Share/Bookmark

Wednesday

The 5am card


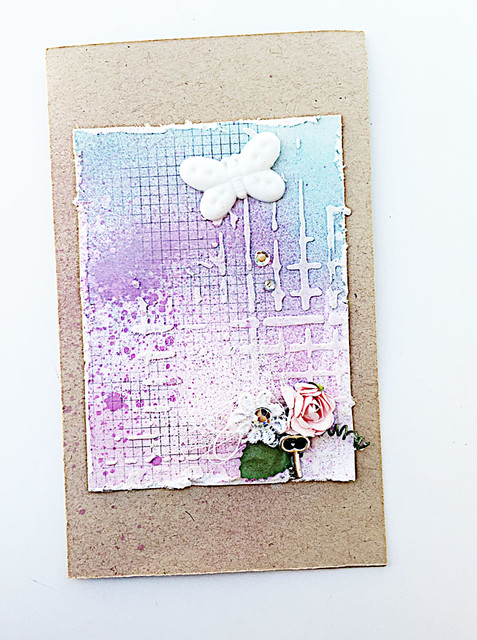
Purple-mixed-media-card

What do you do when you wake up at 5am?


Well, I made a card! :)


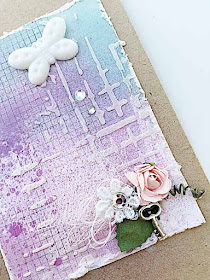
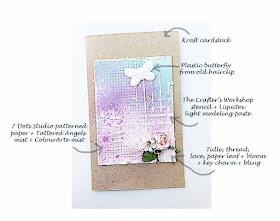
I distressed the edges of the patterned paper, adhered it to card base and then applied mists in purple and shimmer. Next I added some texture with The Crafter's Workshop stencil and light modeling paste. The last step was to embellish! :)
P/s: The winner of my happy mail is Lisa from A Mermaid's Craft
I want to go to Bora Bora too! *high fives* Please send me an email with your mailing address and I will get your travel-inspired ephemera sent out to you! 

Share/Bookmark

Monday

How to make an art journal out of an old book....a tutorial

How to make an art journal out of an old book

I've been into art journaling of late and have been searching for art journal alternatives other than the ones I make for myself out of watercolour papers and the ones that are available in the marketplace.

How to make an art journal out of an old book

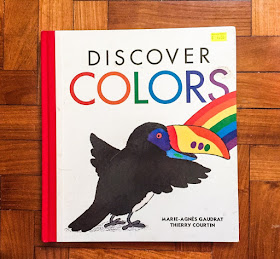
I got this book from the used bookstore. I love that it is big and has a hardcover with visibly sewn signatures and non-glossy pages. [Glossy-pages are hard to work with.]

How to make an art journal out of an old book

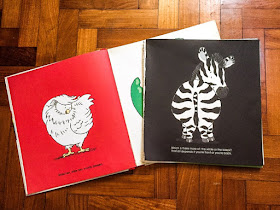
Start by removing about a third or a quarter of the pages from the book. Now you need to remove some pages so that your book can close properly after you've worked on the pages. The torn pages can be used for other projects.

Go to each signature and tear a page from roughly the middle of the signature. Be careful when you tear so that the thread that keeps the book together remains intact. If you like a particular page, skip that page and tear the next page out instead. Keep the spacing fairly even throughout the book.

How to make an art journal out of an old book

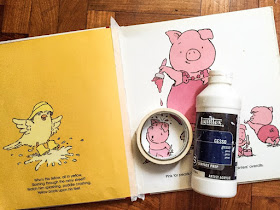
Next is to prep your pages for the mediums. Adhere masking tape to the center of  each page spread. This will secure the pages and provide a barrier so that the colorants you use won't seep through to other pages. Then apply gesso over the pages. I used a brayer. You can use a credit card or a paintbrush.

How to make an art journal out of an old book

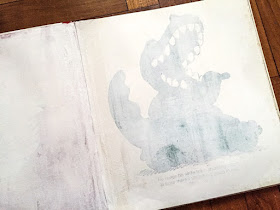
If you wish to cover up the patterns on the book, you can apply more layers of gesso. Just allow the gesso to dry naturally between coats.

How to make an art journal out of an old book

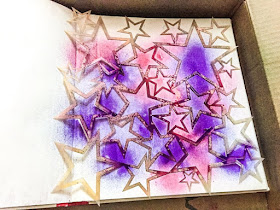
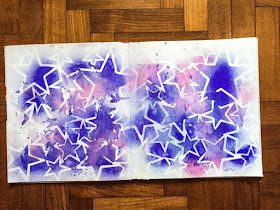
Once the gesso is dry, you can start working in your art journal. I used The Crafter's Workshop stencil with ColourArte Radiant Rain shimmering mists [I mist in a box to minimize cleanup.]

How to make an art journal out of an old book

I like to create backgrounds for my pages so that I don't start on a blank page when I work on my art journal pages.


Hope you will try making an art journal out of an old book..it's fun! :)

P/s: If you were inspired to make an art journal out of an old book, leave me a link in the comments so that I can come take a look! :)


Share/Bookmark


Friday

Happy mail for [insert your name]!


One of my fave things to do when I travel is to visit bookstores and raid their stationery section for cute little knick knacks. Like these. :)

So I thought it would be nice to send someone happy mail with some travel-themed ephemera. :)

Just leave me a comment telling me about your dream vacation. And I'll pick a winner next week.


Share/Bookmark

Wednesday

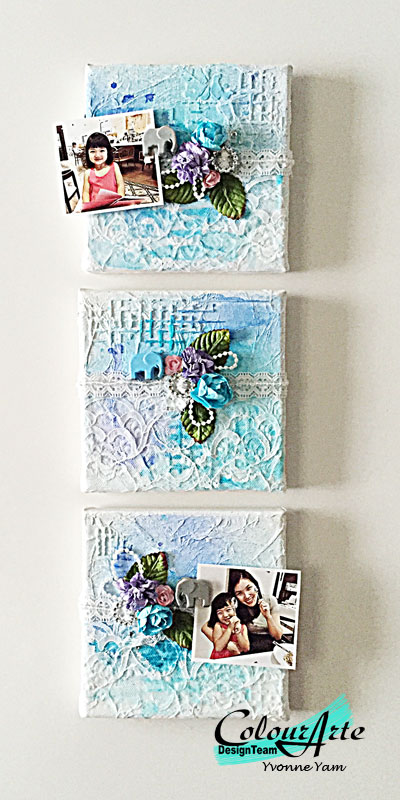
A trio of mixed media canvases to display little photos and notes...:)


Trio-of-mixed-media-canvases-by-Yvonne-Yam-for-ColourArte

I love making things that serve double functions -as an aesthetically appealing piece of art and something that can be put to practical use. Today I'm sharing how to create these trio of mixed media canvases that be can used to display little photos and notes over at the ColourArte blog.


If time permits, I would love for you to check out my step-by-step tutorial on how to create these canvases. Thanks my friends! :)

P/s: Photos are of my friend Cindy and her daughter Abby.  I thought these would look lovely in little Miss Abby's bedroom....what do you think?


Share/Bookmark

Monday

So I am an art supply junkie...


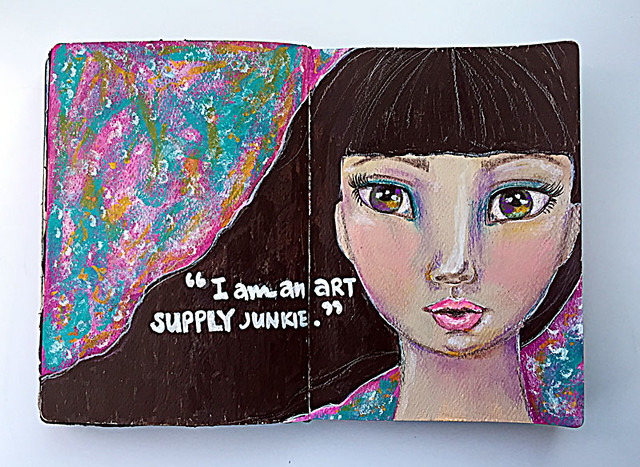
I-am-an-art-supply-junkie

So, if you didn't already know. I am an art supply junkie. 


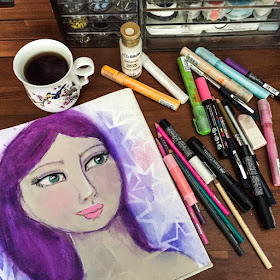
You can tell from the colours on my girl's face that I am a heavy user. *winks*


I'm thinking this addiction could be better than hoarding right? At least I'm putting them to good use...*LOL*


Here are the art supplies I used to paint and draw my girl.... [while exercising restraint...*winks*]

Playing along with ARTastic Challenge.

Share/Bookmark

Thursday

Experiment with your mediums to create different effects...


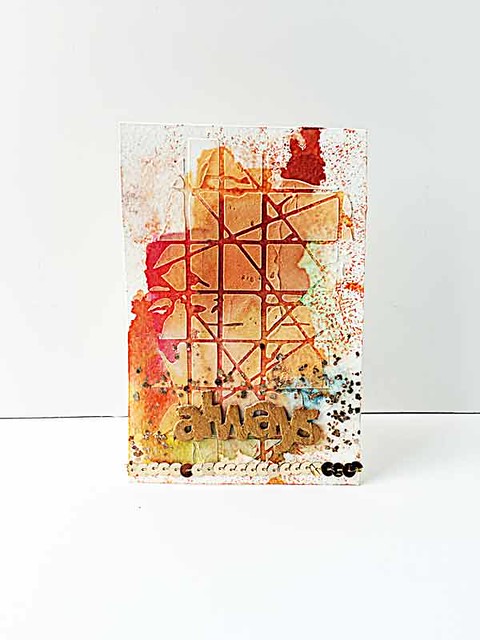
Always-mixed-media-card
Whether you are new to the world of mixed media or fully entrenched, you can appreciate how little tweaks in the way you layer your mediums can create different effects. For this card, the base was watercolour paper and the coloured mediums used were watercolours. Since watercolours are not permanent, when I applied light modeling paste with a stencil over it, the watercolours reacted and you can see the "bleedthrough" in the stencilled design.


If I wanted the modeling paste stencilled design to be white, I would use permanent colours on the base instead...like acrylic paint. So experiment with your mediums to create different effects. It's super fun! :)


Share/Bookmark

Tuesday

You make me smile Miss Abby...:)


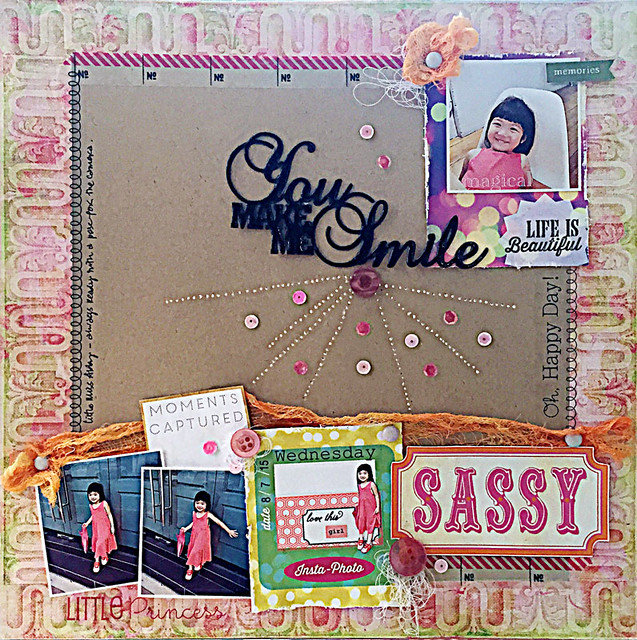
You-make-me-smile-Miss-Abby

So last week when I was in Penang, I caught up with my bloggy pal Cindy and got to meet adorable girl - little Miss Abby. :)


Like most kids of her generation, she's a natural in front of the camera. 


I had fun working with little note cards and stickers. 


After adhering the chipboard sentiment, I went in with my paper piercer to create "rays" and added some sequins [thanks Annette!] for a little sparkle.

Playing along with Stuck?! Sketches.


Share/Bookmark

Monday

For the love of purple...


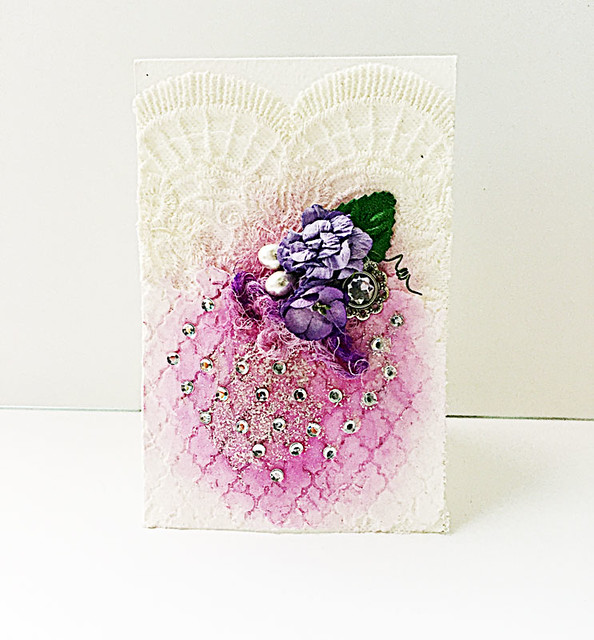
For-the-love-of-purple

I love the colour purple. It's the mid-point between two colours I'm drawn to: vibrant red and calming blue. Plus I look good in purple [hah...mostly because I look good in purple...*winks*]. :)


I started by adhering the lace to the card base with gel medium, then applying light modeling paste with The Crafter's Workshop stencil. Next, I sprayed the purple mist. And then adhered the embellishments with a hot glue gun.
Playing along with Runway Inspired challenge.


Share/Bookmark

Friday

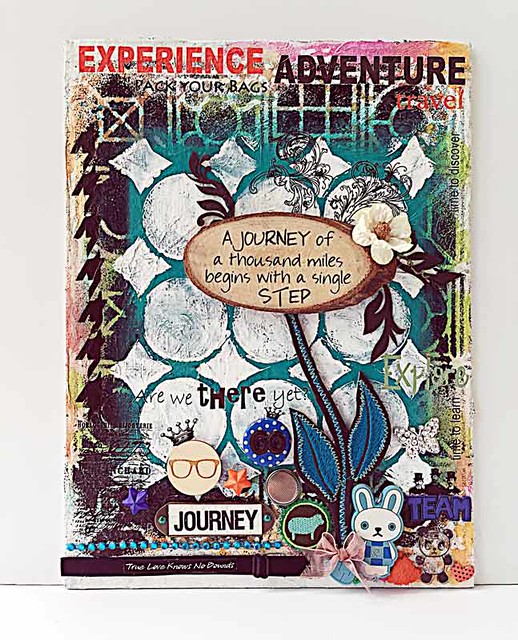
The one where only the kitchen sink didn't make it ...*winks*


Travel-mixed-media-canvas-with-found-objects
Yep, this was one of those projects. You know, where I keep adding stuff except for the kitchen sink because my mum was using it...*LOL*


The start of all this madness was this slice of wood that I had in my "save-it-for-a-rainy-day" stash. As usual, the "Shiny Object Syndrome" that I'm seriously afflicted with kicked in. Please don't feel sorry for me my friends...I've come to terms with the fact that there is no cure for it. *winks*


And I picked out a lot more things to incorporate on my project...


Here's a closer look at what made it on my mixed media canvas...
A used battery, an old bra strap, cute bunny from old keychain, embroidered leaves on leather from an old pair of shoes, a shrink plastic panda bear.....


And lots and lots of rub-ons!


This quirky mixed media canvas was created for LESSology Challenge #49: Woodgrain. Hope you come play along! :)

Share/Bookmark