Pages

Tuesday

Making a statement out of neutrals...in 15 minutes


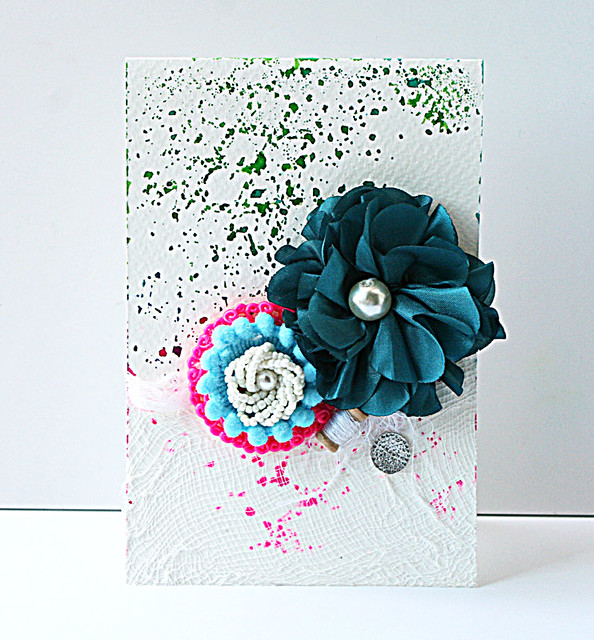
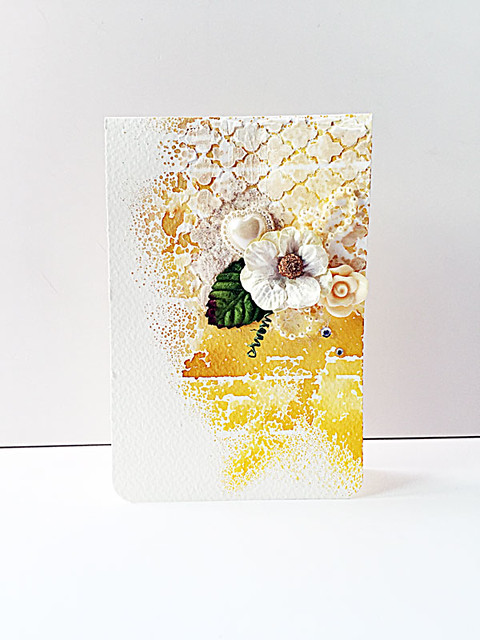
Neutral-mixed-media-card

Two nights ago I decided to challenge myself to make a "statement card out of neutrals". *winks*


1. Choose residual-misted card base from stack - 1 minute
2. Select a stencil, get light modeling paste and apply to card base with a palette knife - 4 minutes
3. Pick out neutral embellishments and arrange them in a pleasing manner - 4 minutes


4. Apply matte medium + mica flakes - 1 minute
5. Adhere embellishments to card base with hot glue gun - 4 minutes
6. Round corners of card and admire handiwork - 1 minute


I'm not sure if it makes a statement but I think it turned out quite pretty. What do you think? 


Playing along with Fusion Card Challenge. I used the sketch. 


Share/Bookmark

Monday

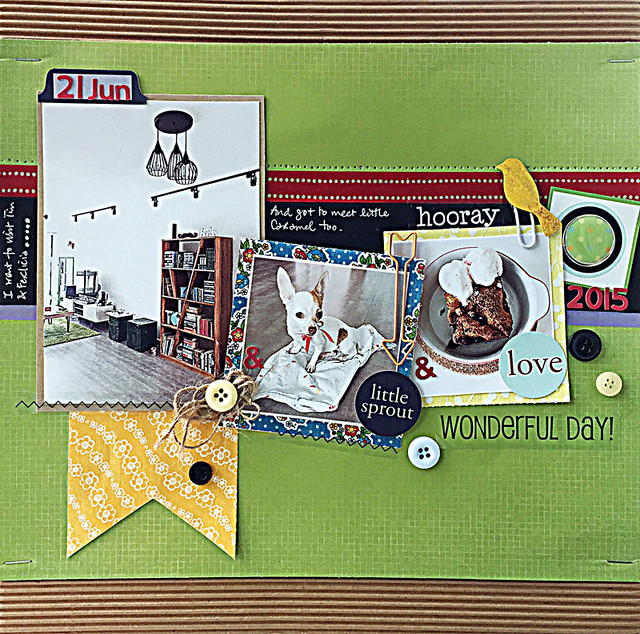
Wonderful day


Wonderful-day

So two weekends ago, my parents and sister whisked off for a short holiday to Hong Kong and I played the "home alone" sympathy card to score a home-cooked meal at my cousin's new home. [Yes...I can be "devious"...*sinister music plays in the background*].*winks*


Except for the little snafu where I drove in circles trying to find her apartment [google maps said her address doesn't exist], I had a great time viewing her new abode and catching up with her and her husband.


I also got to spend time with their puppy....little miss Caramel. And eat my cousin's chocolate chip bread pudding with ice-cream. Yum!


A super quick layout using paper scraps, stickers, washi tape and buttons.  

Playing along with Stuck?! Sketches.


Share/Bookmark

Friday

Using stuff I've been hoarding...


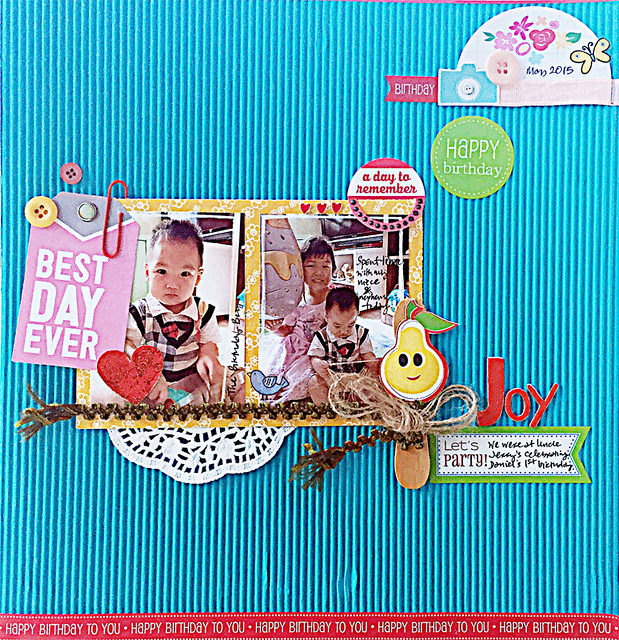
Best-day-ever1

The recent reorganization of my art supplies had led to the inevitable uncovering of the stuff I've been hoarding...which may be a good thing right? *winks*


I found a gazillion Magnum ice-cream sticks...[hey, they had a 1-for-1 promotion most of last year! *lol*], some fussy-cut patterned papers,doilies, remnant trims,  paper clips and twine. Yeah, I mostly hoard found stuff...the pretty ones I just use immediately.*LOL*


Which was great since I like to use little bits and pieces on my layouts. :)


The cute kids are my cousins' kids...[I have 11 nephews and nieces!]


Playing along with Sketchabilities.


Share/Bookmark

Wednesday

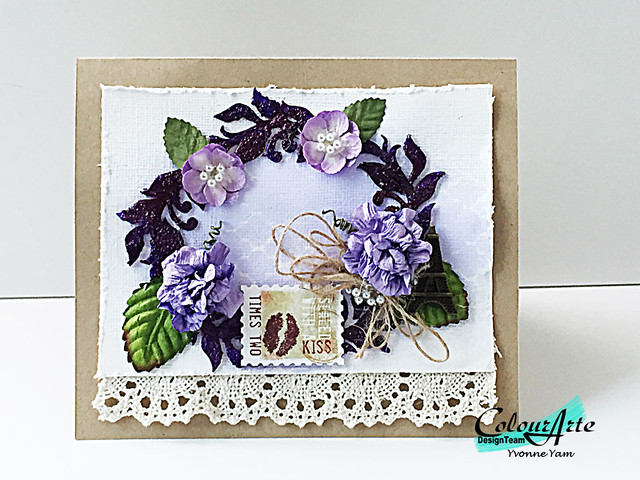
Using purples and neutrals on a card for ColourArte


Sealed-with-a-kiss-card-by-Yvonne-Yam-for-ColourArte
I love purples and neutrals. :) Today I'm sharing a step-by-step tutorial for creating this mixed media card over at the ColourArte blog.


If you have time, I would love for you to check out my tutorial.:)


Share/Bookmark

Monday

My modus operandi for making a card...


Mixed-media-card-for-Maya-Road


My modus operandi for making a card these days is

1. Pick a card base from my stack of residual misted watercolour paper.
2. Pull out some embellishments I want to use and arrange them on the card.
3. Once I'm happy with the basic placement of elements, I start adhering them on the card base to reduce fiddling time.


4. After the decorative elements are adhered, I scrutinize the card to see what's missing...Is it well-balanced? Does it need more texture? Or colour?
5. Then I add my finishing touches...to address the "flaws" I see in #4. 

Totally doable right?


Share/Bookmark

Friday

An old mixed media canvas...


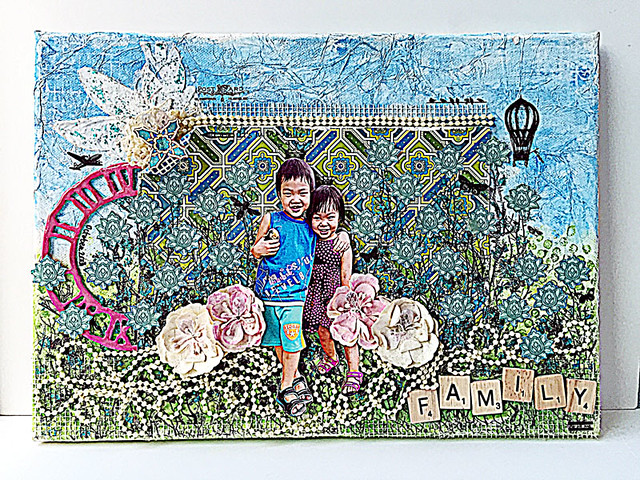
Jeremy-and-Sophie-mixed-media-canvas

So I recently got back some of my mixed media canvases that were on display at my LSS Made With Love. Including this busy mixed media canvas featuring my fave muses - nephew J and niece S - that I never shared here.


That was back in October 2013....just over a year and a half ago. Now I look at it and wonder how much time I took then to fussy cut all the blooms in the background and stamp all the foliage.


 I really went all out with all the details for my whimsical garden scene....stamping and rub-ons, pearls and wood tiles!


That was the start of my fave pop-up silhouette photo craze I think....*winks*

Thanks for taking a trip down memory lane with me. Aren't you glad my style is way more streamlined now? *LOL*

Happy weekend friends! :)


Share/Bookmark

Wednesday

Storage ideas: How I store my art supplies


One of the best things I've done this year was to take my art supplies out of their original packaging and putting them in clear sight. In clear containers. I love see-through containers because they take up less visual space and feel less "heavy" in a room.

I am a firm believer in storing things the way you use them. Organizing them in a practical way that allows you easy access to your supplies trumps making them look neat and tidy but totally inaccessible. So get your art supplies out of packaging!


I recently bought these Sparco Storage Organizers from Amazon for my pens and markers. They are 6x6x6 and can be used facing up or on its side. The adjustable divider can be removed too. I bought them when they were on sale at US$5.99 which was an awesome deal since they are now double the price.


My fave are these acrylic Muji drawers. I pull the drawers out when I'm using them and it's easy to put my supplies back [in rainbow-colour order of course...:)].  I store my ink pads, crayons, watercoloursand other colorants in these drawers. Here I have my Faber Castell gelatos.


They are also great for my Twinkling H20s. :)


My MT washi tapes sit in another type of acrylic drawers from Muji. I can fit about about 10 regular size tape rolls in each drawer. I love that I can just pull out each drawer and see all the designs at once.


I also use the 2-drawer Sparco Storage Organizer for supplies that don't fit into my Muji drawers. Like my Ranger Stickles. It's a little more messy and requires a little rummaging but at least they are all located in one place.


My buttons are stored in these stackable containers. They come in a pack of 4. I bought them from Freedom kitchenware section when I was in Australia. In Singapore, you can get them at Howards Storage World but it's twice the price.


My brads, eyelets and photo turns are kept in these small round containers that all fit in a clear acrylic case. They are organized by colours. I got them from my local art supply store Art Friend.

All my paper and fabric blooms are stored in clear tiered containers I got from True Value in the Philippines.

There you have it. How I store some of my art supplies right now. Do you have a thing for clear storage like me? *winks*

Share/Bookmark

Monday

Rediscovering old ways...


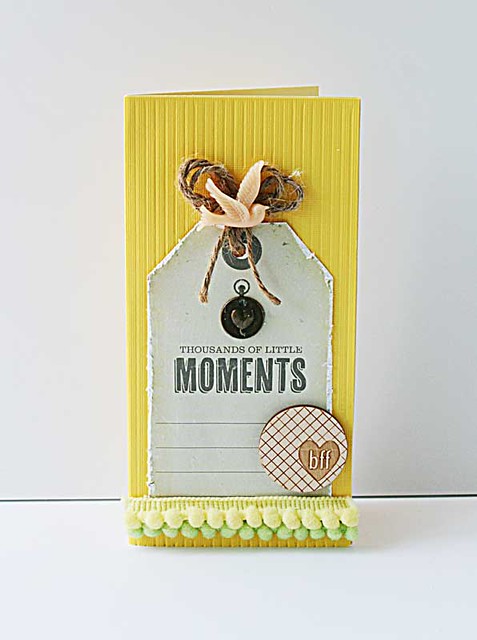
Bff-card-for-Maya-Road

Sometimes I like to re-explore and re-discover techniques I've used before but might have outgrown or even forgotten about. In the last two years, my world has been pretty much about playing with messy mixed media techniques.


Today, I'm sharing a card that is clean and colorant-free. Still me...but a little more subdued. *winks*


The cardstock texture was created with a scoreboard and the tag was distressed for a little texture. Then a mix of different embellishments complete this quick card.

P/s: This card was created for Maya Road for a craft show. I just LOVE their range of embellishments.:) 


Share/Bookmark

Friday

A cluster on a card....


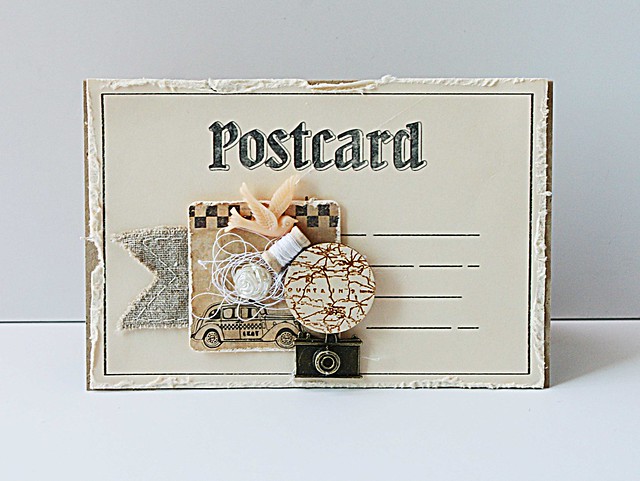
Travel-postcard

The key to creating a visually appealing cluster on a project is to play with textures in various shapes and sizes. Can you spot the different textural elements?


1. Burlap banner
2. Wood token
3. Metal camera charm
4. Resin bird
5.Wooden spool with thread
6. Shiny resin bloom
7. Tag with distressed edges

Happy weekend friends! :)


Share/Bookmark

Wednesday

A quick and easy mixed media tag for ColourArte


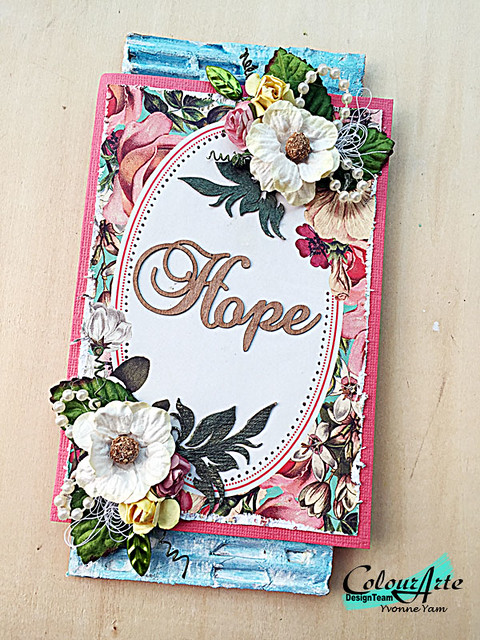
Hope-tag-by-Yvonne-Yam-for-ColourArte

Hello friends! Today I'm sharing a step-by-step tutorial for a quick and easy mixed media tag over at the ColourArte blog.


I would love for you to pop by to take a look! :)


Share/Bookmark

Monday

For the love of pizza...


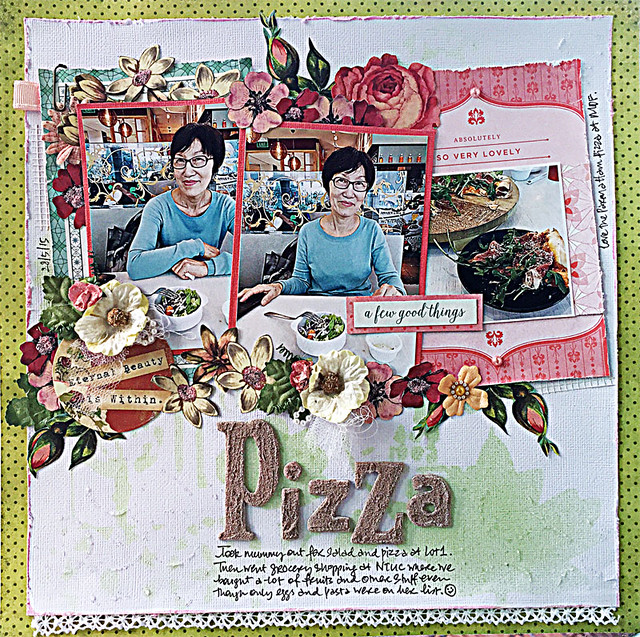
Pizza-layout-by-Yvonne-Yam-for-Made-With-Love

I love pizza. Especially thin-crusted ones. Yum!


So the other day I brought my mum out for a salad and pizza. Oh yes, the mother has been trained in the "photo for keepsake or social media before eating" protocol. She is a natural right? *winks*


Love the lovely Basic Grey Tea Garden patterned papers and the pretty Prima tag and blooms from my LSS Made With Love Singapore


The fussy-cut patterned paper blooms were coloured with Wink of Stella pen in clear for a lovely overall shimmer. I also added Ranger stickles to the centers of the paper blooms. The Maya Road chipboard letters were painted with Art Anthology stone effects paint.

If you reside in Singapore, the supplies on this layout can be found at Made With Love Singapore. This is my last project for the store.


Share/Bookmark